Removal Procedure
Tools Required
| • | J 24402-A Glass
Sealant Remover (Cold Knife) |
| • | The J 39032
Stationary
Window Removal Tool |
| • | Solvent for cleaning the edge of the window (use GM Glass Cleaner
#1050427 or isopropyl alcohol). |
| • | A household cartridge-type caulking gun. |
| • | A commercial-type razor knife used to cut around the edge of the
window. |
- Unclip the defogger connector at the left and right side of the
window from the inside of the cab, if equipped.
- Remove all trim panels necessary in order to gain access for rear
window removal.

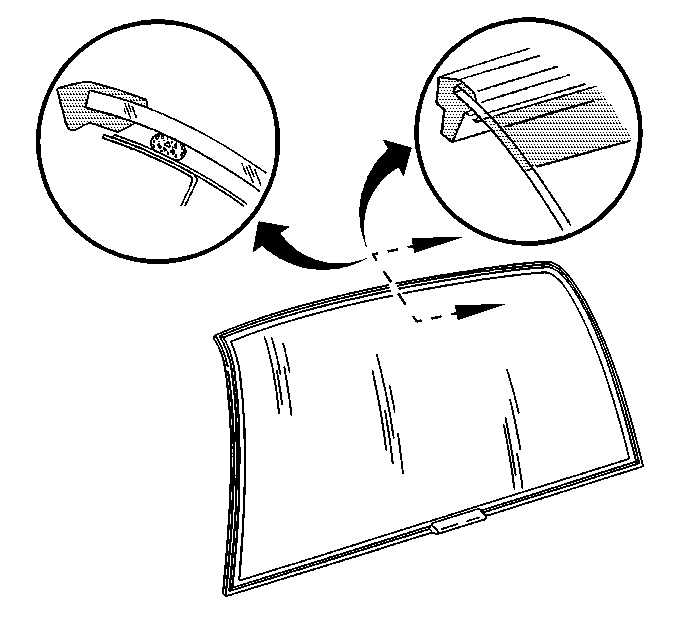
- Use the J 39032
from the inside of the window and J 24402-A
from outside to remove
the glass assembly from the window frame.
- With an assistant standing outside of the vehicle, push the window
out from the vehicle.
Installation Procedure

- Apply body primer to the
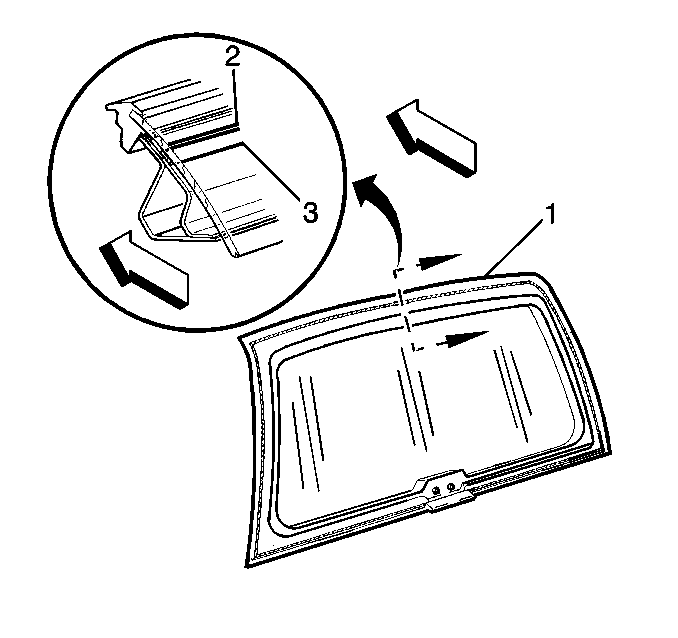
pinchweld flange (3) in areas where the paint has come off.
Use repair kit GM P/N 12346284 or equivalent that contains
the proper primers and adhesive.
- Allow the primer to dry.

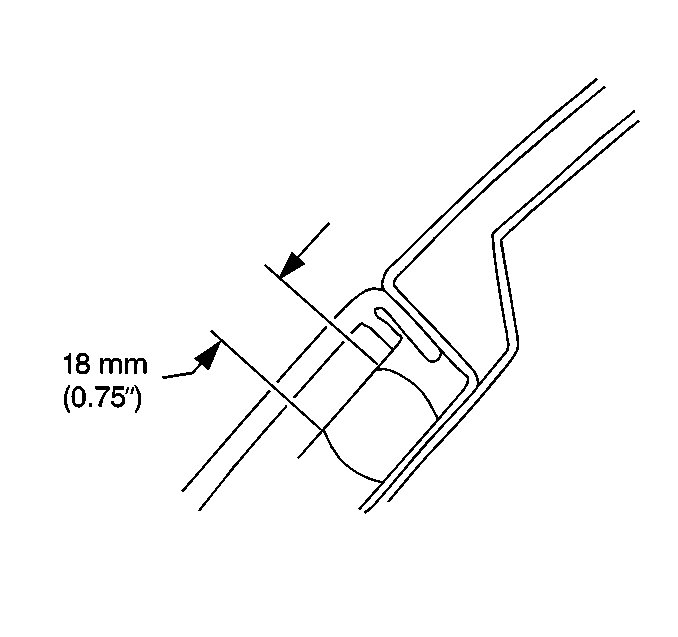
- Apply clear primer to
the window, covering
an area of 18 mm (3/4 in) from the edge of the glass.
- Apply black primer to the same area as the clear primer in the
step above.
- Allow the primer to dry.
- Apply a urethane adhesive bead to the body in order to fill in
any gaps in the old adhesive.
- Connect the defogger clips on each side of the window on the inside
to the body connectors, if equipped.
- Install all trim panels which were removed in order to gain access
for rear window removal.
- Ensure that the two tabs on the bottom of the window are positioned
in the slots on the body before installing the sliding window.
Important:
| • | Allow the vehicle to remain at room temperature 22°C (72°F)
at 30% relative humidity) for a minimum of 6 hours. |
| • | Partially lower a door window in order to prevent pressure build
ups when closing the doors prior to the urethane adhesive cure. |
| • | Do NOT drive the vehicle until the urethane adhesive is cured,
a minimum of 6 hours at room temperature. |
| • | Do NOT use compressed air to dry the urethane adhesive. |
| • | Do not direct a hard stream of high pressure water at the fresh
urethane adhesive. |
- Watertest the window immediately using a soft spray. Use warm or hot
water spray in order to accelerate the cure of the adhesive.


