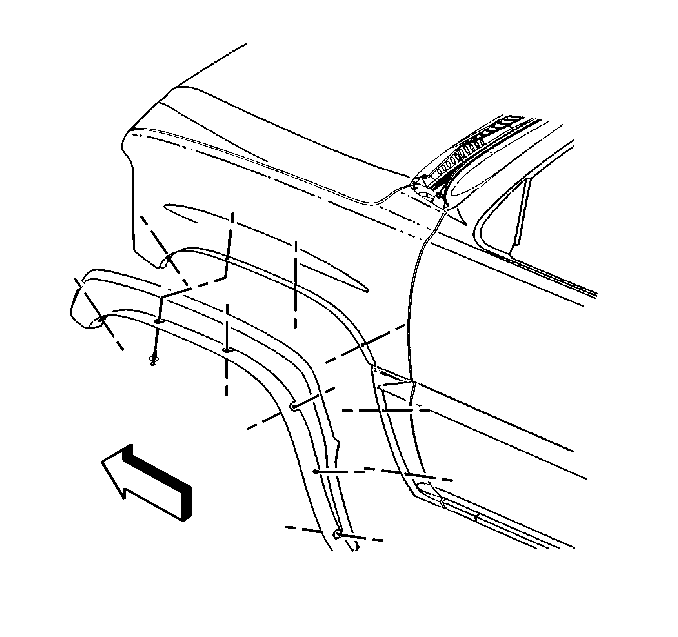
For 1990-2009 cars only
Removal Procedure
- Using a small tip flat screwdriver in the cut-outs provided, begin to pry out the central black pin of the wheel flare retainers. When the pin is extracted 3/4 mm or so the pin can be pulled free of the retainer with the thumb and forefinger. The retainer body can then be extracted from the flare and body hole location. It may be necessary to shake the flare inboard and outboard a little using hand pressure to remove the retainer body. Continue around the wheel opening until all the retainers are removed.
- Grasping the wheel flare with 2 hands by the attachment flange and beginning at the lower end begin to pull the wheel flare free of the body.
- In most cases especially if the flare was recently applied the wheel flare will pull free leaving the minimum of tape residue. If acrylic foam residue is left on the painted body use a 3M Scotchbrite molding adhesive and strip removal disc (3M part 07501). Follow the instructions and be sure not to exceed 4500 RPM spindle speed. The rotating disc will remove all the tape residue from the body without damaging the paintwork.

Installation Procedure
Important: Apply in an environment that is free from dust or other dirt that could come in contact with the sticky backing. This could cause improper adhesion.
- Clean the area where the molding or the emblem will be mounted.
- Dry the areas thoroughly.
- The area should be at room temperature 17- 32°C (60-90°F).
- Install a new wheel flare, locating first the molded in locator followed by engaging the individual push-pins.
- Remove the red tape liner by pulling on the two tape tabs provided. Pull steadily and as close as possible to the direction of the tape strip in order to avoid tearing the red tape liner before the tape liner is fully removed. If the tape liner should tear before the tape liner is fully removed grasp the second tape tab provided and pull from the other direction.
- Finally, wet-out the adhesive tape by using a hand-held hard rubber roller. A pressure of about 15 lb is required which can easily be developed by using body weight to lean against the roller.

Use a suitable solvent, such as a mixture of 50 percent alcohol and 50 percent water, or quivalent, in order to clean the areas.
