Depending on the location
of the waterleak, you may have to remove the trim molding or the headliner
in order to repair the leak. Refer to Interior Trim for the necessary trim
component removal procedure.
| • | GM vehicles are designed to operate under normal environmental
conditions. |
| • | The design criteria for sealing materials and components takes
into consideration the sealing forces required to withstand the natural elements.
These specifications cannot take into consideration all artificial conditions
such as high pressure car washes. |
| • | The water leak test procedure has been correlated to the natural
elements and will determine the ability of a vehicle to perform under normal
operating conditions. |
| • | The first step in diagnosing a leak is determining the conditions
under which a leak occurs. If the general leak area can be found, the exact
entry point can be isolated using a water hose or air hose. Some trim panels
or components may need to be removed in order to repair the leak. |
| • | A leak around a door, a rear lift window, or a roof lift off
panel does not necessarily indicate a bad weatherstrip. An adjustment of a
door, a door window, a rear lift window panel, or a roof lift off panel, may
resolve the condition. |

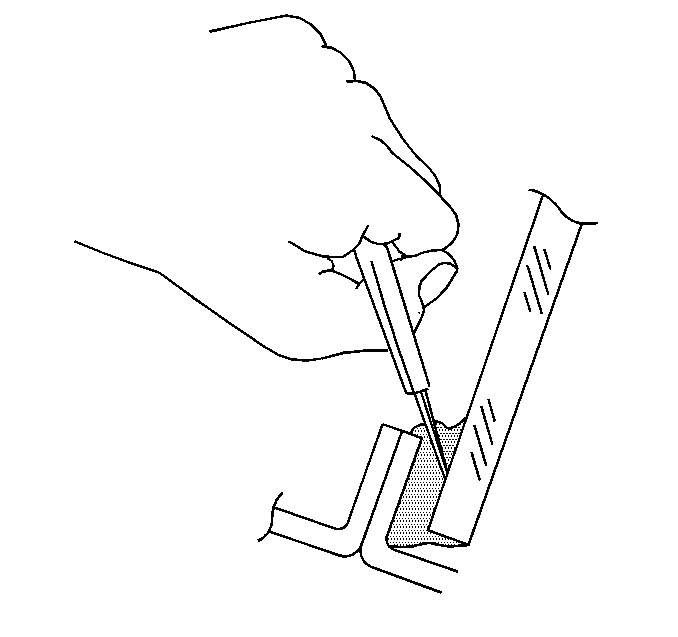
- Cut out a portion of the
adhesive in the leak area from inside or outside the vehicle.
- Clean and remove all loose particles from the area.
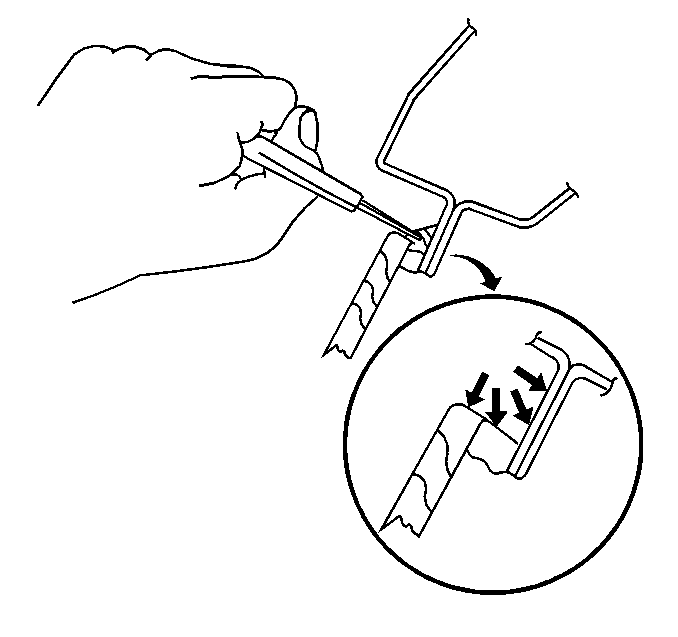
- Caulk the adhesive between the window and the pinchweld flange
where the old adhesive has been cut away.
Feather the adhesive out to several inches past the leak area. Use urethane
adhesive from GM P/N 12346284 or equivalent
- Mist the newly applied adhesive with water in order to cure the
adhesive.
- Test for leaks.
- Install the molding.
- Allow the adhesive to dry for several hours.
- Test for waterleaks. Refer to the appropriate procedure from the
following list:


