Removal Procedure
Tools Required
J 24402-A Glass Sealant
(cold knife) Remover
Caution: If broken glass falls into the defroster outlets, it can be blown into
the passenger compartment and cause personal injury.
Place protective coverings around the window removal area
in order to perform the following step:
- Remove the rear view mirror. Refer to
Inside Rearview Mirror Replacement
.
- Remove the antenna mast.
- Remove the windshield wiper arms. Refer to
Windshield Wiper Arm Replacement
in Wiper/Washer Systems.
- Remove the cowl air inlet grill panel. Refer to
Air Inlet Grille Panel Replacement
in Body Front
End.
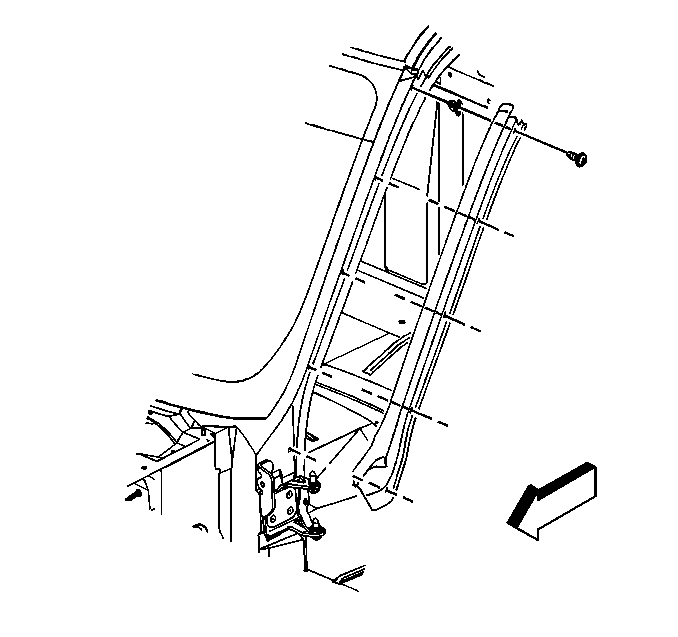
- Reposition the front door
weatherstrips in order to access the reveal moldings.
- Remove the reveal moldings.
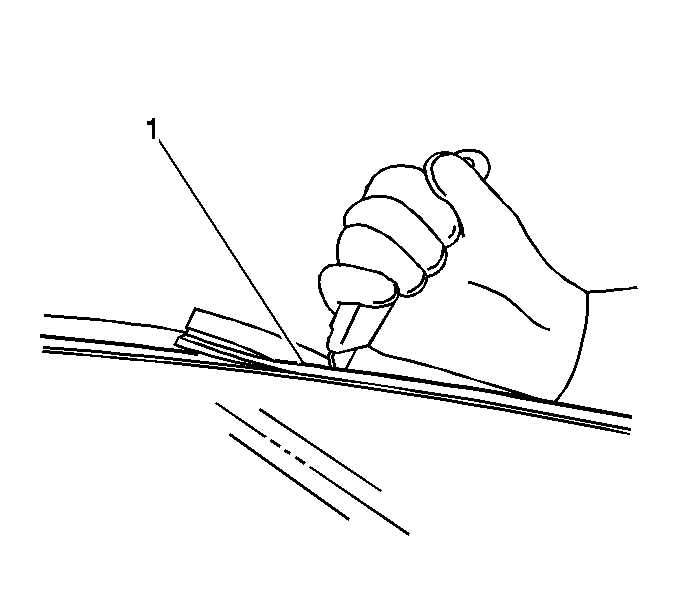
- Remove the upper windshield
molding by cutting the molding with a utility knife.
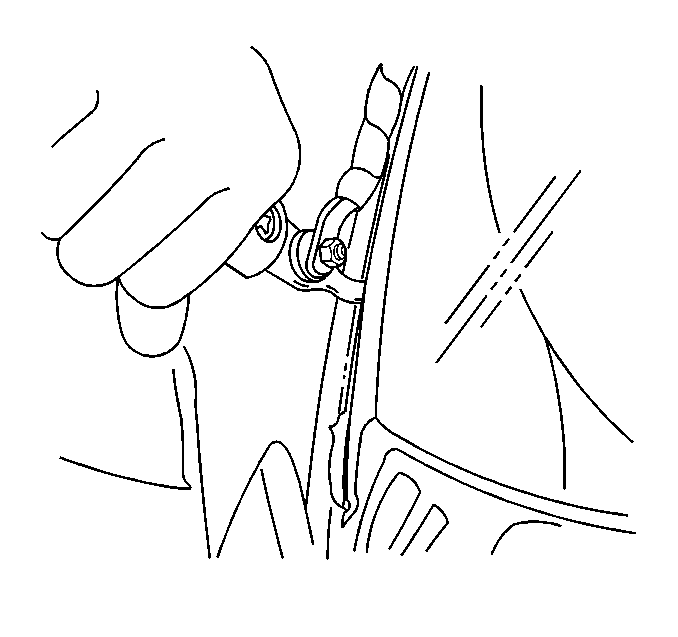
- Remove the sides and the
top of the windshield from the urethane adhesive using a J 24402-A
or a similar tool. Keep the cutting
edge of the knife against the glass.
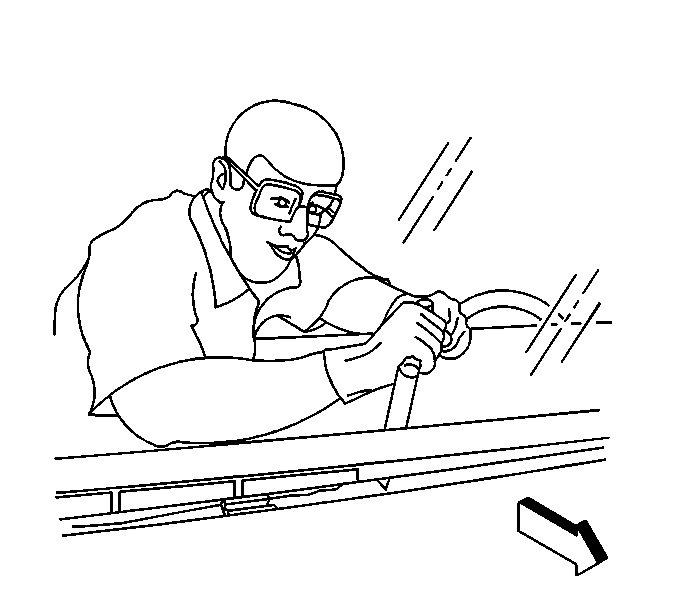
- Remove the bottom of the
windshield from the urethane adhesive using a long knife or similar tool.
Keep the cutting edge of the knife against the glass.
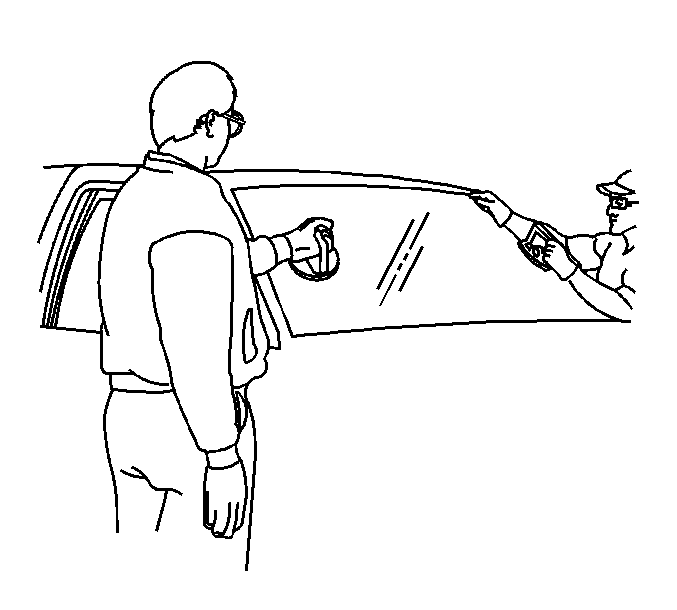
- Remove the windshield.
- Inspect the urethane adhesive and the pinchweld flange in order
to determine if the short method or the extended method is required. Refer
to
Short Method Description
and
Extended Method Description
.
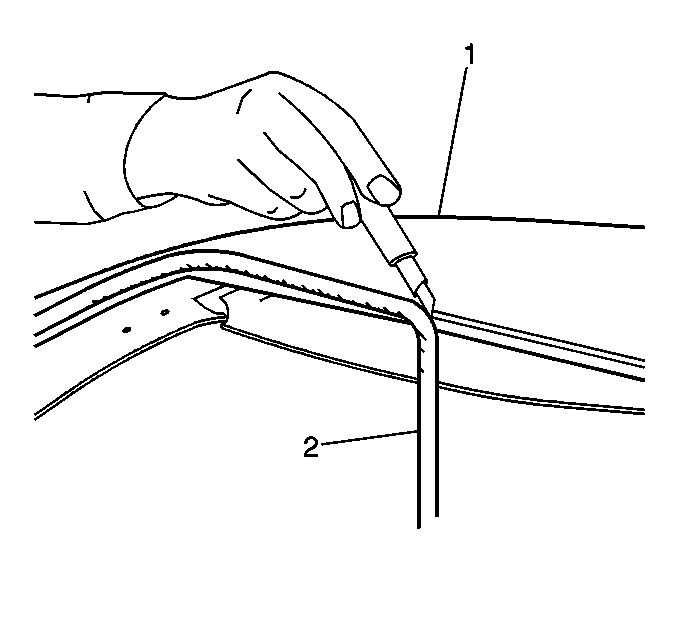
- If you are performing
the short method, use a utility knife or the equivalent tool in order to
trim the remaining adhesive (2) to a uniform thickness.
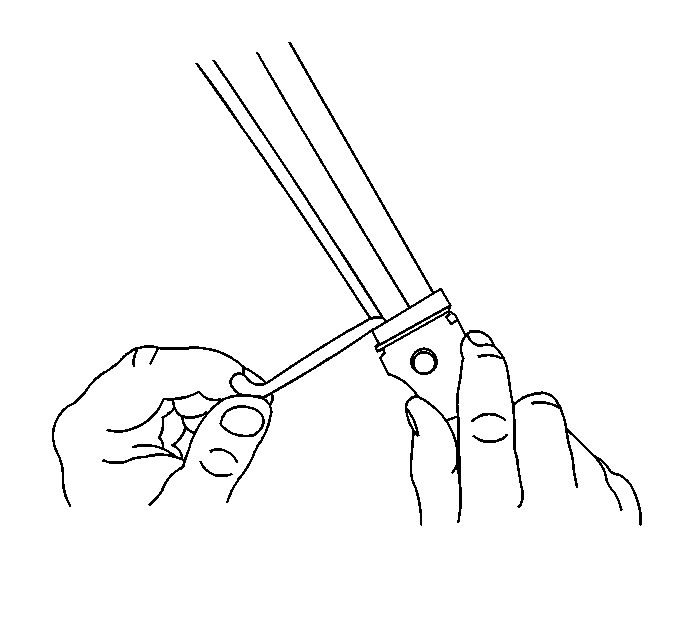
- If you are performing
the extended method, use a utility knife or the equivalent tool in order
to remove all of the urethane adhesive from the pinchweld flange.
- Clean any loose material from the windshield opening.
- If you are reusing the windshield, remove the remaining urethane
adhesive from the windshield.
- Clean the sealing surface of the windshield with GM window cleaner
P/N 1050427 or equivalent.
Installation Procedure
- Dry-fit the windshield into the opening in order to determine
the correct position of the windshield.
| 1.1. | Adjust the windshield to the correct position in the opening. |
| 1.2. | Apply 4 short strips of masking tape vertically across the top
of the windshield-to-body opening. |
| 1.3. | Slit the masking tape at the windshield edge. |
| 1.4. | Remove the windshield from the opening |
| 1.5. | Place the windshield on a clean, protected surface with the inside
of the windshield facing up. |
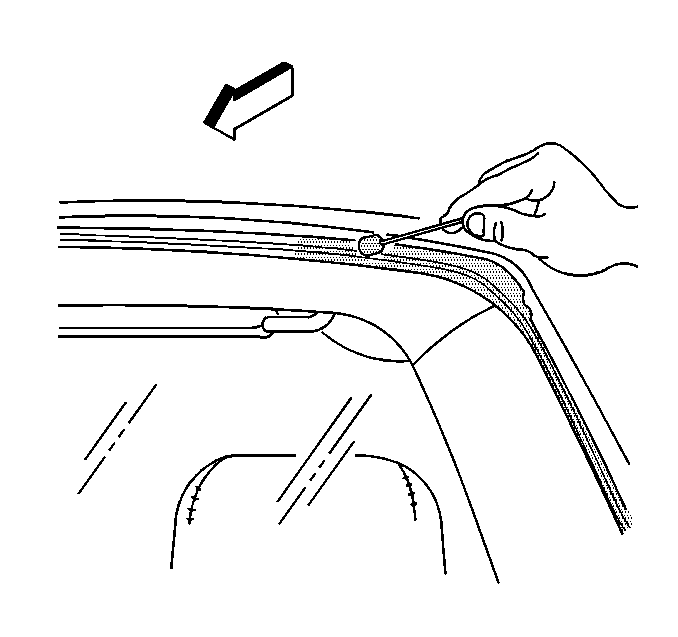
Important: If you are using the short method, do not apply primer over the existing
urethane adhesive.
- If you are performing the extended method, apply primer to the pinchweld
flange.
| • | Use pinchweld primer # 3 or equivalent from GM P/N 12346284. |
| • | Allow the primer to dry for 10 minutes. |
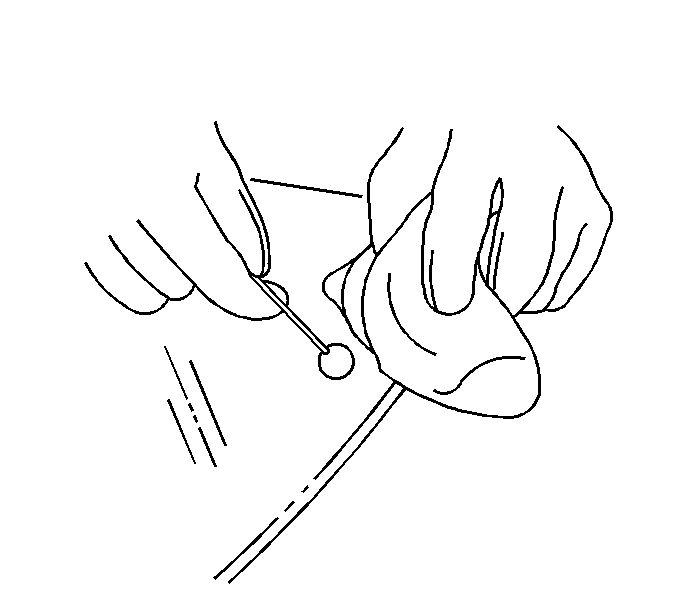
- Apply glass prep primer
(clear, number 1) to the sealing surface of the windshield. No drying time
is needed.
Wipe any excess primer off immediately.
Caution: When replacing stationary windows, use Urethane Adhesive Kit GM P/N 12346392
(Canadian P/N 10952983), or a urethane adhesive system meeting GM Specification
GM3651G, to maintain original installation integrity. Failure to use the urethane
adhesive kit will result in poor retention of the window which may allow unrestrained
occupants to be ejected from the vehicle resulting in personal injury.
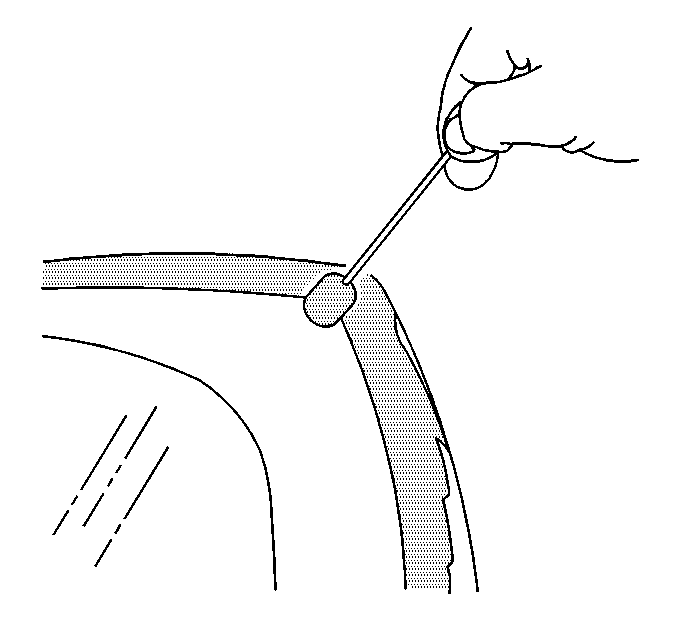
- Apply glass prep primer (black, number 2) to the black sealing surface
of the windshield.
Allow the primer to dry for 10 minutes.
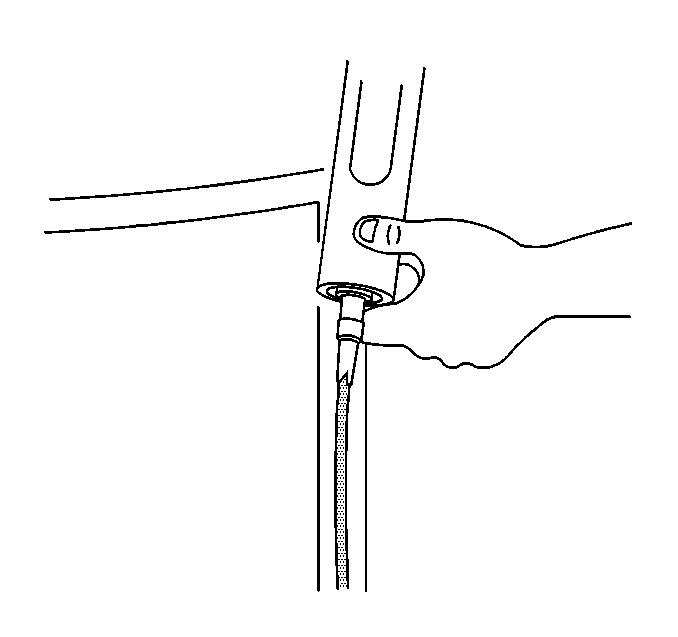
- If you are performing
the extended method, apply a continuous 14 mm (0.55 in) high by 8 mm (0.32 in)
wide bead of urethane adhesive to the windshield sealing surface.
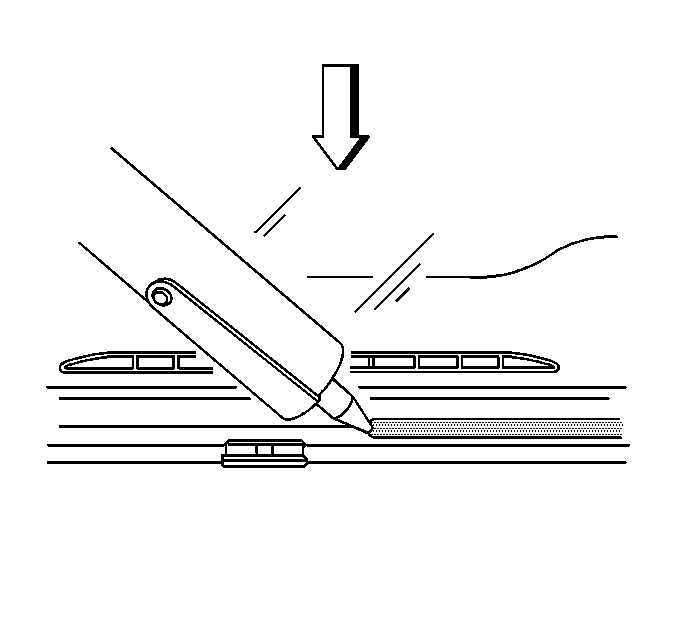
- If you are performing
the short method, apply a continuous 6 mm (0.25 in) bead of urethane adhesive
to the existing urethane sealant.
- Install the upper windshield molding.

- With the aid of a helper
place the windshield onto the windshield supports.
- Use the tape guides applied earlier in order to adjust the windshield
to the proper position.
- Firmly press on the outer edges of the windshield in order to
seat the urethane adhesive.
Avoid excessive urethane adhesive squeeze-out.
- In order to ensure a water tight seal, use a small flat blade
tool in order to paddle the urethane sealant around the edge of the windshield.
Apply additional urethane sealant as needed in order to fill voids in
the urethane sealant.
- Using a soft spray of water, immediately test the effectiveness
of the urethane sealant.
| 12.1. | Softly spray warm or hot water around the outside edges of the
windshield. |
| 12.2. | If any water leaks are present inside the vehicle, apply additional
urethane sealant to the leak area using a flat blade tool. |
| 12.3. | Dry the windshield and the body. |
- Partially roll down a door window in order to prevent excess pressure
in the passenger compartment when closing the doors.

- Install the reveal moldings.
- Install the front door weatherstrips.
- Clean the windshield and body.
- Tape the windshield to the body in order to minimize movement
of the windshield.
- Install the cowl air inlet grill panel. Refer to
Air Inlet Grille Panel Replacement
in Body Front
End.
- Install the windshield wiper arms. Refer to
Windshield Wiper Arm Replacement
in Wiper/Washer Systems.
- Install the antenna mast.
- Install the rear view mirror. Refer to
Inside Rearview Mirror Replacement
.
- Allow the urethane sealant to cure for 6 hours at room temperature.
- Remove the tape from the windshield.
- Clean the windshield and the body.


