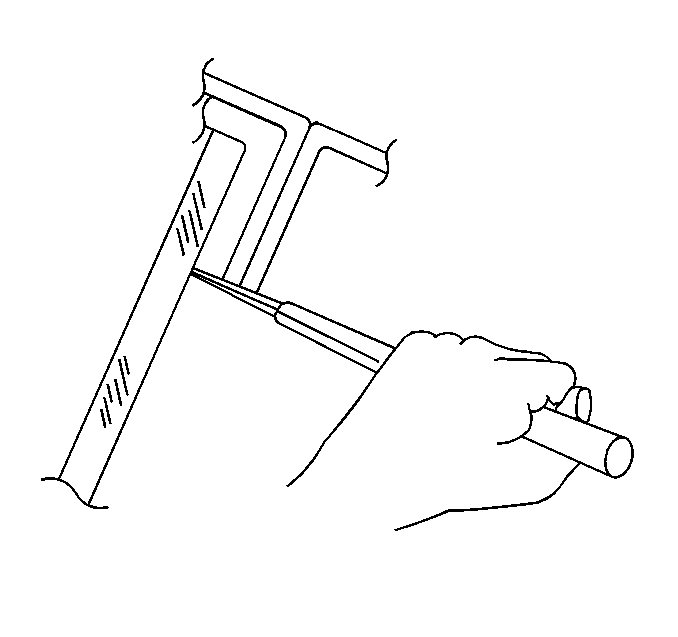
- Depending on where the leak is located, you may have to remove
the trim molding or the headliner in order to repair the leak.

- In order to repair a leak
when removal of the molding or the headliner is necessary, perform the following
steps:
| 2.1. | Cut out a portion of the adhesive in the leak area from inside
or outside the vehicle. |
| 2.2. | Clean and remove all loose particles from the area. |
| 2.3. | Caulk in adhesive between the window and the pinchweld flange
where the old adhesive has been cut away. |
| 2.4. | Feather the old adhesive out several inches in order to cover
each side of the leak area. |
| 2.5. | Use urethane adhesive from GM P/N 12346284 or equivalent. |
| 2.6. | Mist the newly applied adhesive with water in order to cure the
adhesive. |
| 2.7. | Test the vehicle for leaks. |
| 2.8. | Install the molding. |
| 2.9. | Allow the adhesive to dry for several hours. |
| 2.10. | Test for water leaks. |

