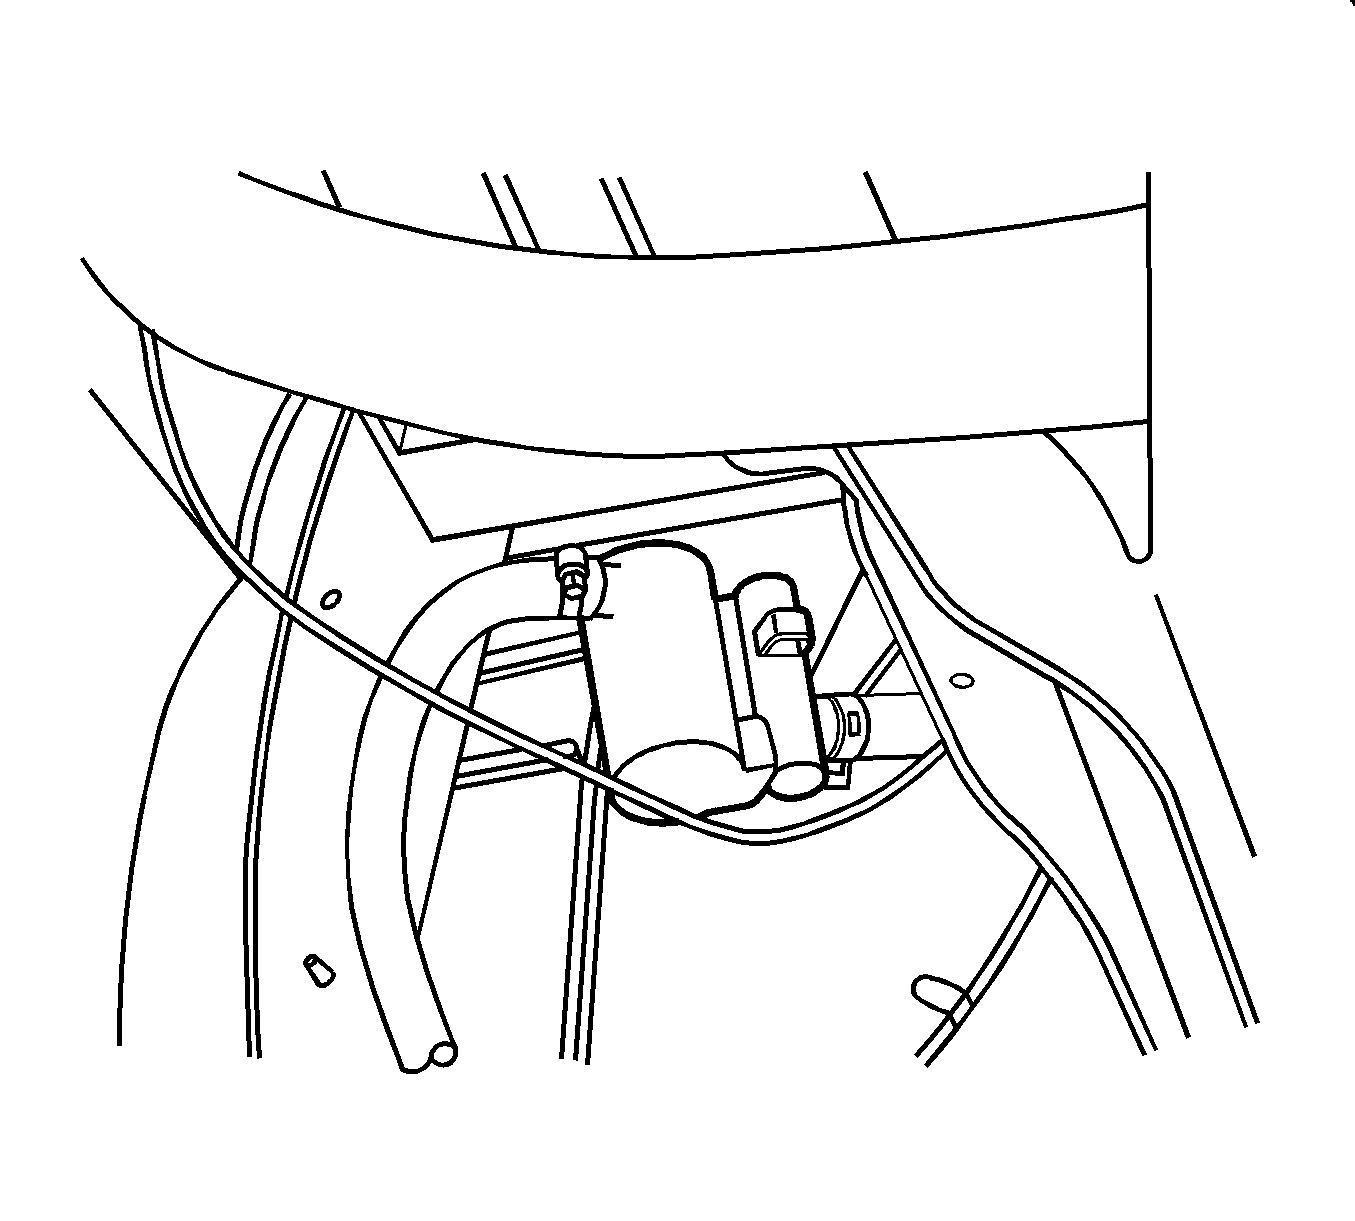
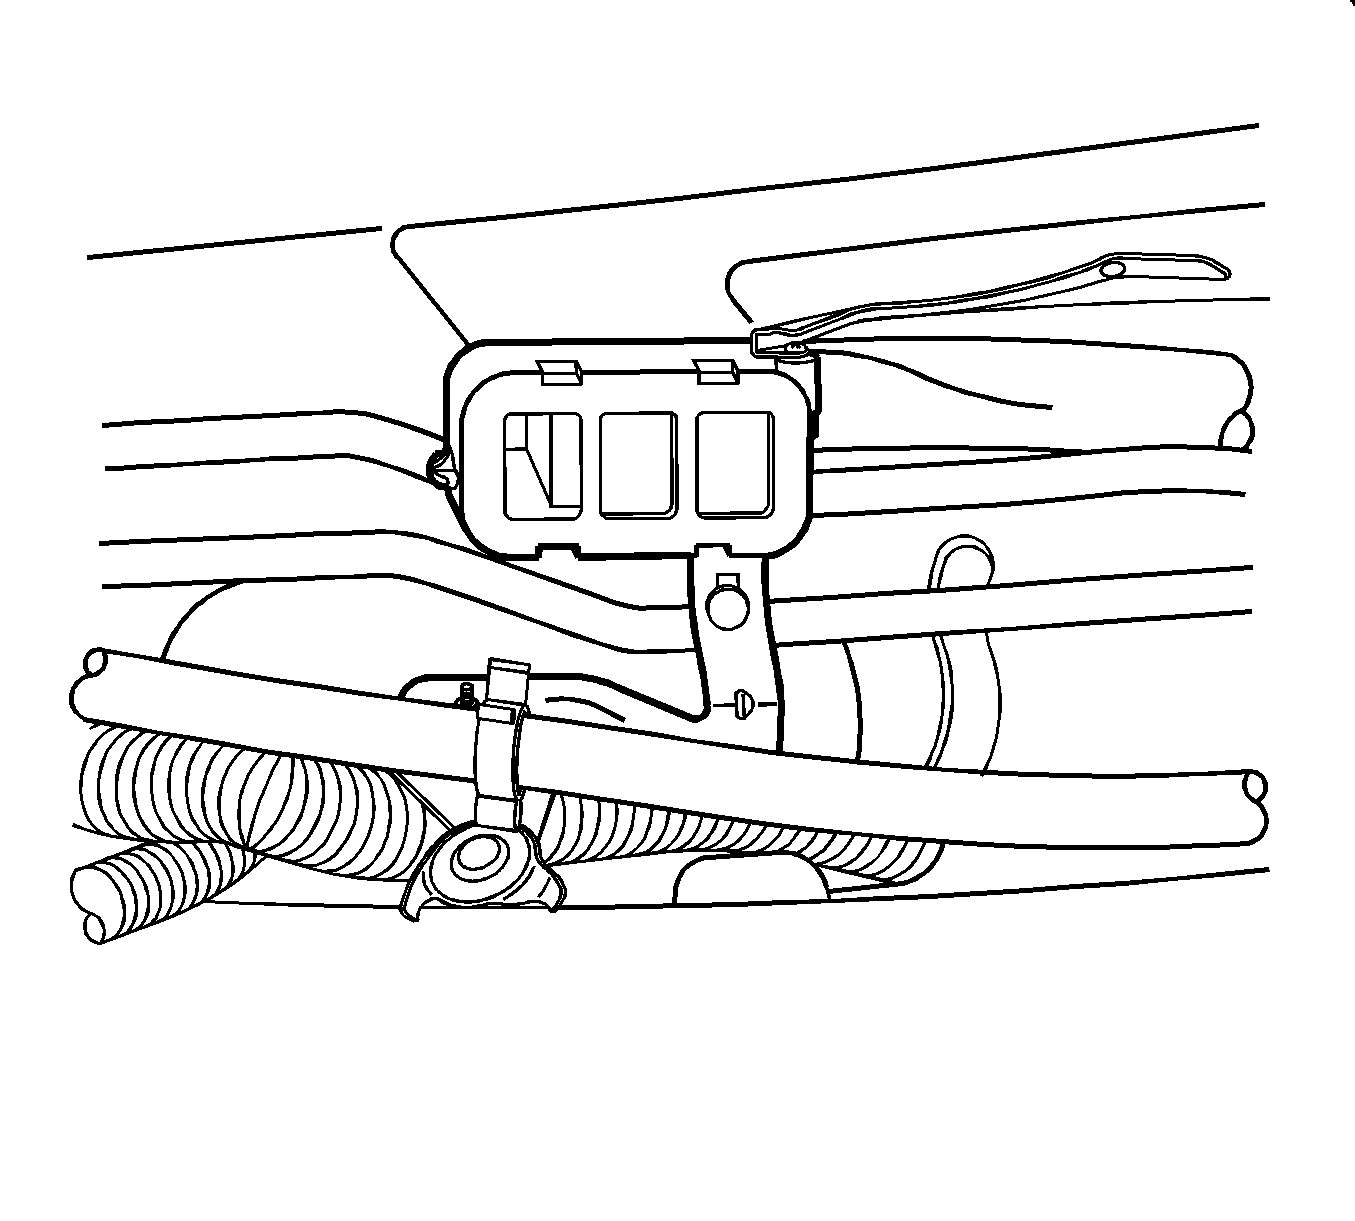
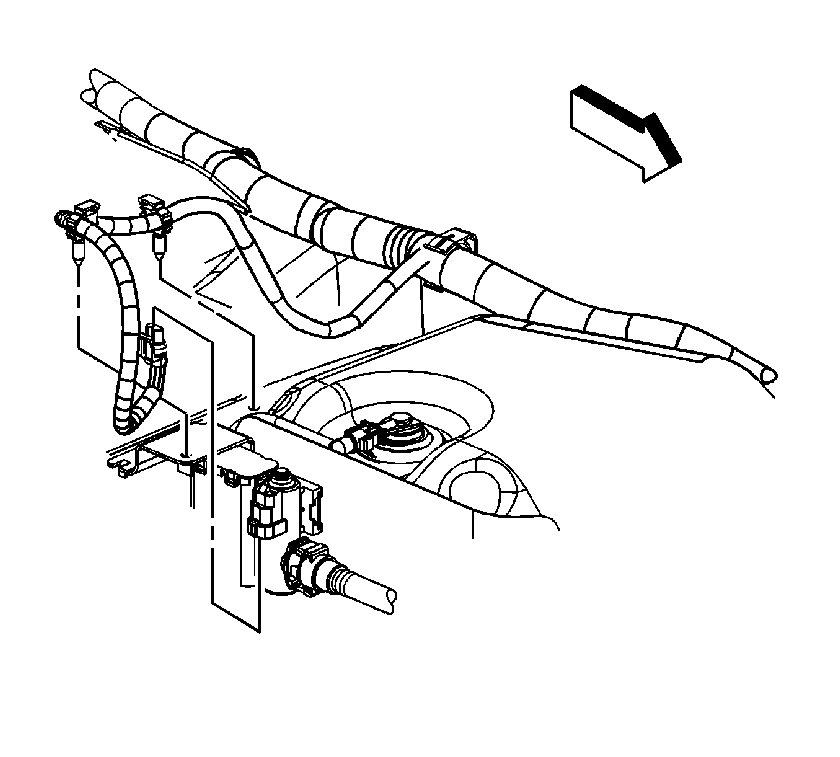
Evaporative Emission Canister Vent Solenoid Valve Replacement Pickup
Replacement Procedure
- Raise and suitably support the vehicle. Refer to Lifting and Jacking the Vehicle .
- Disconnect the evaporative emission (EVAP) canister vent electrical connector, if equipped.
- Disengage the 2 vent valve pipe clips securing the pipe to the underbody.
- Disconnect the vent valve pipe at the EVAP canister.
- Remove and retain the EVAP canister vent valve bracket mounting bolt.
- Remove the complete EVAP canister vent valve assembly with bracket attached and discard.
- Position and secure the new valve assembly to the frame bracket on the outside of the frame using the existing hole and mounting bolt.
- Connect the vent valve pipe to the EVAP canister.
- Install the 2 vent valve pipe clips into the existing underbody holes.
- Connect the EVAP canister vent valve electrical connector, if equipped.
- Attach a bulk 5/8 in heater hose to the vent valve port and secure using a clamp.
- Cut the hose to determined length and install the supplied filter box. Secure using a clamp.
- Secure the filter box to the fuel lines above the transmission using a tie strap.
- Tie strap the hose as needed along the frame rail in order to keep the hose away from the pinch-points and heat sources.
- Lower the vehicle.
Remove the clips from the underbody and discard.
Notice: Refer to Fastener Notice in the Preface section.

Important: The new canister vent valve will be installed in a new location, outside of the frame.
Tighten
Tighten the bracket mounting bolt to 12 N·m (106 lb in).

The filter box opening should be pointing downward.
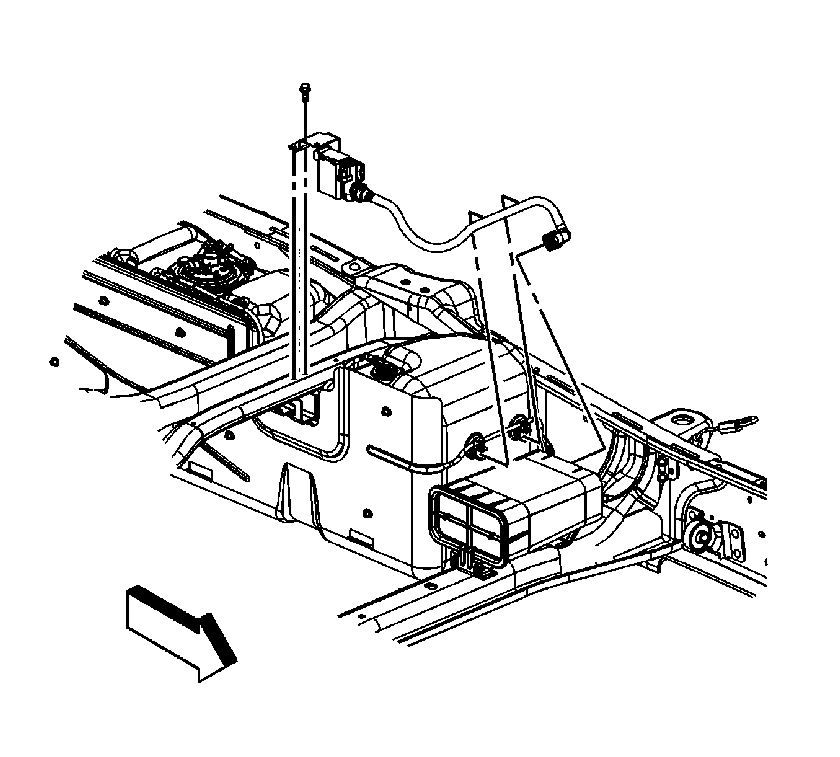
Evaporative Emission Canister Vent Solenoid Valve Replacement Cab/Chassis
Removal Procedure
- Disconnect the evaporative emission (EVAP) vent valve electrical connector.
- Remove the EVAP vent valve bolt.
- Remove the EVAP vent valve.
- Remove the EVAP vent valve from the bracket.


Installation Procedure
- Install the EVAP vent valve to the bracket.
- Install the EVAP vent valve.
- Install the EVAP vent valve bolt.
- Connect the EVAP vent valve electrical connector.

Notice: Use the correct fastener in the correct location. Replacement fasteners must be the correct part number for that application. Fasteners requiring replacement or fasteners requiring the use of thread locking compound or sealant are identified in the service procedure. Do not use paints, lubricants, or corrosion inhibitors on fasteners or fastener joint surfaces unless specified. These coatings affect fastener torque and joint clamping force and may damage the fastener. Use the correct tightening sequence and specifications when installing fasteners in order to avoid damage to parts and systems.
Tighten
Tighten the bolt to 12 N·m (106 lb in).

