Poor Ride Quality (Replace Front Body Mounts)

| Subject: | Poor Ride Quality (Replace Front Body Mounts) |
| Models: | 1990-2001 Chevrolet and GMC H6-7 C-Series Conventional Medium Duty Models |
Condition
Some customers may comment on the vehicle ride quality. Vehicles in question may exhibit a rough ride, shake, or a vibration that is considered a normal characteristic, but may be objectionable to the customer.
Cause
The following are some variables that may affect the ride and handling of a medium duty vehicle:
| • | Vocational applications |
| • | Vehicle payload |
| • | Specific build equipment |
| • | Vehicle modifications |
| • | Customer operation |
Correction
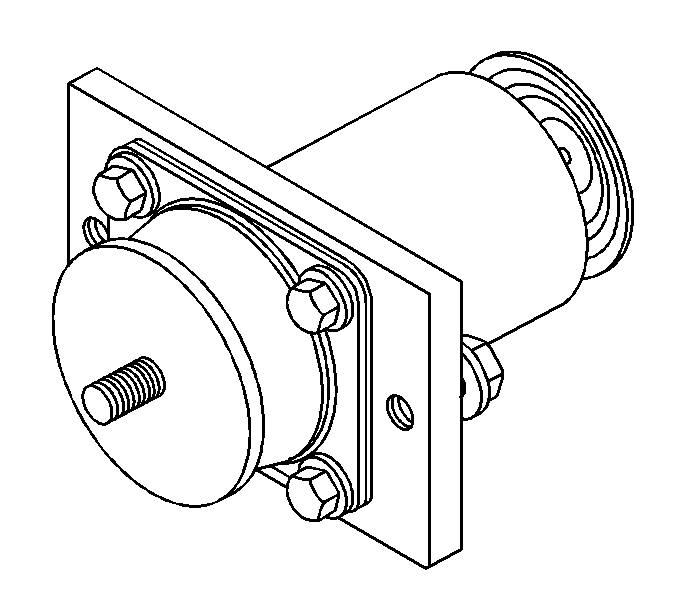
A new front body mount kit, P/N 15061618, is available to correct this condition. The new canister-style mounts should provide for improved isolation between the frame and the cab. Because much of the resonance is transmitted through the front body mounts, the new mounts will feature improved ride and handling characteristics over the standard body mounts.
Install these new front body mounts (total of 2) on the affected vehicles per customer request. Use the following procedure and the parts numbers listed below.
These new body mounts will be installed into the existing frame mounted brackets. The frame brackets will have to be revised to accommodate the new body mount as described below.
- Suitably support the front of the cab. Tilt the hood and install commercial lifting straps. Attach the straps to the front of the cab at the two hood bumper brackets. Also, refer to the Cab Replacement procedure in the Body Front End sub-section of the Service Manual.
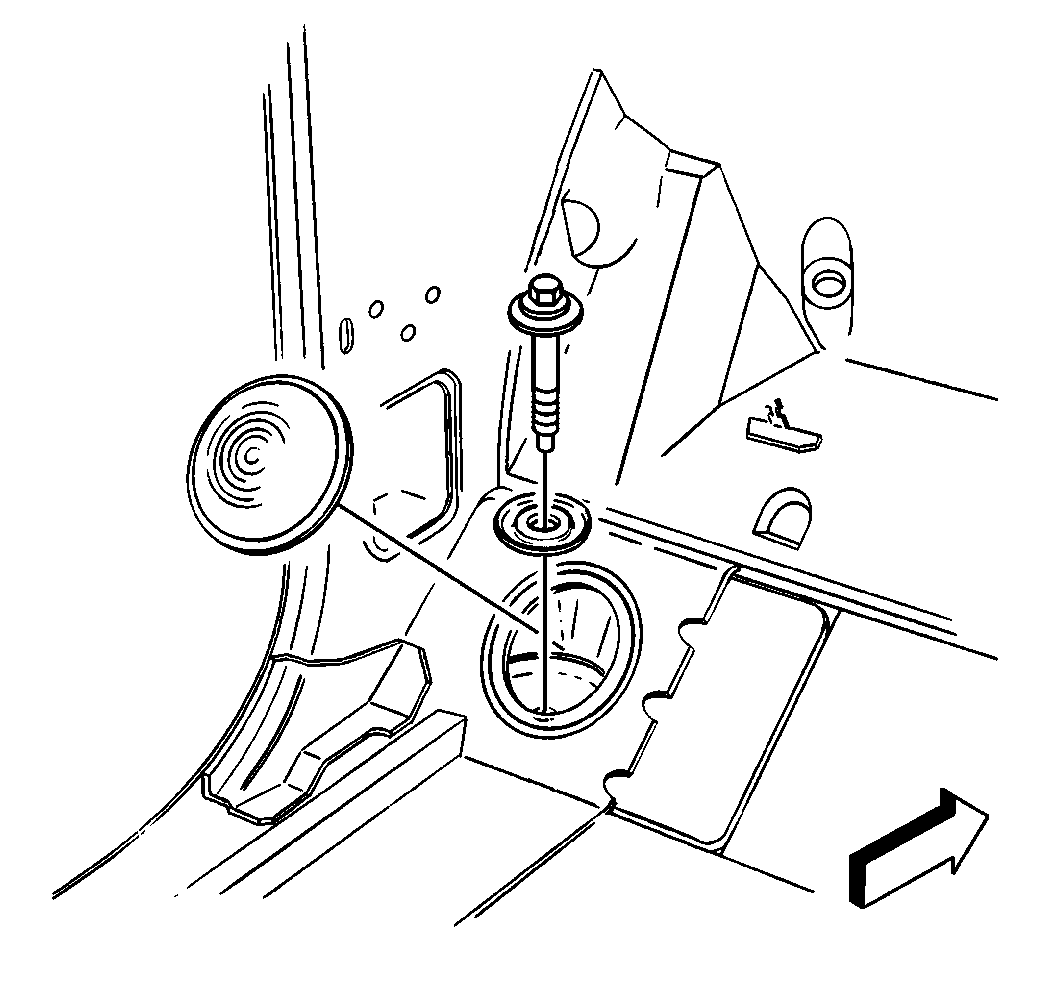
- Peel back the interior floor covering at the toe board (LH and RH side) to expose the inner rocker panel plugs.
- Remove the inner rocker panel plugs.
- Remove the front body mount center bolts through the inner rocker panel access holes. Discard the bolts.
- Raise the cab just enough to clear the front body mounts (approximately 25 mm (1 in)).
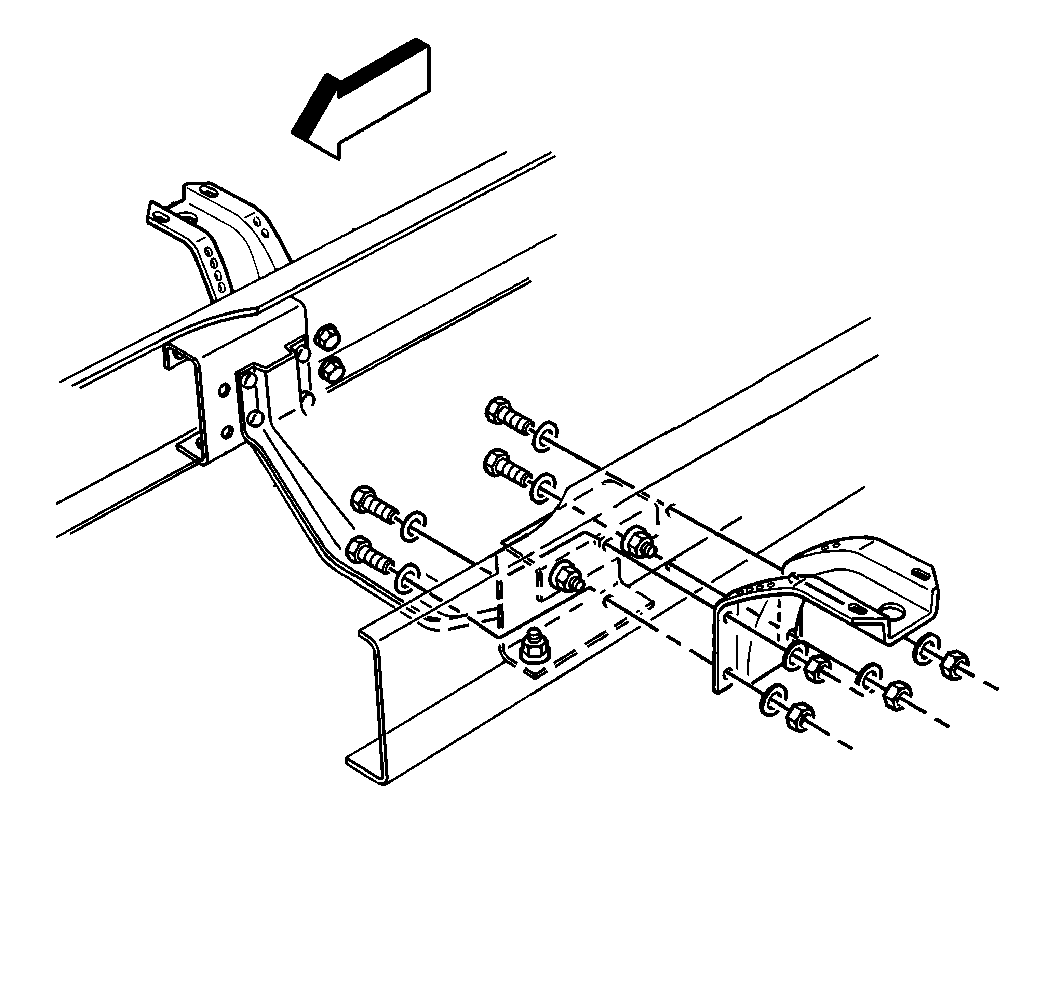
- Remove both front body mount support brackets.
- On the workbench, remove the front body mounts from the brackets. Discard the fasteners and the spacers.
- Using the proper size hole saw or equivalent, expand the large 50 mm (1.97 in) mount clearance hole in each bracket to 82 mm (3.23 in) using the new canister mount as a template. This will provide clearance for the installation of the canisters.
- Install the new front body mounts to the support brackets using new flat washers, lock washers and nuts. The new mount uses two 11 mm (0.43 in) attaching bolts. It may be necessary to enlarge the support bracket holes in order to accommodate the bolts.
- Install the body mount brackets to the frame rails.
- Lower the cab back onto the front mounts.
- Install the washer, P/N 10293972, over the center bolt and install the bolt through the mount and the inner rocker panel access hole.
- Install a nut/washer, P/N 15702050, over the end of the center bolt through the inner rocker panel access hole in the cab.
- Install the white, plastic dust cover into the bottom of the tubular canister. A retention groove is molded into the rubber lining at the bottom of the canister.
- Install the inner rocker panel plugs.
- Set the interior floor covering back into place.
- Remove the lifting straps.
- Close the cab.
Notice: The cab must be properly supported and the weight of the cab evenly distributed during cab mount replacement. Failure to provide proper support could result in damage to the vehicle.
Important: The new mount assembly is shipped with a small rubber O-ring that is intended to prevent the mount components from separating. Remove this O-ring before installation and discard.


Important: Do not fully tighten the fasteners at this time. Tightening will be completed after the weight of the body is on the mount and after the mounts are centered.
Tighten
Tighten the frame rail nuts to 70 N·m (52 lb ft).
Tighten
Tighten the body mount bracket bolts to 75 N·m (55 lb ft).
Important: The center bolt of the new mount installs up through the bottom of the mount. This is different from the current design mount. This new center bolt is longer and has an 11 mm (0.43 in) thread diameter. It may be necessary to enlarge the bolt hole in the inner rocker panel in order to accommodate the bolt.
Tighten
Tighten the body mount center bolt to 150 N·m (110 lb ft).
Parts Information
Part Number | Description | Qty |
|---|---|---|
10293972 | Washer - Special | 2 |
15061618 | Mount Pkg-Body Frt | 2 |
15702050 | Nut/Washer | 2 |
Parts are currently available from GMSPO.
Warranty Information
For vehicles repaired under warranty, use:
Labor Operation | Description | Labor Time |
|---|---|---|
B1910 | Front Body Mounts (Both) - Replace | 2.9 hrs |
