For 1990-2009 cars only
General purpose thread repair kits are available commercially.
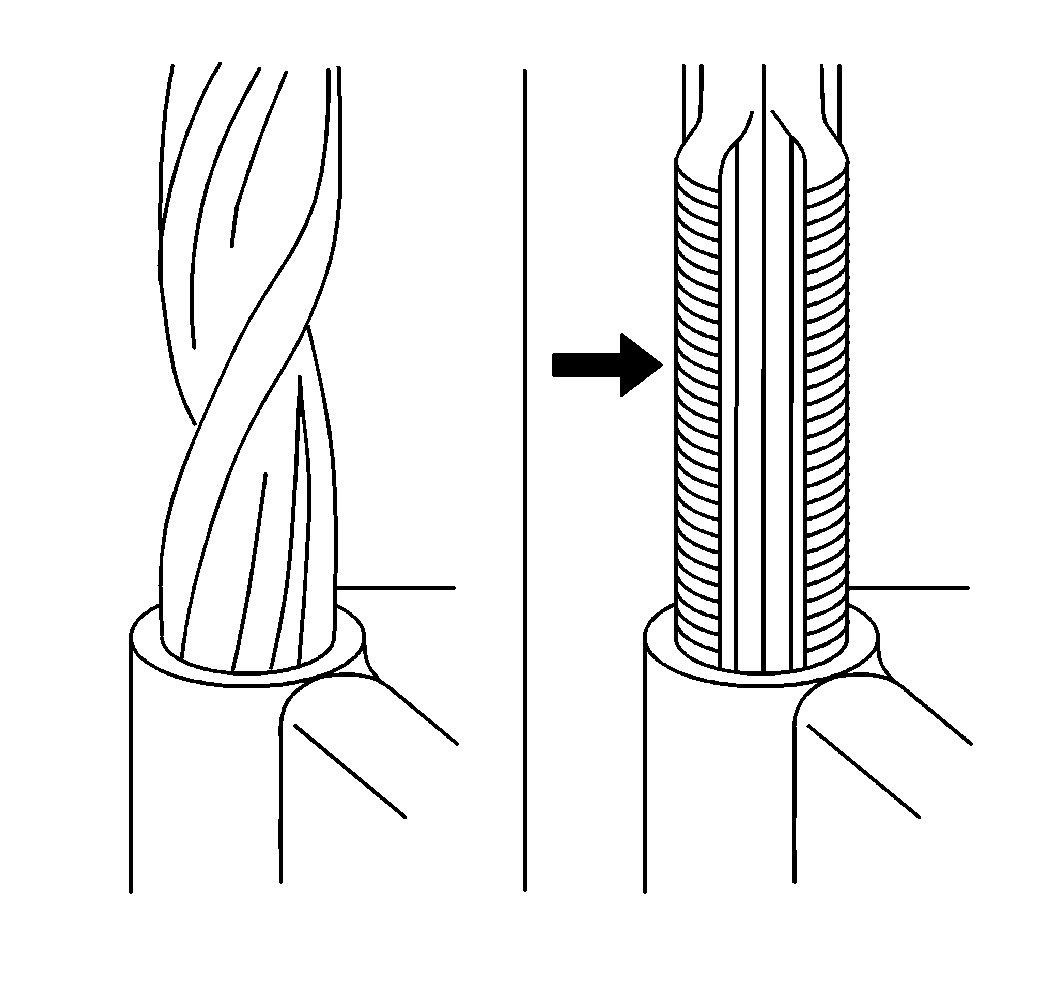
- Determine the size, the pitch, and the depth of the damaged thread.
- Adjust the stop collars on the cutting tool as needed. Tap the stop collars to the required depth.
- Drill out the damaged thread.
- Remove the chips.
- Apply clean engine oil to the top thread.
- Use the tap in order to cut new thread.
- Clean the thread.
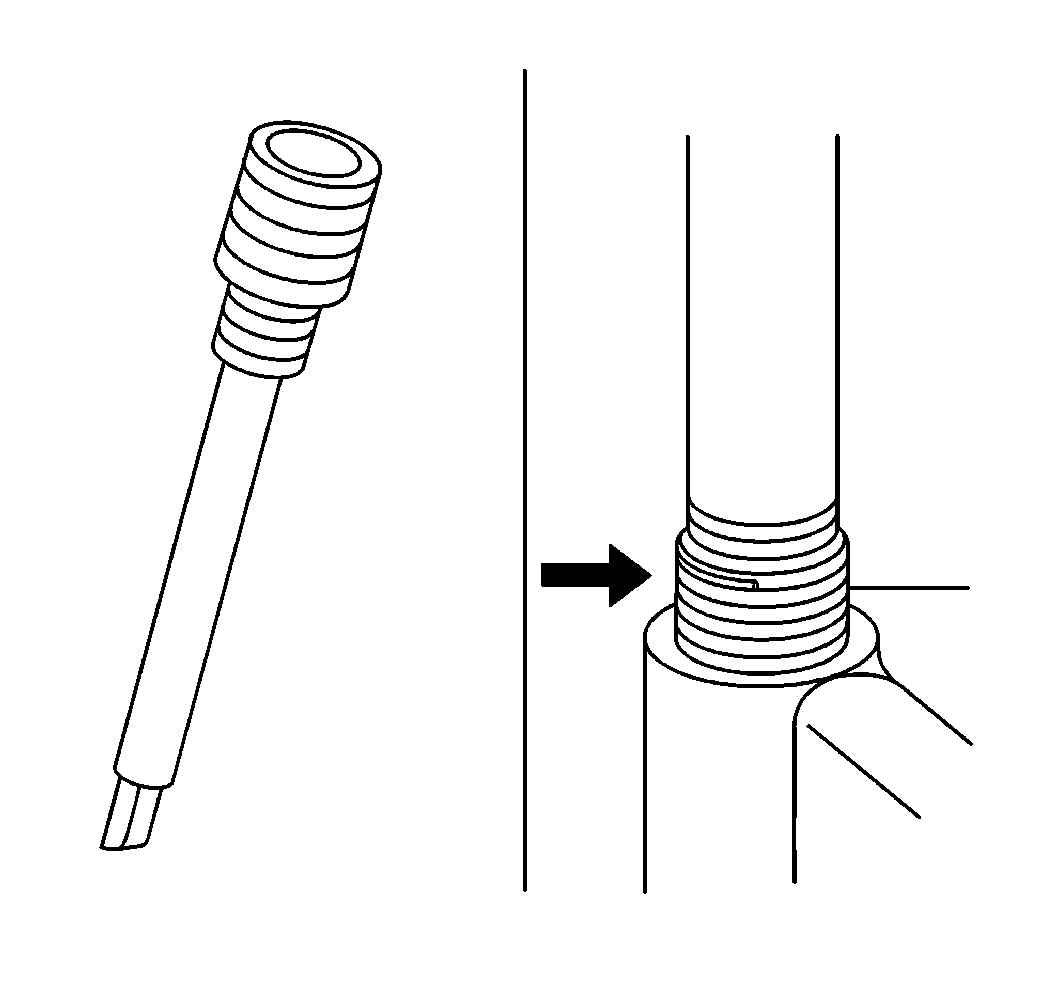
- Screw the thread insert onto the mandrel of the thread insert installer. Engage the tang of the thread insert onto the end of the mandrel.
- Lubricate the thread insert with clean engine oil - except when installing in aluminum - and install the thread insert.
- If the tang of the thread insert does not break off when backing out the thread insert installer, break off the tang using a drift punch.

Caution: Wear safety glasses in order to avoid eye damage.
Important: Refer to the thread repair kit manufacturer's instructions regarding the size of the drill and which tap to use.
Always avoid any buildup of chips. Back out the tap every few turns and remove the chips.
Important: The thread insert should be flush to 1 turn below the surface.
General purpose thread repair kits are available commercially.
- Determine the size, the pitch, and the depth of the damaged thread.
- Adjust the stop collars on the cutting tool as needed. Tap the stop collars to the required depth.
- Drill out the damaged thread.
- Remove the chips.
- Apply clean engine oil to the top thread.
- Use the tap in order to cut new thread.
- Clean the thread.
- Screw the thread insert onto the mandrel of the thread insert installer. Engage the tang of the thread insert onto the end of the mandrel.
- Lubricate the thread insert with clean engine oil (except when installing in aluminum) and install the thread insert.
- If the tang of the thread insert does not break off when backing out the thread insert installer, break off the tang using a drift punch.

Caution: Wear safety glasses in order to avoid eye damage.
Important: Refer to the thread repair kit manufacturer's instructions regarding the size of the drill and which tap to use.
Always avoid any buildup of chips. Back out the tap every few turns and remove the chips.
Important: The thread insert should be flush to 1 turn below the surface.
