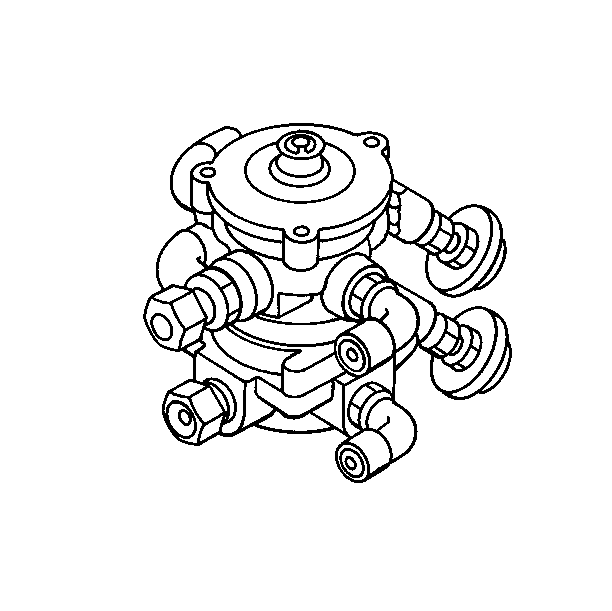
For 1990-2009 cars only
Operational Check
- Block the vehicle's wheels.
- Calibrate the dash AIR pressure gauges with the two test gauges.
- Install the two test air pressure gauges in the delivery lines from the valve.
- Start the engine. Charge the air system to the governor cut-out point.
- Release the brake pedal and verify that both test gauges read zero air pressure.
- Replace the application valve if both test gauges do not read zero air pressure.
- Apply the brake pedal.
- Verify that the test air pressure gauges show the same approximate pressure as the dash AIR pressure gauge.
- Replace the valve if the pressure is too low.
- Release the brake pedal.
- Verify that the test gauges promptly drop to zero.
- Replace the valve if the test gauges do not promptly drop to zero.
- Move the brake pedal to several positions.
- Check that the test gauges show varying air pressures consistent with the pedal positions.
- With the engine OFF, drain the air system reservoirs. Remove the test gauges.
- Check the brake operation.
- Remove the wheel blocks.

| • | The parts are identified by letters that are cast into the valve body next to the ports. |
| • | Install one gauge in the top circuit for the front brakes and one gauge in the bottom circuit for the rear brakes. |
The front brake pressure is normally 14-28 kPa (2-4 psi) lower than the rear brakes.
Leakage Test
- Block the vehicle's wheels.
- Have an assistant apply the brake pedal.
- Coat the exhaust port and the body of the application valve with a soap solution.
- A 25 mm (1 in) bubble leakage in 3 seconds is permitted. Replace the valve if leakage is more than the permissible amount.
- Verify that the brakes are operational.
- Remove the wheel blocks.

