For 1990-2009 cars only
Removal Procedure
- Block the vehicle's wheels.
- Set the parking brake.
- Exhaust air from the lines. Refer to Draining Reservoirs .
- Disconnect the air line.
Disassembly Procedure
- Unscrew the nipple from the socket and the hose.
- Disassemble the hose by turning it clockwise in order to unscrew it from the socket.
- Clean the nipple and the socket with a clean cloth.
- Inspect the nipple and the socket for nicks, burrs and wear spots. Replace the parts if necessary.
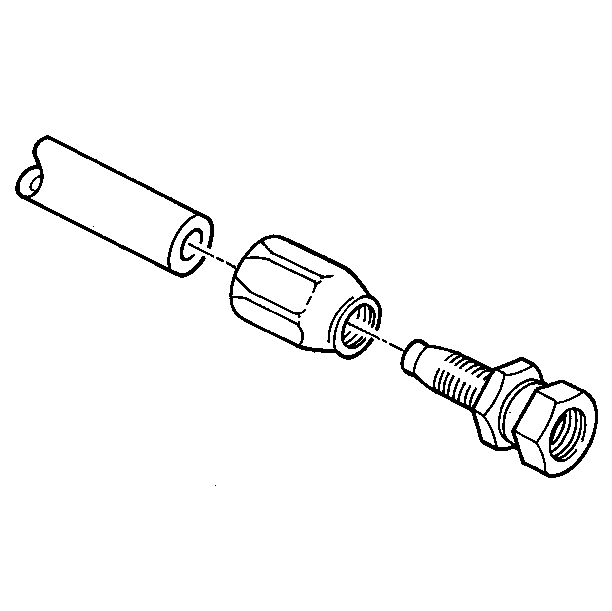
Assembly Procedure
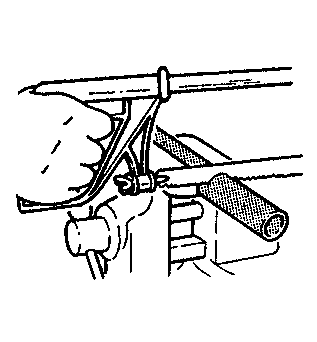
- Cut the hose square the same length as the original part with a fine tooth hacksaw or a cutting wheel.
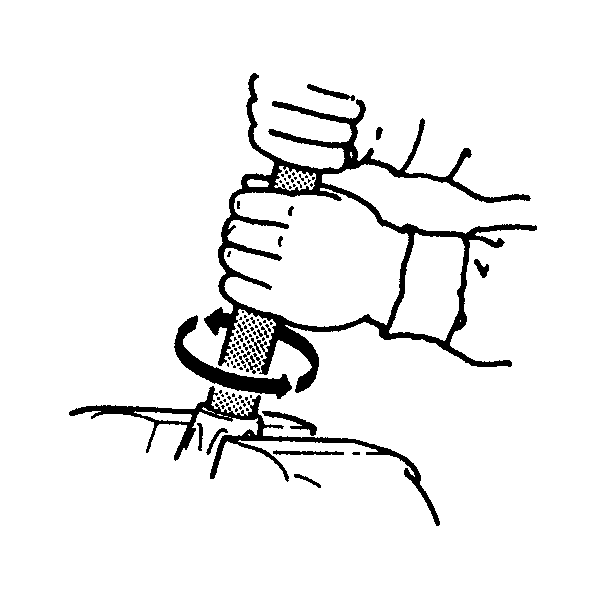
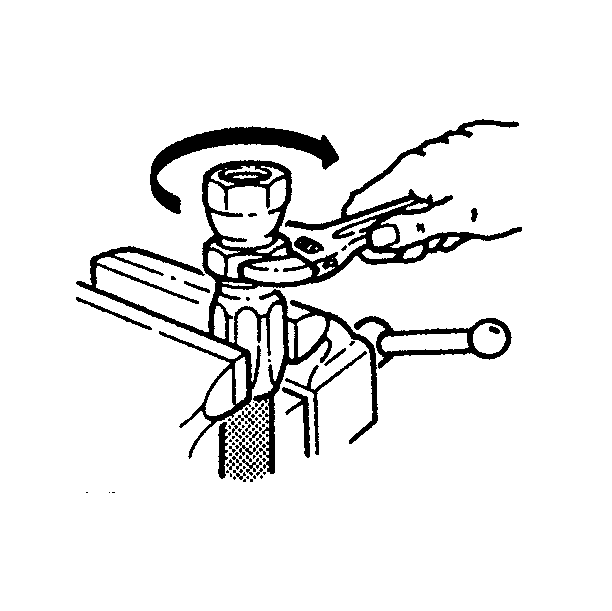
- Turn the hose counterclockwise into the socket until it bottoms. Then back it off one-quarter turn.
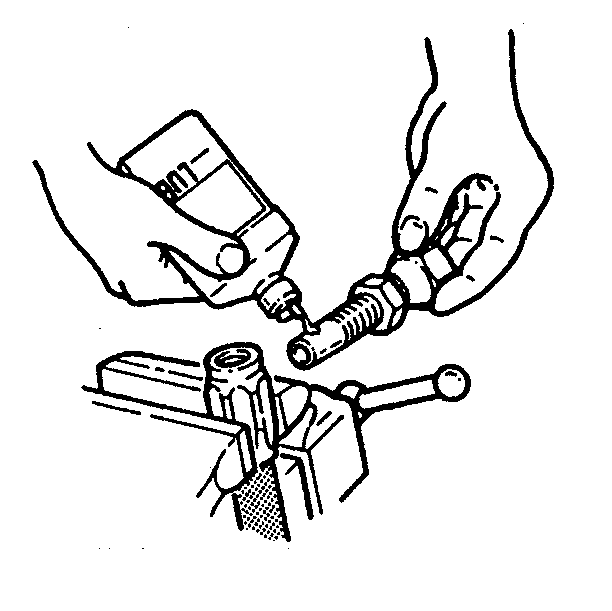
- Lubricate the nipple threads and the inside of the hose with chassis lubricant.
- Leave 0.8 mm (0.0 in) clearance between the nipple hex and the socket.
Installation Procedure
- Connect the air line.
- Start the engine. Charge the air system to the governor cut-out point.
- Check for leaks with a soap solution around the fittings. No leakage is allowed.
- Check for proper brake operation.
- Remove the wheel blocks.

