Catalytic Converter Replacement Gasoline
Removal Procedure
- Raise the vehicle and support with safety stands. Refer to Lifting and Jacking the Vehicle in General Information.
- Disconnect the oxygen sensor connectors.
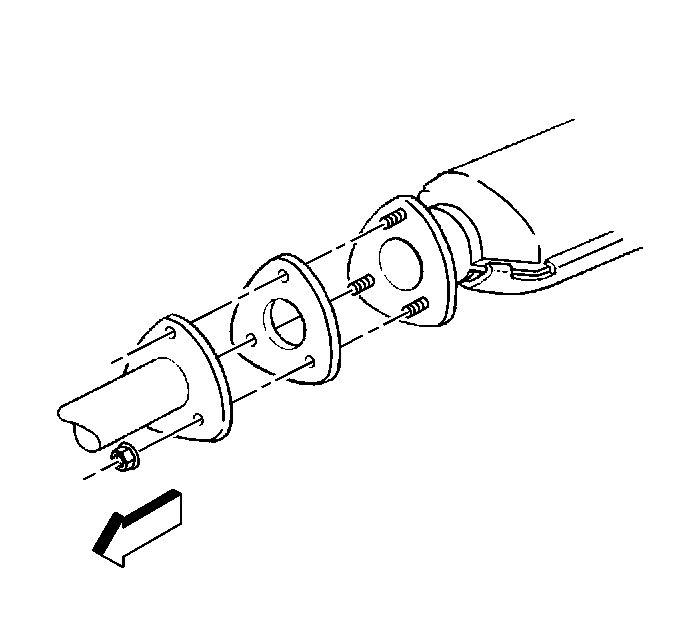
- Remove the flange nuts at the front of the converter assembly.
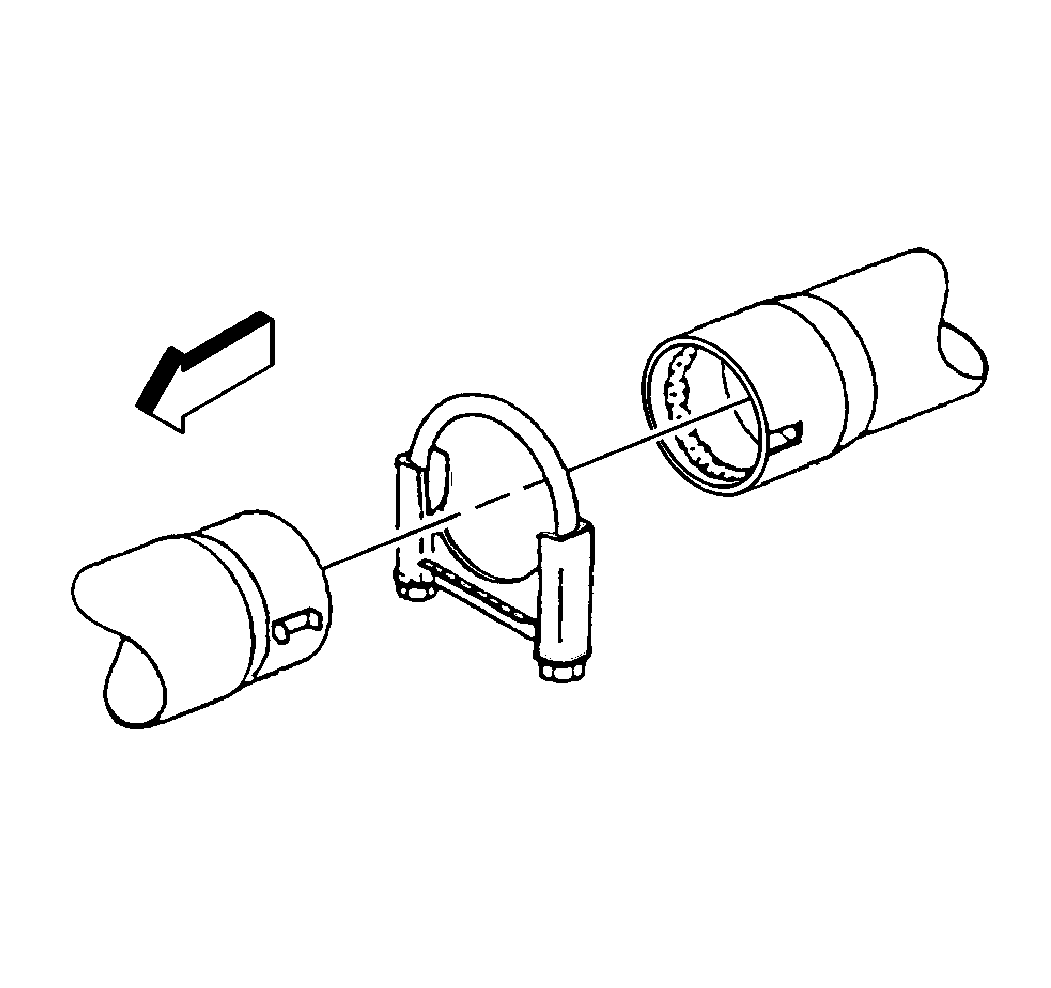
- Remove the clamps at the rear of the converter.
- Support the manifold/exhaust pipe, in front of the converter, before you remove the converter.
- Remove the converter from the exhaust hangers.
- Remove the converter from the exhaust pipe.


Installation Procedure
- Apply sealer GM P/N 9984226 or equivalent at the slip-joint connections.
- Install a new gaskets between the flat flange joints at the front of the converter.
- Install the new catalytic converter into the exhaust pipe.
- Install the converter in the exhaust hangers.
- Install new U-bolts and clamps at the rear of the converter.
- Install new nuts at the front of the converter.
- Connect the oxygen sensor connectors.
- Inspect for proper clearance and alignment.
- Lower the vehicle.


Notice: Use the correct fastener in the correct location. Replacement fasteners must be the correct part number for that application. Fasteners requiring replacement or fasteners requiring the use of thread locking compound or sealant are identified in the service procedure. Do not use paints, lubricants, or corrosion inhibitors on fasteners or fastener joint surfaces unless specified. These coatings affect fastener torque and joint clamping force and may damage the fastener. Use the correct tightening sequence and specifications when installing fasteners in order to avoid damage to parts and systems.
Tighten
| • | U-bolt nuts to 52 N·m (38 lb ft) |
| • | Converter nuts to 48 N·m (35 lb ft) |
Catalytic Converter Replacement Diesel
Removal Procedure
- Raise the vehicle and support with safety stands. Refer to Lifting and Jacking the Vehicle in General Information.
- Remove the clamps at the front and the rear of the converter.
- Support the manifold/exhaust pipe, in front of the converter, before you remove the converter.
- Remove the exhaust pipe from the exhaust hangers.
- Remove the converter from the exhaust pipe.

Installation Procedure
- Apply sealer GM P/N 9984226 or equivalent at the slip-joint connections.
- Install the new catalytic converter into the exhaust pipe.
- Install the exhaust pipe in the exhaust hangers.
- Install new U-bolts and clamps at the front and the rear of the converter.
- Inspect for proper clearance and alignment.
- Lower the vehicle.

Notice: Use the correct fastener in the correct location. Replacement fasteners must be the correct part number for that application. Fasteners requiring replacement or fasteners requiring the use of thread locking compound or sealant are identified in the service procedure. Do not use paints, lubricants, or corrosion inhibitors on fasteners or fastener joint surfaces unless specified. These coatings affect fastener torque and joint clamping force and may damage the fastener. Use the correct tightening sequence and specifications when installing fasteners in order to avoid damage to parts and systems.
Tighten
U-bolt nuts to 52 N·m (38 lb ft)
