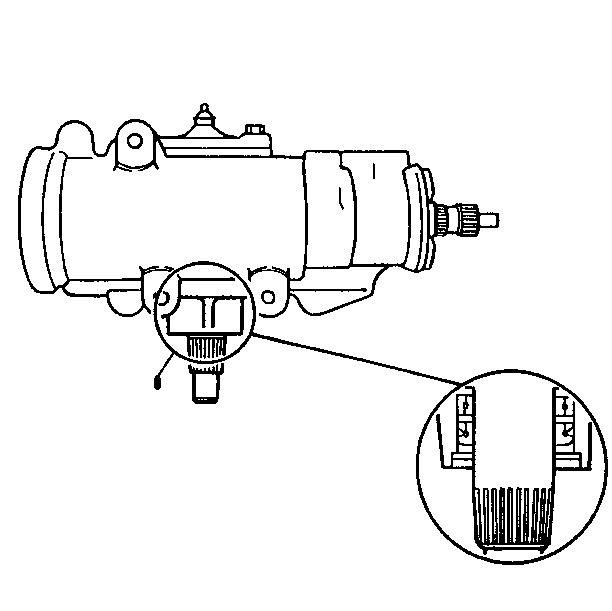
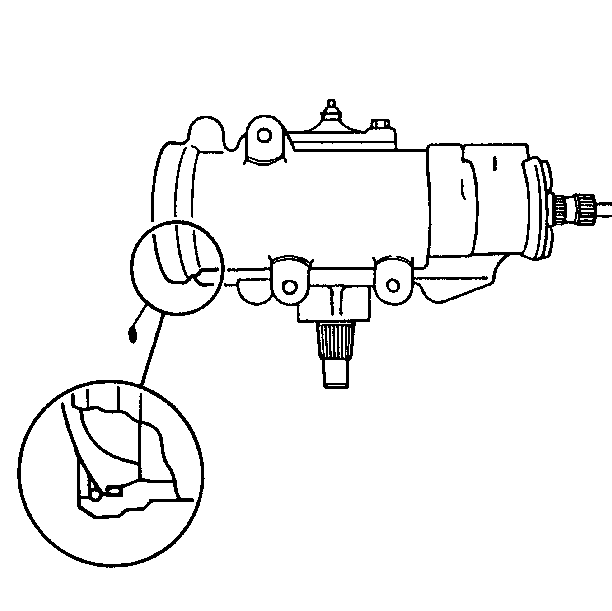
- Turn off the engine.
- Wipe the power steering system dry.
- Check the fluid level in the reservoir. Adjust as necessary.
- Start the engine. Turn the steering wheel from stop to stop several times.
- Check for leakage around the hose fitting nut. If the nut threads are damaged replace the nut.
- Install the hose fitting nut
- Tighten or replace the clamp.
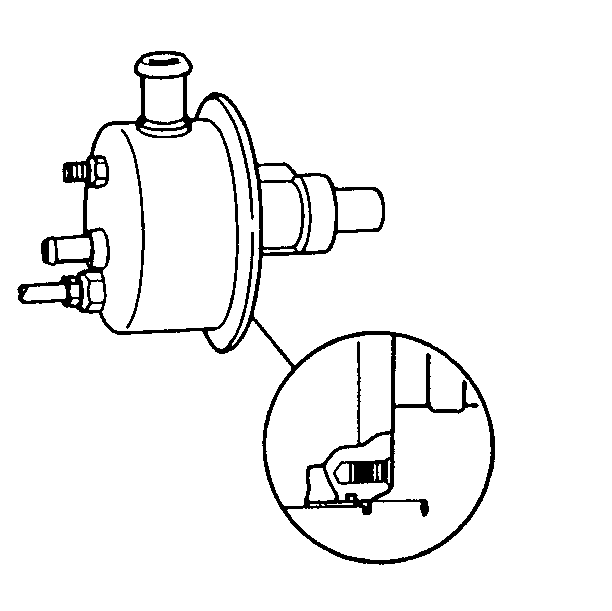
- Check the drive shaft seal for leakage.
- Replace the drive shaft seal if there is leakage. Ensure that the drive shaft is clean and free of pitting in the seal area.
- Check the fitting for leakage.
- Tighten the fitting if there is leakage
- Check the flare nut for leakage.
- Tighten the flare nut if there is leakage.
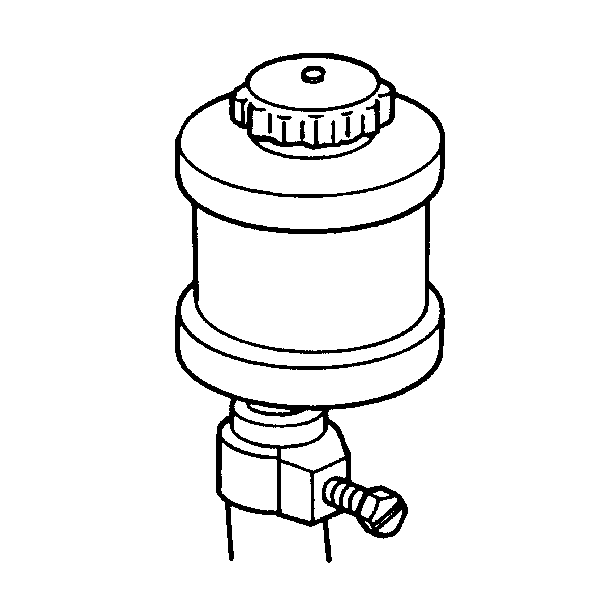
- Check the reservoir O-ring seal for leakage.
- Replace the reservoir O-ring seal if there is leakage.
- Make sure the power steering fluid is at the correct level. Ensure the cap is on tight. Check the cap for leakage.
- Replace the cap if there is leakage.
- Check the reservoir for cracks and bends.
- Replace the reservoir and tighten or replace the clamp if you find cracks or bends.
- Check the jam nut for leakage.
- Tighten the jam nut.
- If the leakage persists, replace the jam nut.
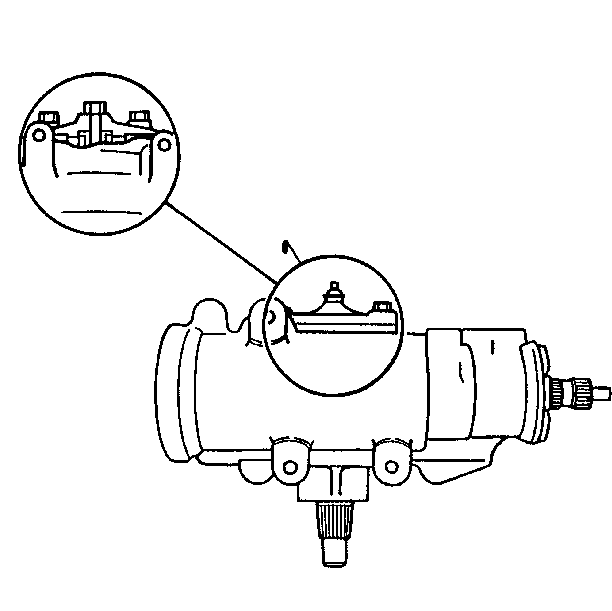
- Check the side cover seal for leakage.
- Tighten the side cover bolts if there is leakage.
- Replace the side cover seal if leakage persists.
- Check the hose fitting nut for leakage.
- Tighten the hose fitting nut.
- If leakage persists, replace the O-ring seal.
- Check for leakage between the torsion bar and the stub shaft.
- Replace the rotary valve assembly.
- Replace the adjuster plug seals.
- Seat the ball in the housing with a blunt punch. Apply Locktite 75559 solvent and Loctite 290 adhesive, or the equivalents, to the ball area.
- Replace both the pitman shaft seals.
- Replace the end plug O-ring seal.
Notice: Do not hold the steering wheel against the stop. This may damage the pump.
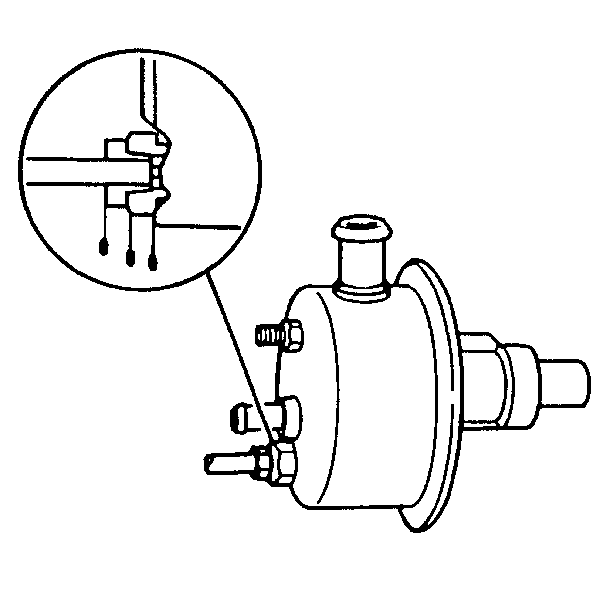
Tighten
Tighten the hose fitting nut to 48 N·m (35 lb ft).
If there is still a leak, replace the brass connector and the tube flare.
Notice: Use the correct fastener in the correct location. Replacement fasteners must be the correct part number for that application. Fasteners requiring replacement or fasteners requiring the use of thread locking compound or sealant are identified in the service procedure. Do not use paints, lubricants, or corrosion inhibitors on fasteners or fastener joint surfaces unless specified. These coatings affect fastener torque and joint clamping force and may damage the fastener. Use the correct tightening sequence and specifications when installing fasteners in order to avoid damage to parts and systems.
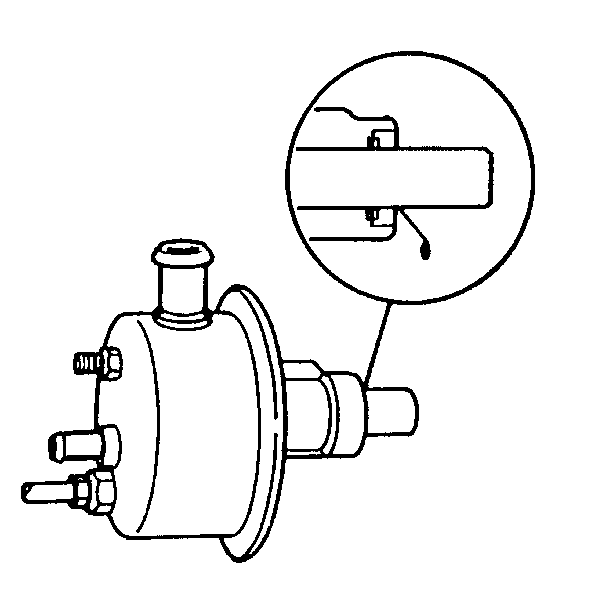
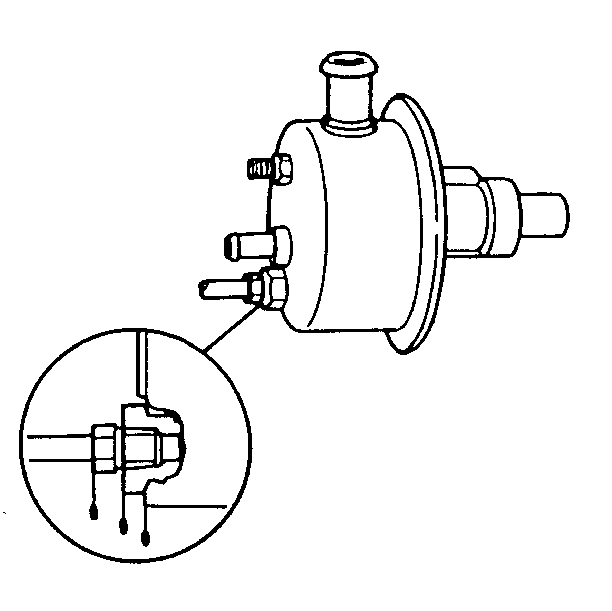
Tighten
Tighten the fitting to 75 N·m (55 lb ft)
Tighten
Tighten the flare nut to 35 N·m (25 lb ft)
Tighten
Tighten the jam nut to 48 N·m (35 lb ft).
Tighten
Tighten the side cover bolts to 60 N·m (45 lb ft).
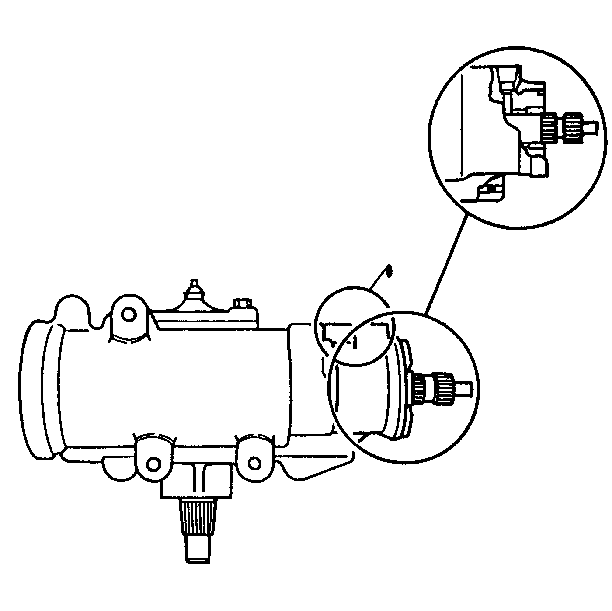
Tighten
Tighten the hose fitting nut to 27 N·m (20 lb ft).
