Exhaust Pipe Replacement P72
Removal Procedure
- Loosen all of the exhaust clamps. Start with the clamp closest to the turbocharger.
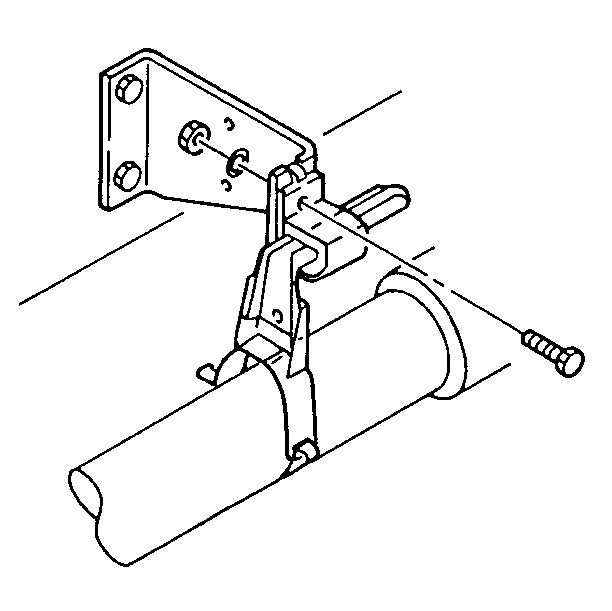
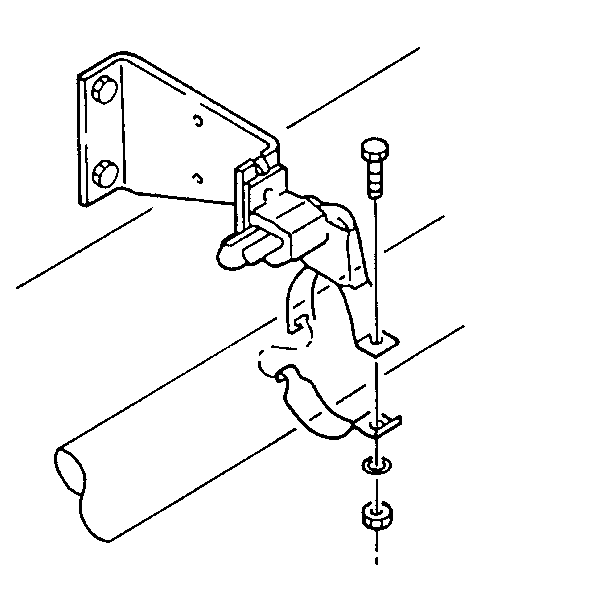
- Loosen the nuts and the bolts attaching the exhaust hangers to the mounting fixtures.
- Remove the nuts and the bolts that attach the exhaust pipes to the hangers.
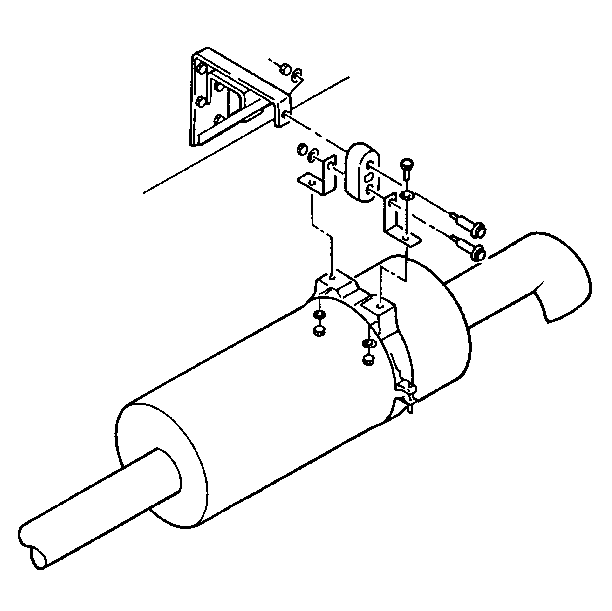
- Remove the nuts and bolts that attach the muffler and its hanger to a mounting fixture.
- Remove the exhaust system from the hangers and the mounting fixtures.
CAUTION:: Always wear protective goggles and gloves when removing exhaust system parts as falling rust and sharp edges from worn exhaust components could result in serious personal injury.
When removing exhaust components, the accumulation of dirt and corrosion can make work difficult. Using a penetrating oil on the threads can assist in the removal of these components.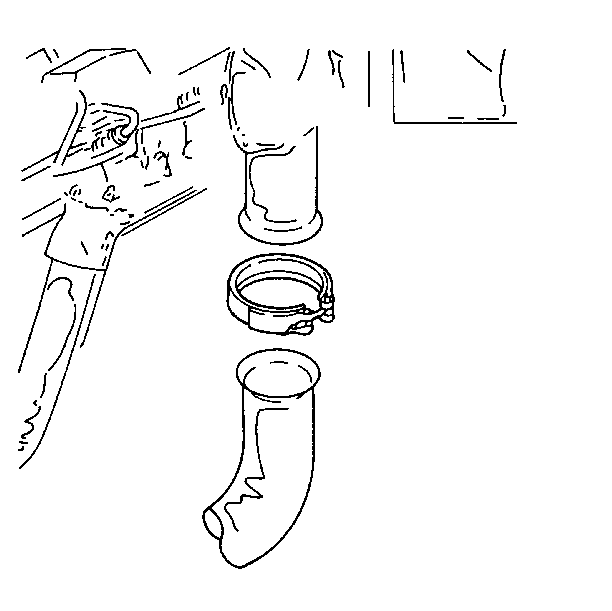
Installation Procedure
- Install the exhaust system on the hangers and the mounting figures.
- Install the muffler and its hanger to a mounting fixture.
- Install the exhaust pipes to the hangers.
- Install the exhaust hangers on the mounting fixtures.
- Install the exhaust clamps.
- Align the exhaust parts. No parts should touch the following components.
- Tighten the clamps, the hangers and the mounting fixture hardware. Refer to Fastener Tightening Specifications.
Important: Replacement of the exhaust system parts must be original equipment manufacturer (OEM) standard to ensure that the vehicle operates as designed.
When installing a new exhaust pipe or muffler and tailpipe on any model, check for proper alignment. Rattles and noise vibrations in the exhaust are usually caused by misalignment of parts. When aligning the system, leave all bolts or nuts loose until all parts are properly aligned, then tighten, working from engine to muffler. Exhaust system hangers, hanger brackets, and clamps which are damaged should be replaced to maintain exhaust system alignment.Important: When installing the exhaust pipe to the engine manifold, always use new packings and nuts. Clean the engine manifold stud threads with a wire brush before installing the new nuts.


Important: When aligning the system, leave all the bolts or nuts loose until all the parts are properly aligned. Then tighten the bolts and the nuts, working from the engine to the muffler.
| • | The frame |
| • | Any wiring |
| • | The cable housings |
| • | The fluid lines |
Exhaust Pipe Replacement P92
Removal Procedure
- Loosen the clamp between the front pipe and the turbocharger.
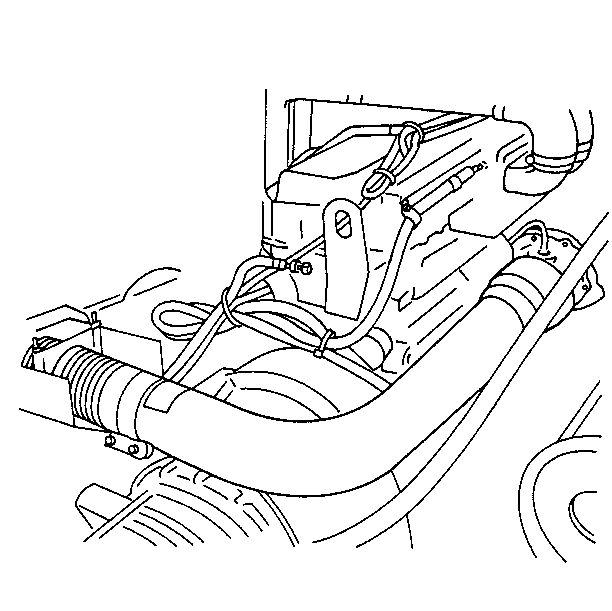
- Loosen the clamps, the hangers and the heat shield on the front pipe.
- Loosen the clamps and the hangers on the muffler.
- Remove the exhaust system parts from the turbocharger, the hangers, and the heat shield.
CAUTION:: Always wear protective goggles and gloves when removing exhaust system parts as falling rust and sharp edges from worn exhaust components could result in serious personal injury.
When removing exhaust components, the accumulation of dirt and corrosion can make work difficult. Using a penetrating oil on the threads can assist in the removal of these components.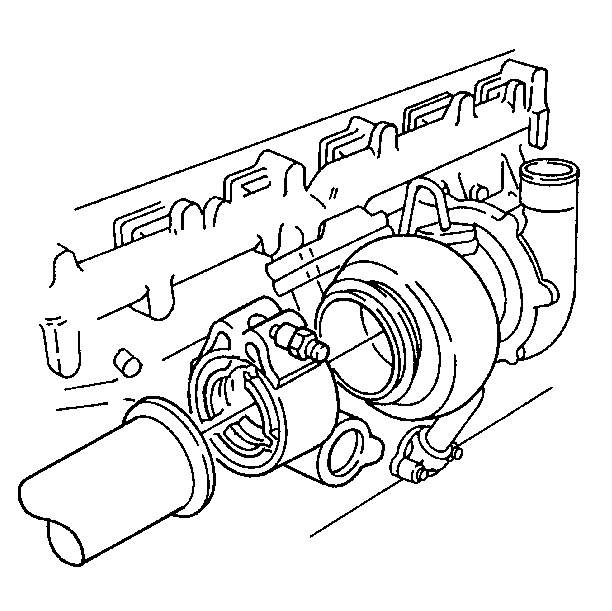
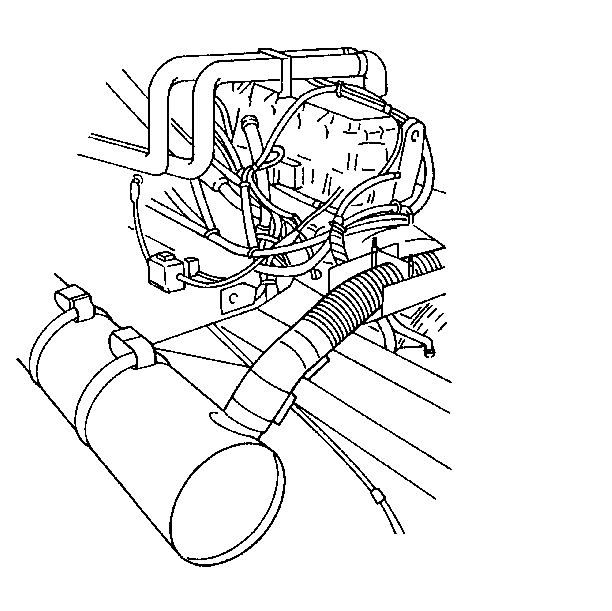
Installation Procedure
- Install the front pipe on the turbocharger. Do not tighten the clamps.
- Install the heat shield on the front pipe. Do not tighten the clamps.
- Install the muffler and the hangers.
- Align the exhaust system parts. Tighten the clamps until the exhaust leaks are eliminated.
Important: Replacement of the exhaust system parts must be original equipment manufacturer (OEM) standard to ensure that the vehicle operates as designed.
When installing a new exhaust pipe or muffler and tailpipe on any model, check for proper alignment. Rattles and noise vibrations in the exhaust are usually caused by misalignment of parts. When aligning the system, leave all bolts or nuts loose until all parts are properly aligned, then tighten, working from engine to muffler. Exhaust system hangers, hanger brackets, and clamps which are damaged should be replaced to maintain exhaust system alignment.


