For 1990-2009 cars only
Removal Procedure
- Remove the pitman arm. Refer to Pitman Arm Replacement in Steering Linkage.
- Place a pan under the steering gear in order to catch the oil.
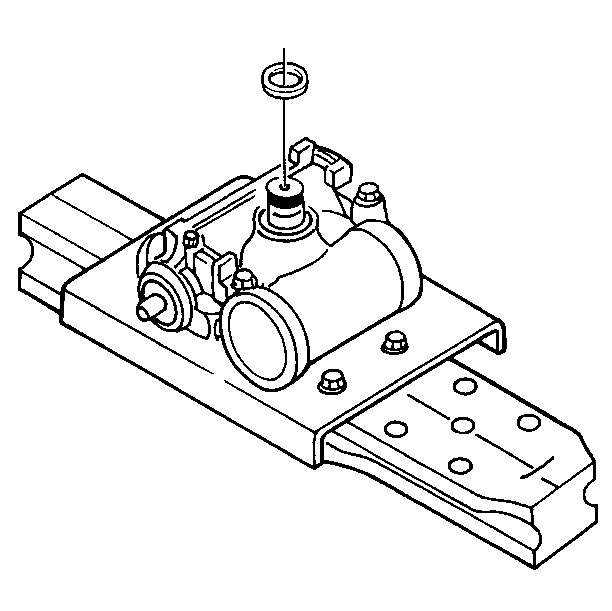
- Remove the dust seal using a pry tool.
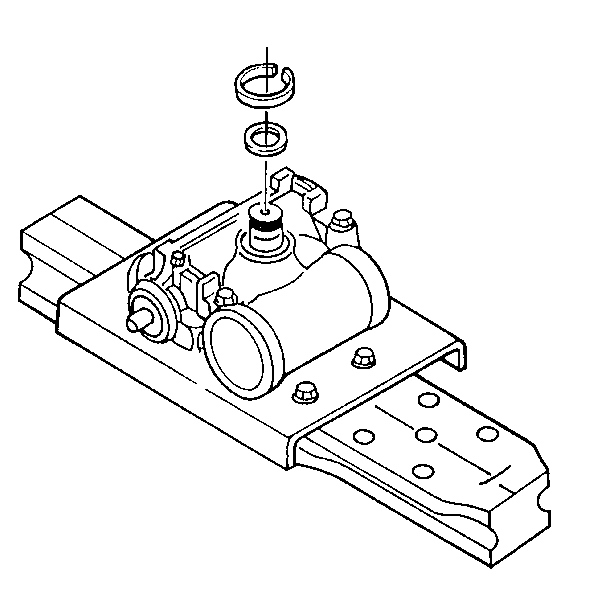
- Remove the pitman shaft seal retaining ring.
- Remove the steel washer.
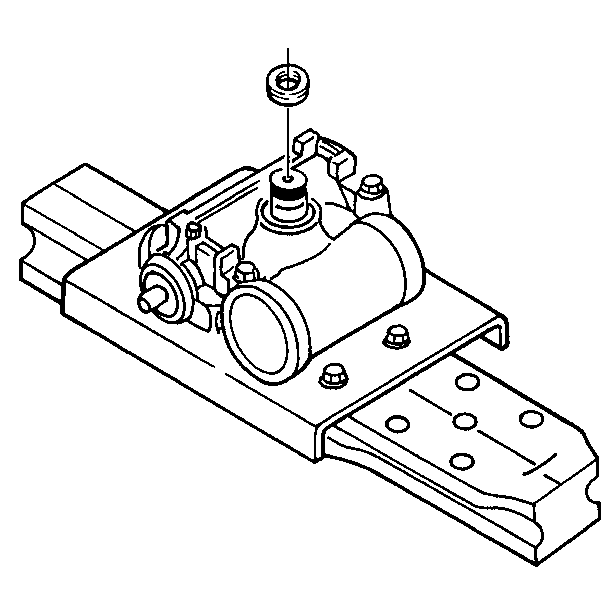
- Remove the oil seal using a pry tool. Do not scratch the bore.


Installation Procedure
- Inspect the pitman shaft seal surfaces for roughness or pitting. If pitted, replace the shaft.
- Inspect the housing for burrs. Remove the burrs before installing new seals.
- Clean the pitman shaft and seal areas in clean solvent.
- Lubricate the new seal with power steering fluid.
- Install the seal using a suitable pipe as a driver. If the service kit is a two-piece seal, be sure to place the nylon inner ring into the recess of the outer seal face.
- Install the steel washer.
- Install the pitman shaft seal retaining ring.
- Install the dust seal.
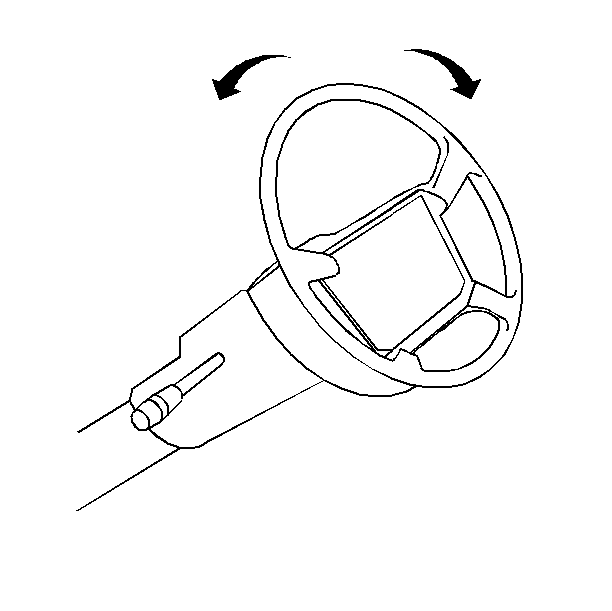
- Center the steering gear.
- Install the pitman arm. Refer to Pitman Arm Replacement in Steering Linkage.
- Bleed the system. Refer to Bleeding the Power Steering System.
Important: Avoid contaminating the power steering system. Clean parts in clean solvent and wipe dry with a lint-free cloth. Dirt and lint in the power steering fluid can cause early parts failure.


| 9.1. | Turn the steering wheel until it stops. |
| 9.2. | While you are counting the number of turns, turn the steering wheel in the opposite direction until it stops. |
| 9.3. | Turn the steering wheel back one-half the number of turns counted in the step above. |
