Removal Procedure
Tools Required
- Disconnect the battery
negative cables from the batteries. Refer to
Battery Cable
in Engine Electrical.
- Remove the valve rocker arm covers from the cylinder head. Refer
to
Valve Rocker Arm Cover Replacement
.
- Remove the valve rocker arm and pushrod from the engine block.
Refer to
Valve Rocker Arm, Shaft, and Push Rod Replacement
.
- Remove the glow plugs from the cylinder head.
Important: Rotate the engine until the in the cylinder being serviced is at the
bottom of the stroke. This will ensure that the cylinder will not move when
compressed air is applied to that cylinder.
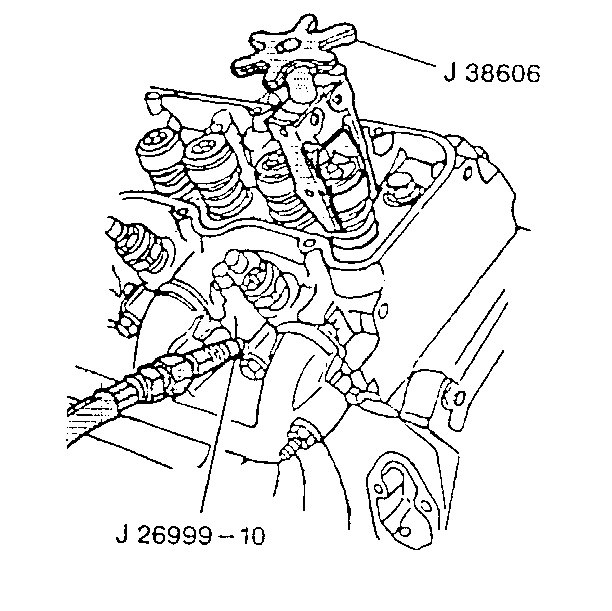
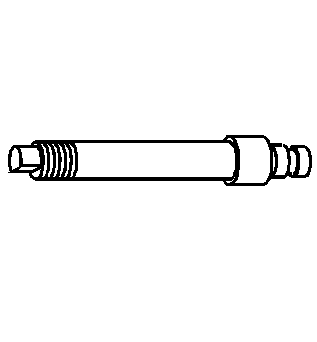
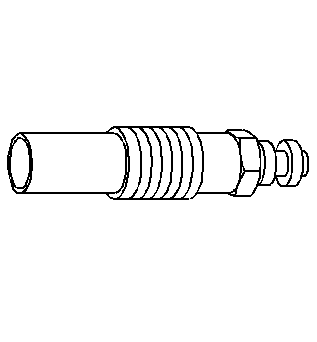
- Use the J 26999-10
left
side of the engine and J 26999-30
for the right side of the engine when applying the compressed air
to the cylinder being serviced.
Important: Make sure that the compressed air is not released, until the repair
the is completed. The valve will drop into the cylinder and damage could occur.
- Apply compressed air into the cylinder being serviced.
- Tap lightly on the valve spring cap or rotator to loosen the valve
keys.
- Use the J 38606
in
order to compress the valve spring.
- Compress the valve spring.
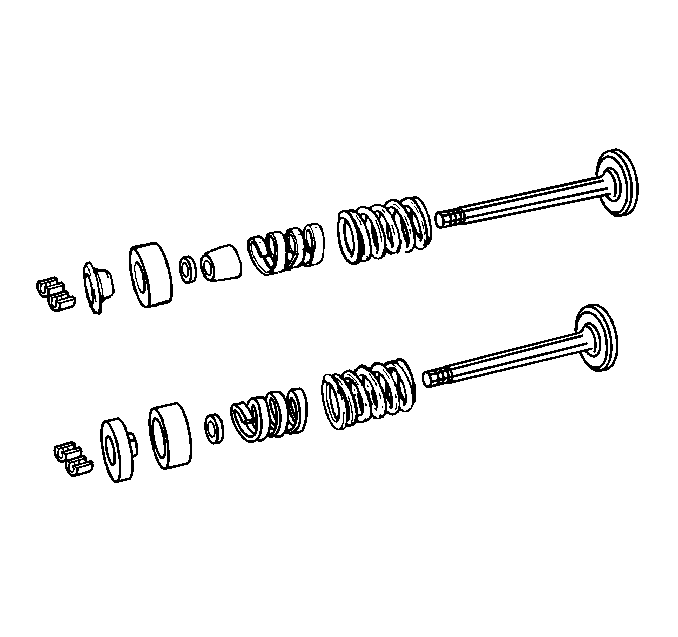
- Remove the valve keys
from the retainers from the cylinder head.
- Carefully release the valve spring tension and remove the J 38606
.
- Remove the valve stem oil seals from the valve guides.
Installation Procedure
Tools Required
Important: The air pressure should remain applied to the cylinder being serviced
until after the repair has been completed.
- Apply a small amount of
clean engine oil to the valve stem and to the new valve stem oil seal.
- Install the valve stem oil seal to the valve stem.
- Install the valve spring, cap, rotator and shield.
- Use the J 38606
to
compress the valve spring.
- Install valve spring assembly to the cylinder head.
- Install the valve keys
in the retainer.
| • | Apply a small amount of grease on the valve stem end. This will
help to hold the valve keys in place. |
| • | Carefully release the valve spring pressure. Make sure the valve
key are properly seated in the cap. |
| • | Remove theJ 38606
from the valve spring. |
- Slowly release the compressed air from the cylinder being serviced.
- Remove the J 26999-10
when working on the left side of the engine and J 26999-30
for the right side of the engine.
- Install the glow plug to the cylinder head.
Important: All the valve train components must be reassembled in the exact order
and position from which they were removed.
- Install the valve rocker arm and pushrod to the cylinder head. Refer
to
Valve Rocker Arm, Shaft, and Push Rod Replacement
.
- Install the valve rocker arm covers to the cylinder head. Refer
to
Valve Rocker Arm Cover Replacement
.
- Connect the battery negative cables to the batteries. Refer to
Battery Cable
in Engine Electrical.
