For 1990-2009 cars only
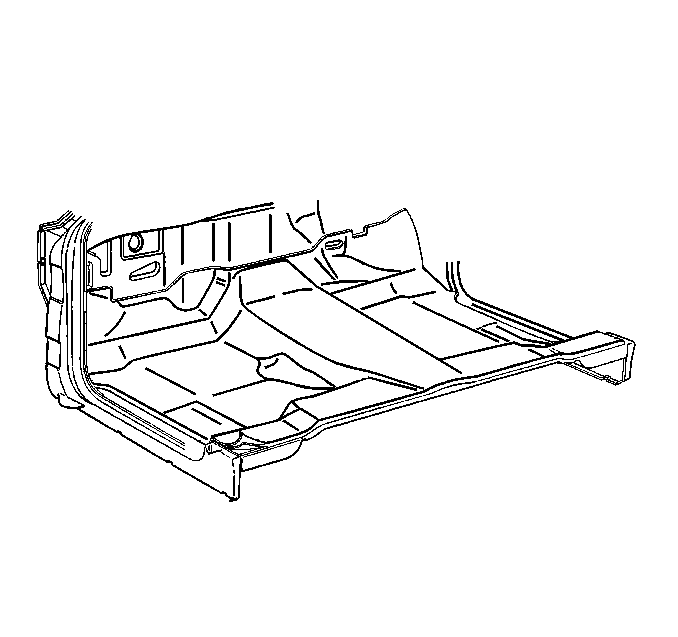
Front Floor Panel Carpet Replacement Pickup
Removal Procedure
- Remove the left front seat belt retractor.
- Remove the left front sill trim plate.
- Remove the right front seat belt retractor.
- Remove the right front sill trim plate.
- Remove the transfer case shift console, if equipped.
- Remove the transfer case shift handle, if equipped.
- Remove the heater duct.
- Remove the left kick panel.
- Remove the right kick panel.
- Remove the front seat center belt anchors.
- Remove the right front seat track garnish molding.
- Remove the left front seat track garnish molding.
- Remove the seat hold down bolts.
- Remove the seat from the vehicle.
- Remove the carpet from the vehicle.
Installation Procedure
- Install the new carpet into the vehicle.
- Install the front seat into the vehicle.
- Install the front seat bolts.
- Install the left seat track garnish molding.
- Install the right seat track garnish molding.
- Install the front seat center belt anchor bolts.
- Install the left kick panel.
- Install the right kick panel.
- Install the heater duct.
- Install the transfer case shifter handle, if equipped.
- Install the transfer case shifter console, if equipped.
- Install the right front sill trim plate.
- Install the right front seat belt retractor.
- Install the left front sill trim plate.
- Install the left front seat belt retractor.

Caution: In order to avoid personal injury or vehicle damage when you repair or replace the carpet, use the same thickness and material size as the original installation. Always return the carpet to the original location.
Front Floor Panel Carpet Replacement Suburban
Removal Procedure
- Remove the left front seat belt retractor.
- Remove the left front sill trim plate.
- Remove the right front seat belt retractor.
- Remove the right front sill trim plate.
- Remove the transfer case shift console, if equipped.
- Remove the transfer case shift handle, if equipped.
- Remove the heater duct.
- Remove the left kick panel.
- Remove the right kick panel.
- Remove the front seat center belt anchors.
- Remove the right front seat track garnish molding.
- Remove the left front seat track garnish molding.
- Remove the seat hold down bolts.
- Remove the seat from the vehicle.
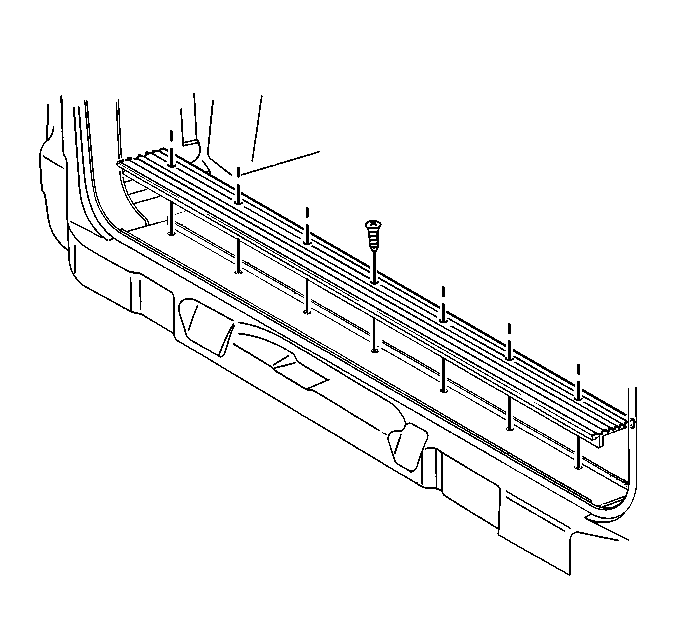
- Remove the left rear sill trim plate.
- Remove the left rear seat front garnish molding.
- Remove the left rear seat rear garnish molding.
- Remove the left rear seat release handle.
- Remove the left rear seat bolts.
- Remove the left rear center seat belt bolt.
- Remove the left rear seat from the vehicle.
- Remove the right rear sill trim plate.
- Remove the right rear seat bolts.
- Remove the right rear seat from the vehicle.
- Remove the left rear seat belt anchor bolt.
- Remove the right rear seat belt anchor bolt.
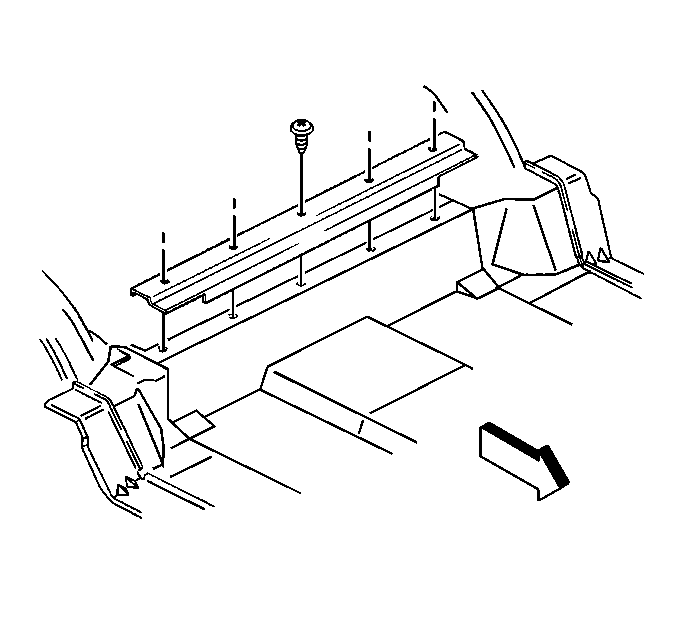
- Remove the center carpet retainer.
- Remove the left passenger assist handle.
- Remove the left front shoulder belt pivot.
- Remove the left B-pillar molding.
- Remove the right passenger assist handle.
- Remove the right front shoulder belt pivot.
- Remove the right front B-pillar molding.
- Remove the left C-pillar molding.
- Remove the right C-pillar molding.
- Remove the floor vent grilles.
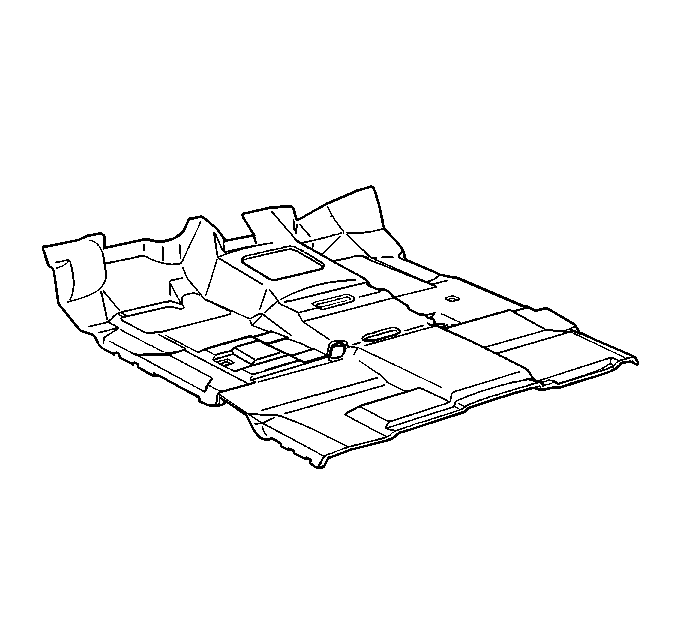
- Remove the carpet from the vehicle.
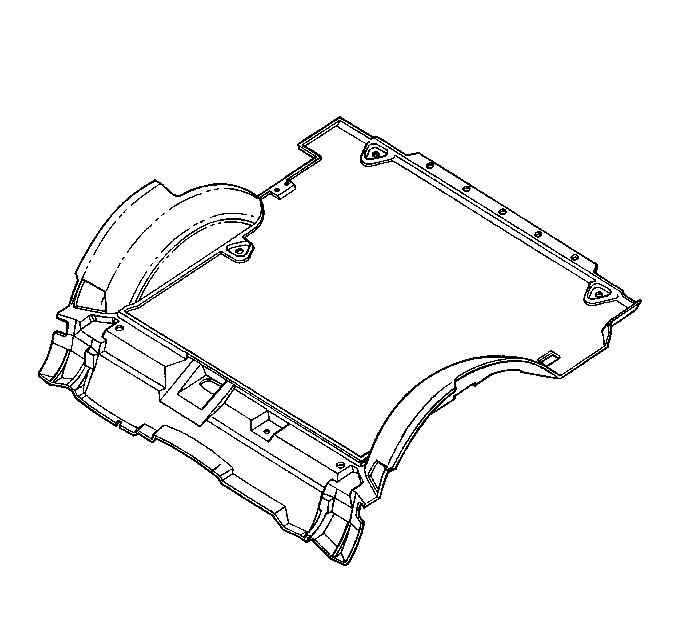
Installation Procedure
- Install the new carpet into the vehicle.
- Install the floor vent grilles.
- Locate and cut the transfer case or the manual transmission access hole, if equipped.
- Install the right C-pillar molding.
- Install the left C-pillar molding.
- Install the right front B-pillar molding.
- Install the right front shoulder pivot.
- Install the right passenger assist handle.
- Install the left B-pillar molding.
- Install the left front shoulder belt pivot.
- Install the left passenger assist handle.
- Install the left B-pillar molding.
- Install the left front shoulder belt pivot.
- Install the left passenger assist handle.
- Install the center carpet retainer.
- Install the right rear seat belt anchor bolt.
- Install the left rear seat belt anchor bolt.
- Install the right rear seat into the vehicle.
- Install the right rear seat bolts.
- Install the right rear sill trim plate.
- Install the left rear seat into the vehicle.
- Install the left rear seat bolts.
- Install the left rear center seat belt bolt.
- Install the left rear seat rear garnish molding.
- Install the left rear seat front garnish molding.
- Install the left rear seat release handle.
- Install the left rear sill trim plate.
- Install the front seat into the vehicle.
- Install the front seat bolts.
- Install the left seat track garnish molding.
- Install the right seat track garnish molding.
- Install the front seat center belt anchor bolts.
- Install the left kick panel.
- Install the right kick panel.
- Install the heater duct.
- Install the transfer case shifter handle, if equipped.
- Install the transfer case shift console, if equipped.
- Install the right front sill trim plate.
- Install the right front seat belt retractor.
- Install the left front sill trim plate.
- Install the left front seat belt retractor.

Caution: In order to avoid personal injury or vehicle damage when you repair or replace the carpet, use the same thickness and material size as the original installation. Always return the carpet to the original location.


Front Floor Panel Carpet Replacement Utility
Removal Procedure
- Remove the front passenger seat.
- Remove the front driver seat.
- Remove the floor center console.
- Remove the rear right side seat bolt covers.
- Remove the rear right side seat bolts.
- Remove the rear right side seat.
- Remove the rear right side seat.
- Remove the rear left side seat bolts.
- Remove the rear left side seat.
- Remove the floor mats.
- Remove the transfer case shifter bezel, if equipped.
- Remove the right side seat belt retractor covers.
- Remove the right side seat belt retractor bolts.
- Remove the right side sill trim plates.
- Remove the left side sill trim plates.
- Remove the right side center pillar trim.
- Remove the left side center pillar trim.
- Remove the right side kick panel.
- Remove the left side kick panel.
- Remove the floor vent grilles.
- Remove the carpet.
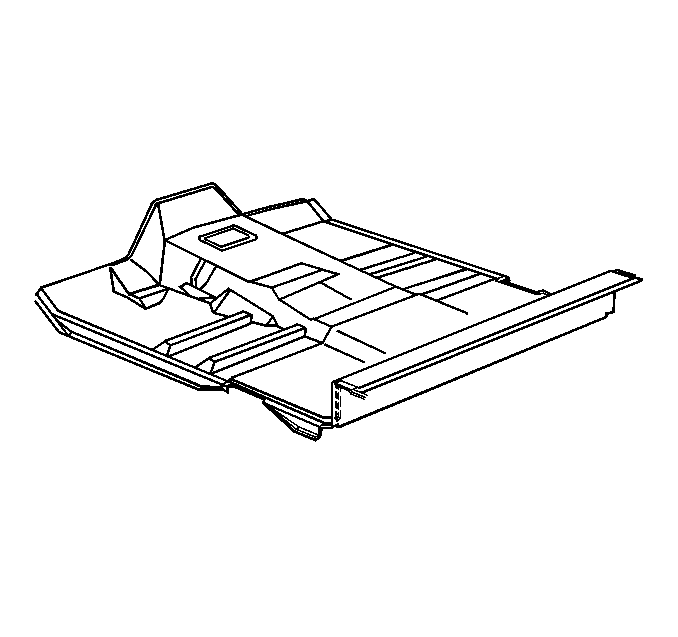


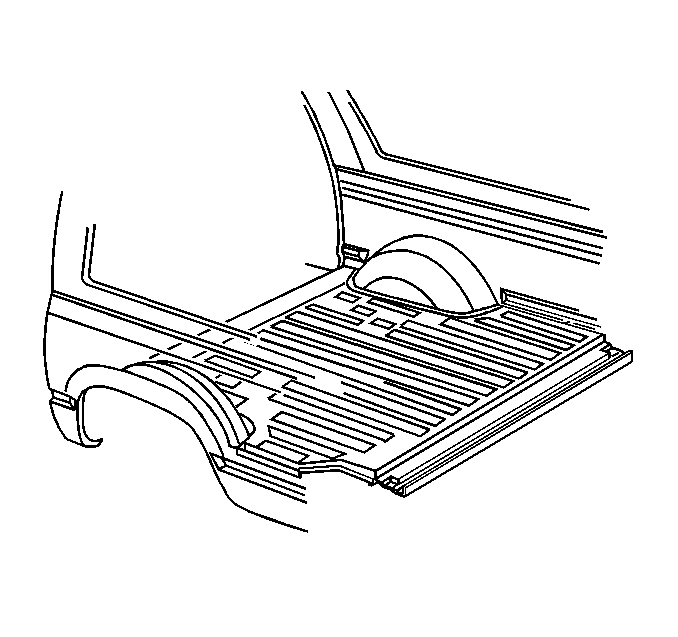
Installation Procedure
- Install the carpet.
- Install the floor vent grilles.
- Install the left side kick panel.
- Install the right side kick panel.
- Install the left side center pillar trim.
- Install the right side center pillar trim.
- Install the left side sill trim plates.
- Install the right side sill trim plates.
- Install the left side seat belt retractor bolts.
- Install the left side seat belt retractor covers.
- Install the right side seat belt retractor bolts.
- Install the right side seat belt retractor covers.
- Install the transfer case shifter bezel, if equipped.
- Install the floor mats.
- Install the rear left side seat.
- Install the rear left side seat bolts.
- Install the rear right side seat.
- Install the rear right side seat bolts.
- Install the rear left and right side bolt covers.
- Install the floor center console.
- Install the front driver seat.
- Install the front driver seat bolts.
- Install the front passenger seat.
- Install the front passenger seat bolts.

Caution: In order to avoid personal injury or vehicle damage when you repair or replace the carpet, use the same thickness and material size as the original installation. Always return the carpet to the original location.


