Tools Required
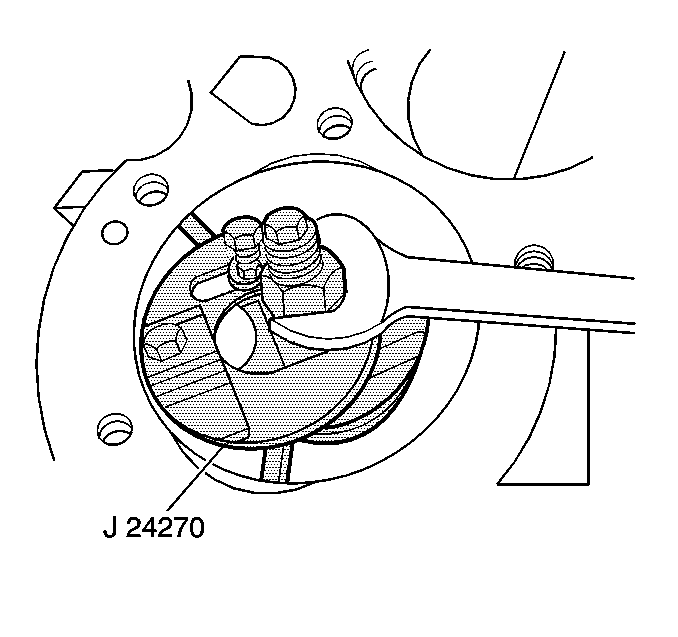
J 24270 Ridge Reamer

- Use the J 24270
in
order to remove the ridge or the deposits from the upper end of the cylinder
bores.
| 1.1. | Turn the crankshaft until the piston is at the bottom of the stroke. |
| 1.2. | Place a cloth on top of the piston. |
| 1.3. | Perform the cutting operation with the J 24270
. |
| 1.4. | Turn the crankshaft until the piston is at the top dead center
(TDC). |
| 1.5. | Remove the cloth and the cuttings. |
| 1.6. | Repeat this procedure for each cylinder. |
- Before removing the pistons and the rods, check the pistons and
the rods for cylinder identification numbers.
- If the pistons are not numbered, use a metal number stamp in order
to mark the piston, the rod and the cap using the following procedure:
| • | Mark the cylinder number, on the bottom of the front section of
the piston boss, of each piston. |
| • | Mark the cylinder number on the bearing tang slot side of both
the rod and the cap. |
| • | Mark the components from the front to the rear, with the engine
in an upright position and viewed from the front. |
| • | The left bank is numbered 1-3-5-7, while the
right bank is number 2-4-6-8. |
| • | Be sure to mark both, the rod and the cap with the correct cylinder
number. |
| • | Keep the connecting rod and cap together as mating parts. |

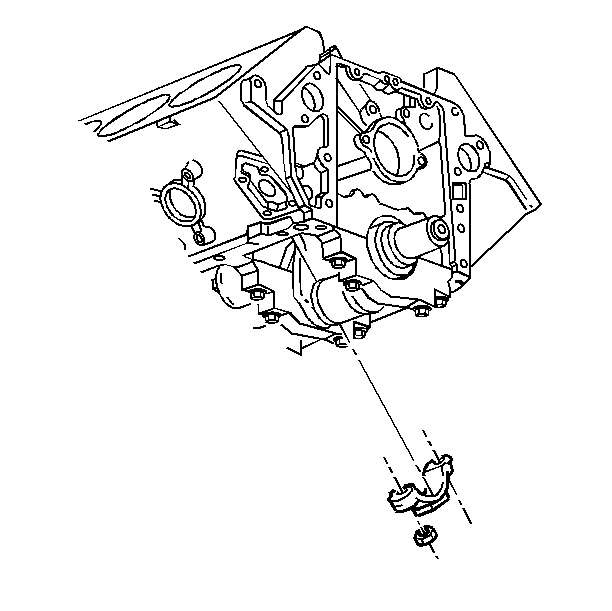
- Remove the connecting
rod nuts.
- Remove the connecting rod cap.

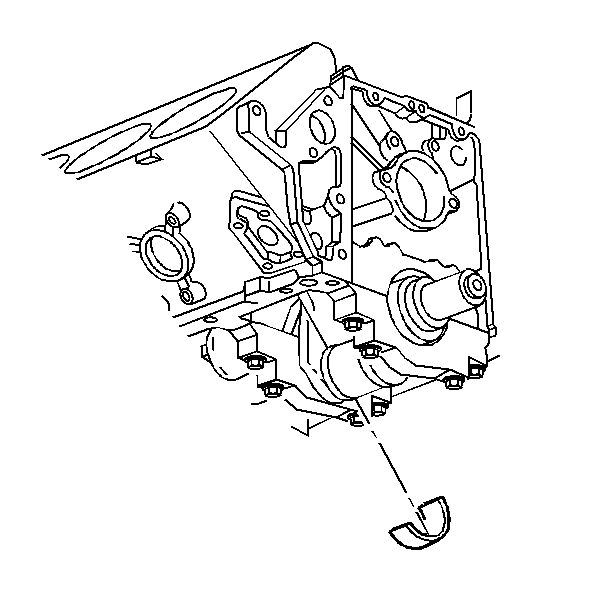
- Remove the bearing inserts
from the connecting rod.

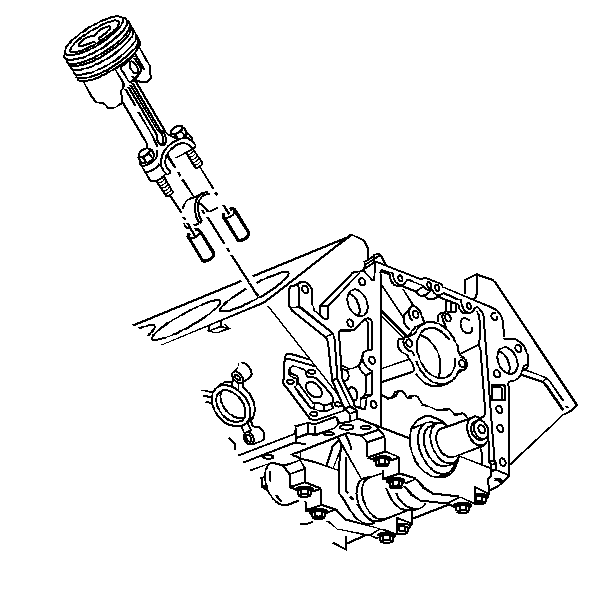
- Attach two short pieces
of 10 mm (3/8 in) hose to the connecting rod
bolts, in order to protect the crankshaft journal during removal.
- Push the connecting rod and the piston out of the bore.
- After removal, assemble the connecting rod, the cap and the bearings.
If reusing the bearing inserts, keep the inserts in the rods and cap from
which they were removed.


