BODY JOINT CRACKING AT ROOF REPAIR PROCEDURES

VEHICLES AFFECTED: 1982-84 S/T Trucks
The coach joint on some 1982-84 S/T trucks may exhibit a hairline crack in the coach joint seam. If this should occur, rust could develop in the joint. This seam joins the roof panel to the body side panel. There is a seam at the truck 'B' pillar, behind front door opening. Jimmys have an additional seam at the 'C' pillar, behind the rear quarter glass.
REPAIR PROCEDURE
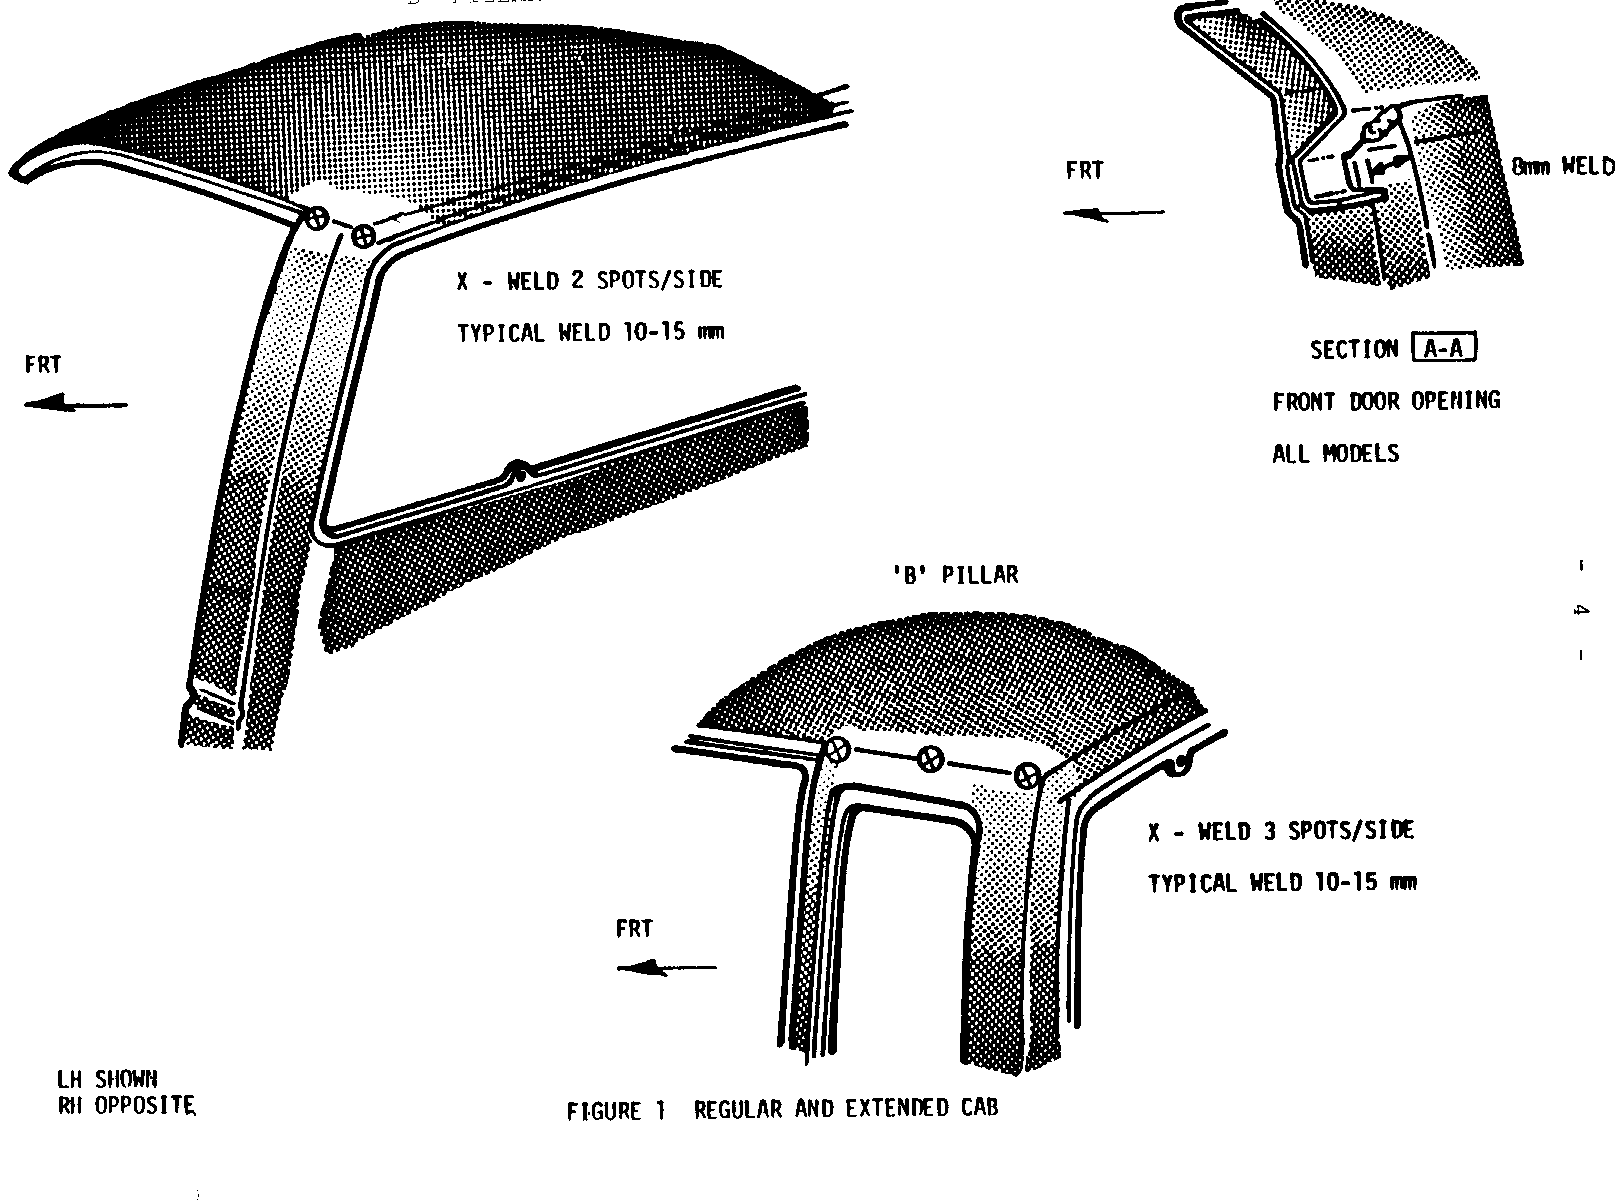
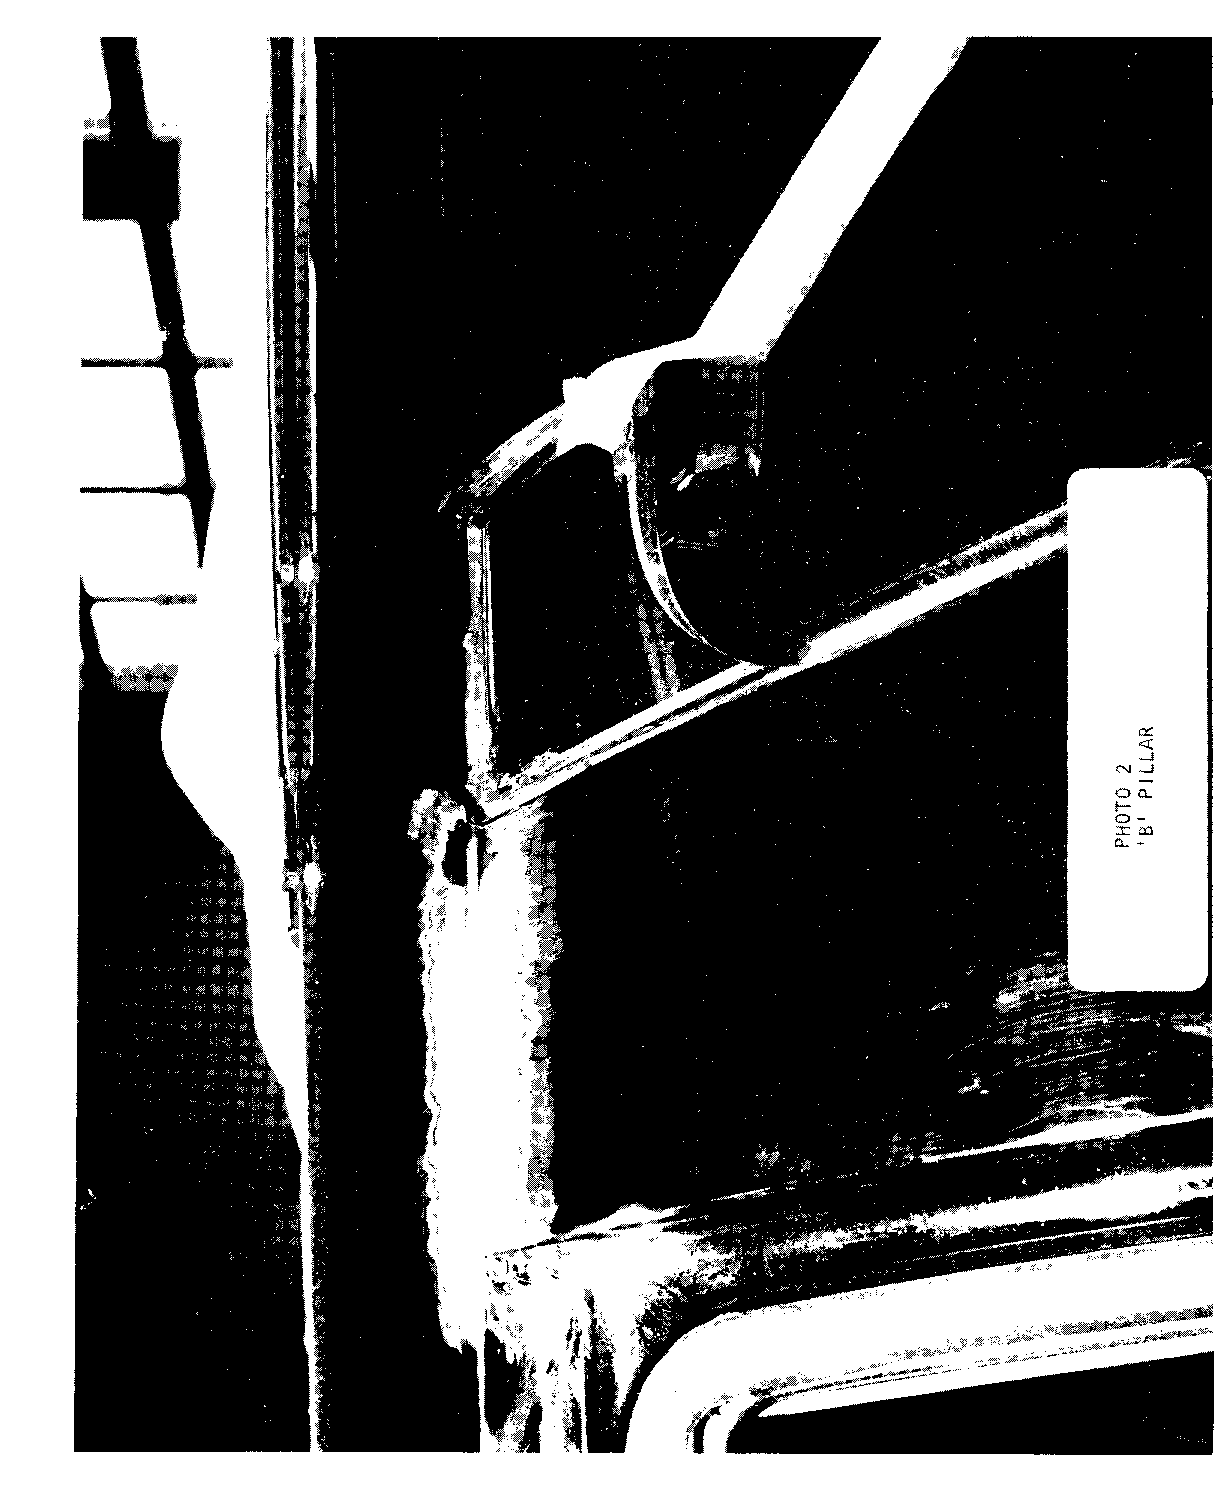
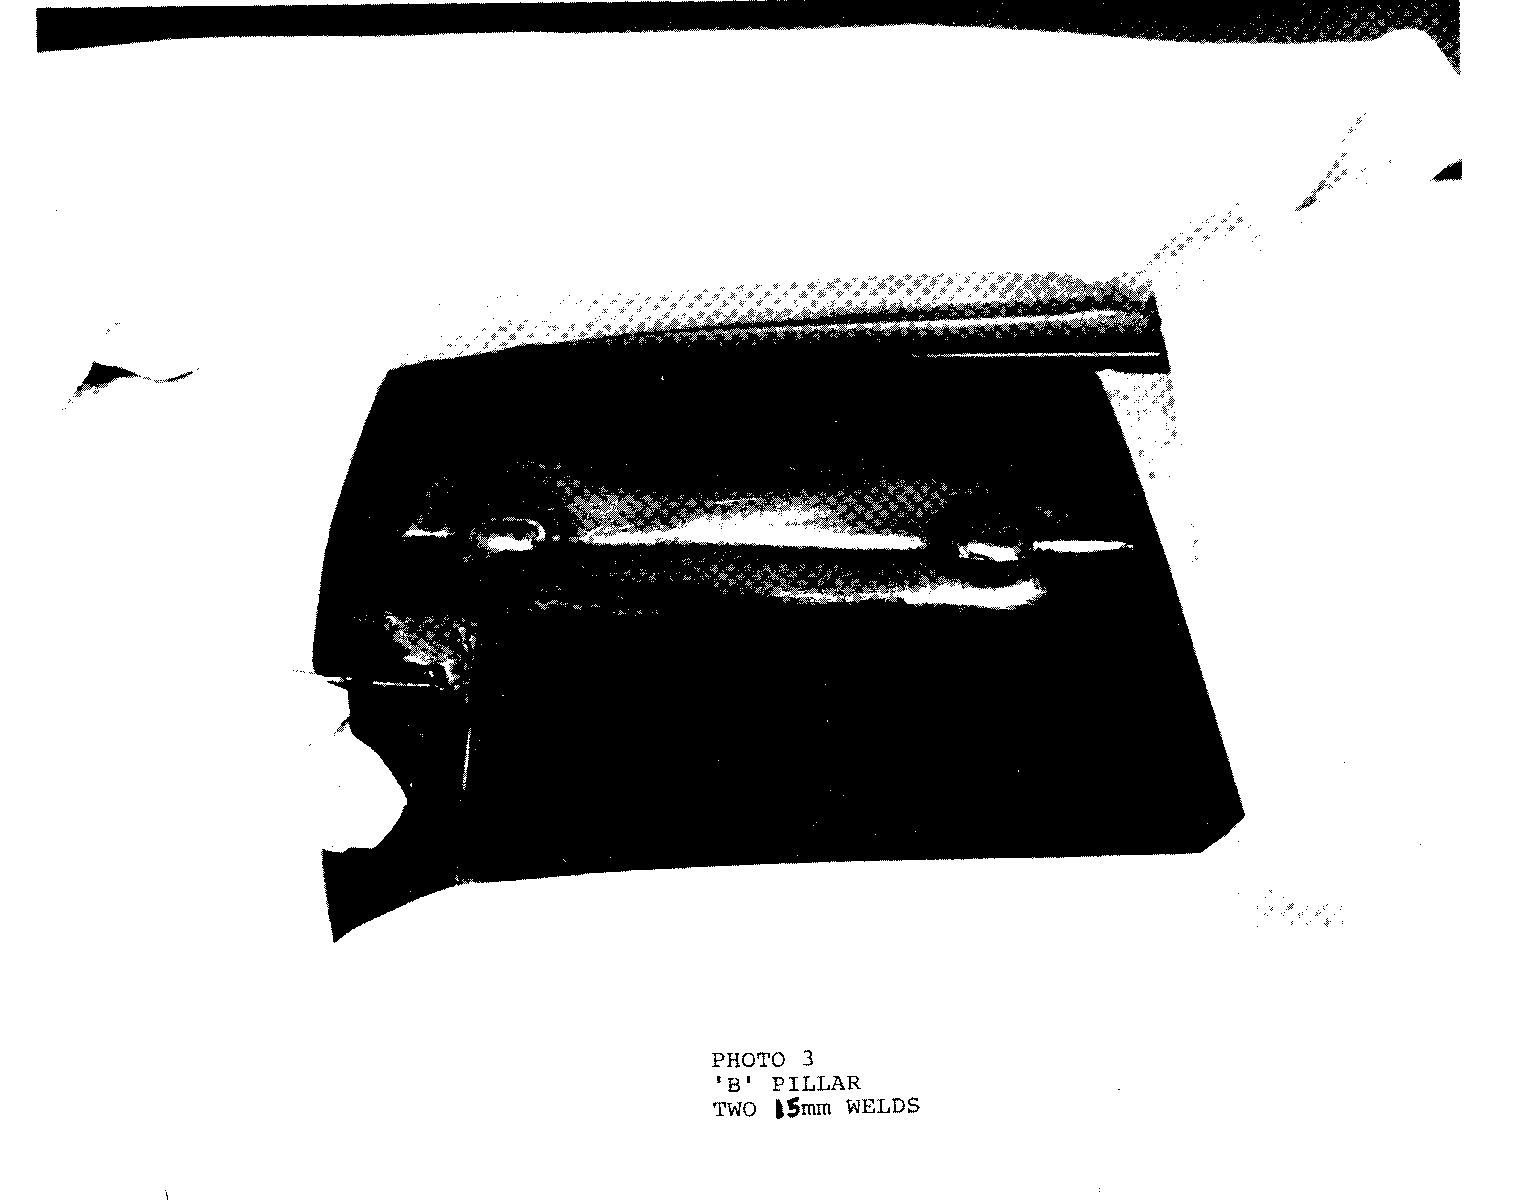
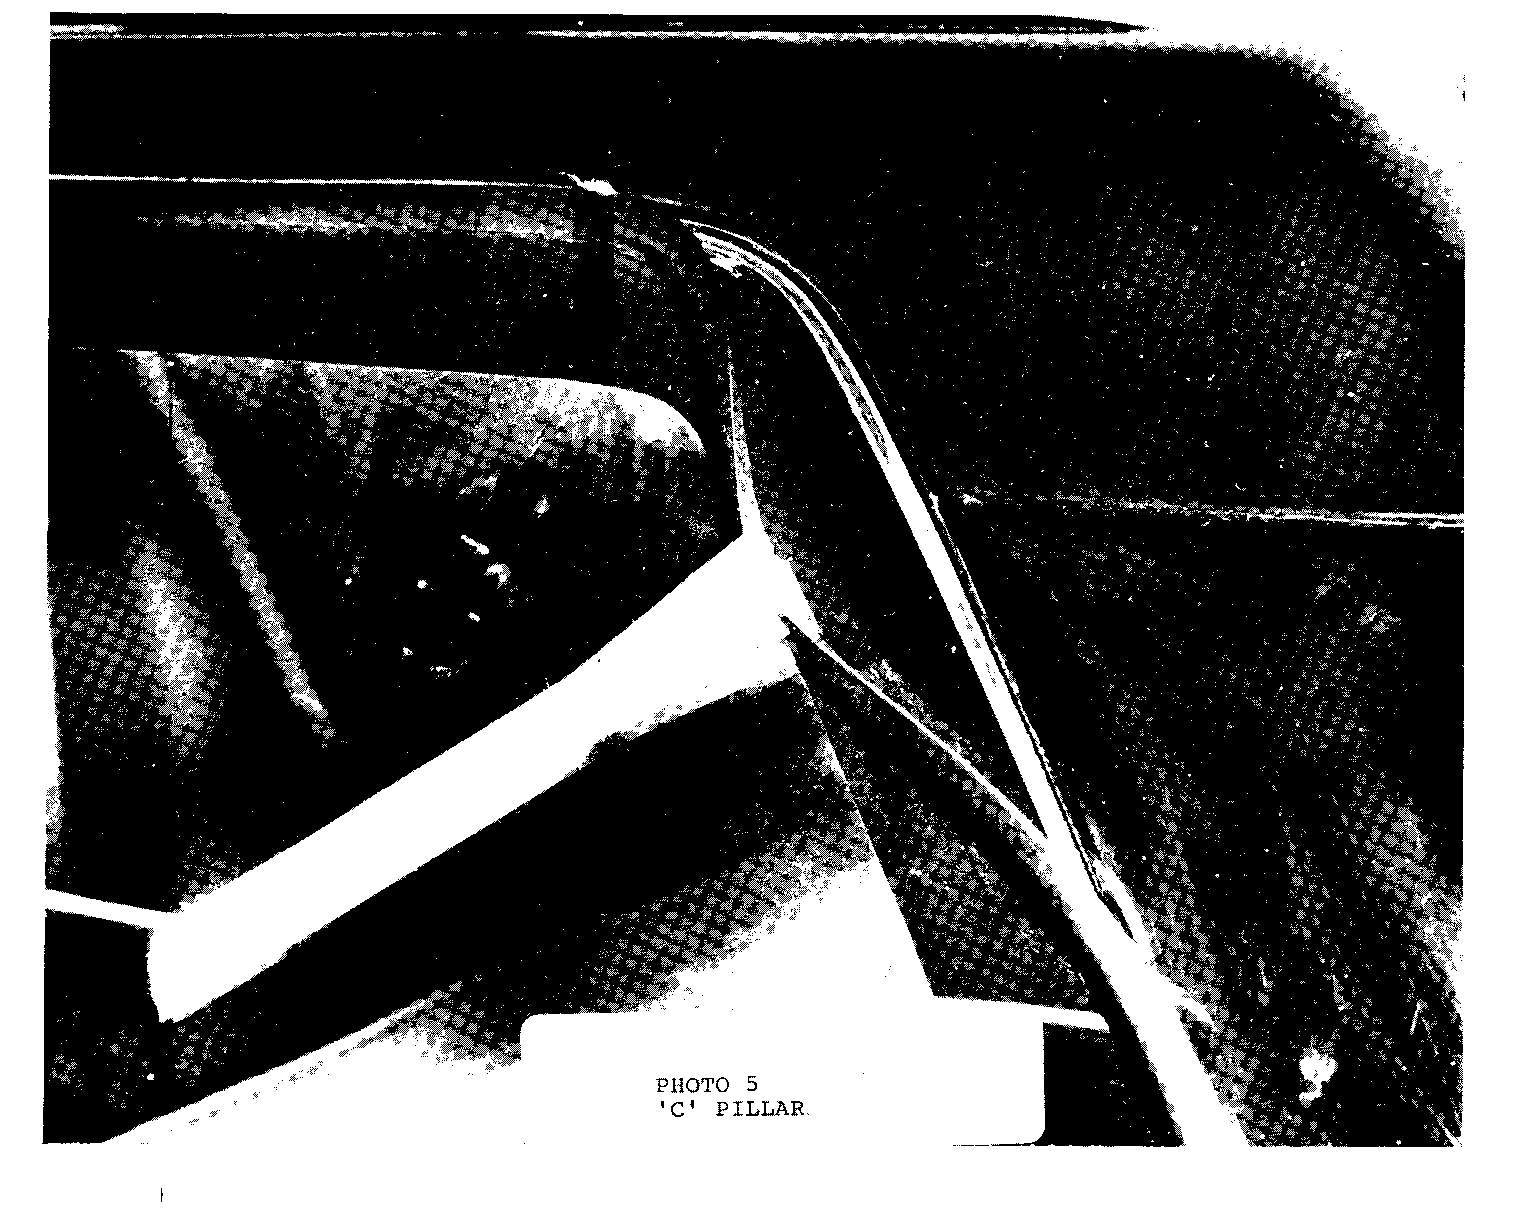
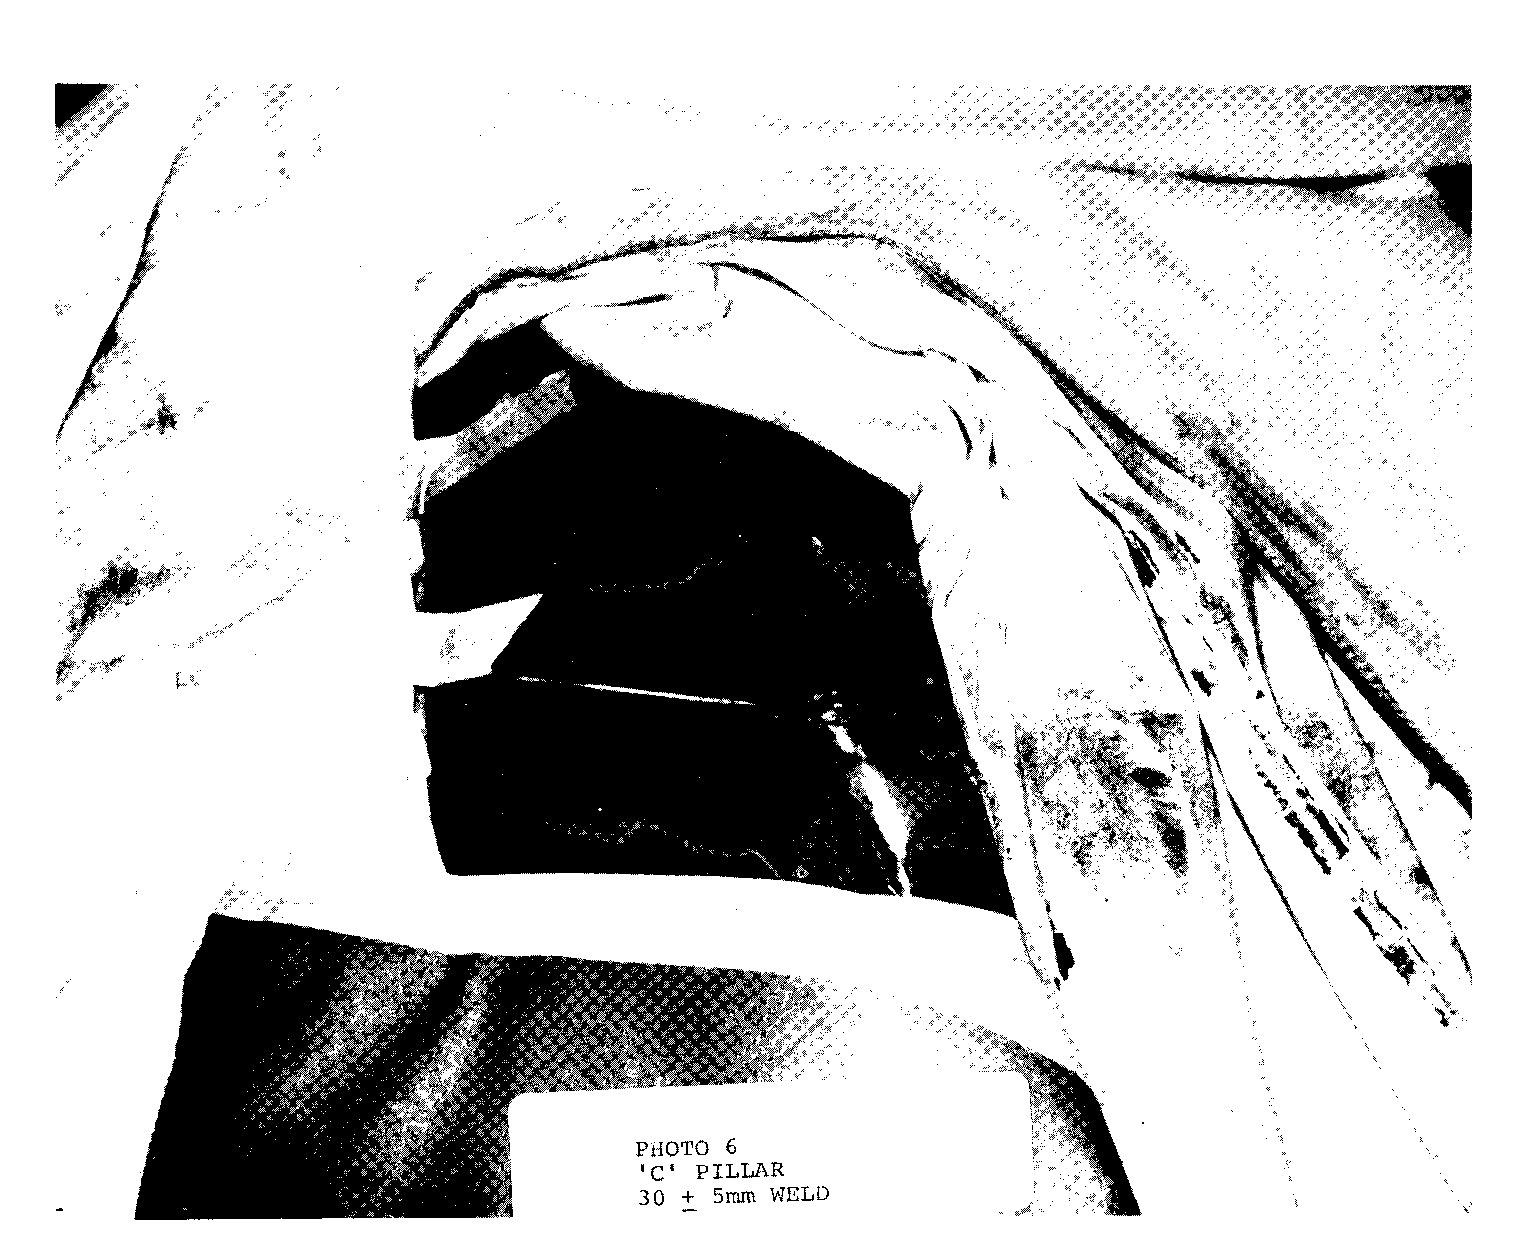
If the 'B' pillar or front of the 'C' pillar seam on the Jimmy is to be repaired, the top cap on the quarter window reveal molding should be sliced free and taped back out of the way (Refer to Photos 2 and 5). This is done by sliding a sharp knife edge under the molding to cut it free. Do not damage painted surfaces . Do not distort molding, as the molding will have to be bonded back in place. Also, peel back a portion of the drip gutter seal to expose the seam inside the front door opening. The 'B' pillar welds on the pickup and Jimmy will be similar. The extended cab requires an extra weld at this pillar (Refer to Figure No. 1 and Photos 3 and 6 for weld locations).
1. Clean the area of the affected coach joint seam with grease and wax remover. (DuPont 3919 Prep-Sol or equivalent)
2. Remove the paint down to bare metal two inches on each side of the affected seam using an 80 grit disc.
3. Using a knife or pointed tool, remove all paint and sealer from the seam. Also remove the sealer in the door opening at the front of the 'B' Pillar (Figure No. 1, section A-A). Some 1983 trucks may already have a weld in the door opening. If this is the case, a MIG weld is not needed here. It is important that all sealer and paint be removed from the seam. Failure to do so may result in weld spatter or pitting.
4. Isolate the repair area by placing a drop cloth over the surrounding finished panels and glass areas to prevent accidental weld spatter.
5. Using a MIG welder* with .584mm (.023 in.) steel or silicon bronze filler, apply 10-15mm (.25-.40 in.) welds at the 'B' pillar as shown in Figure NO. 1 and Photo 3. The 'C' Pillar weld on the Jimmy should extend from the rear radius to the end of the seam at the tailgate glass as shown in Photo 6.
This weld is approximately 30mm (1.2 in.) long.
CAUTION:
Care must be taken to minimize the amount of heat input to the panels to prevent distortion of the roof panel and/or degradation of the quarter window urethane bonding material.
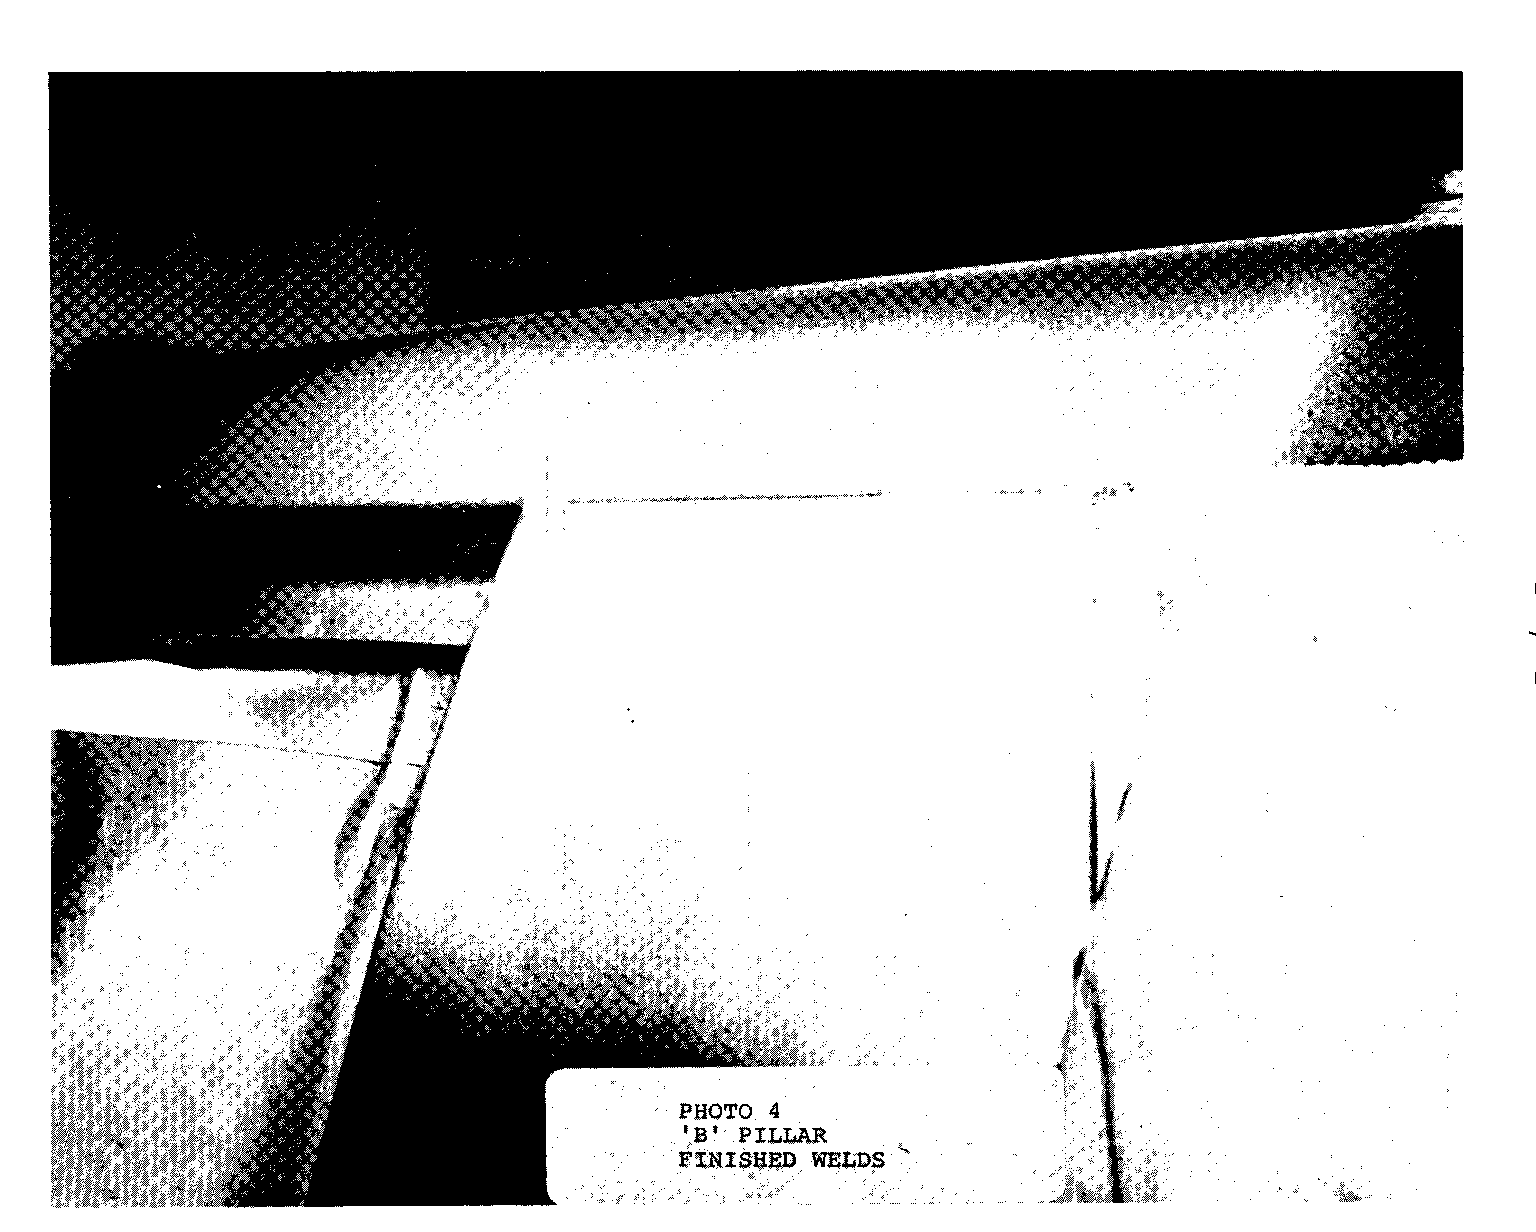
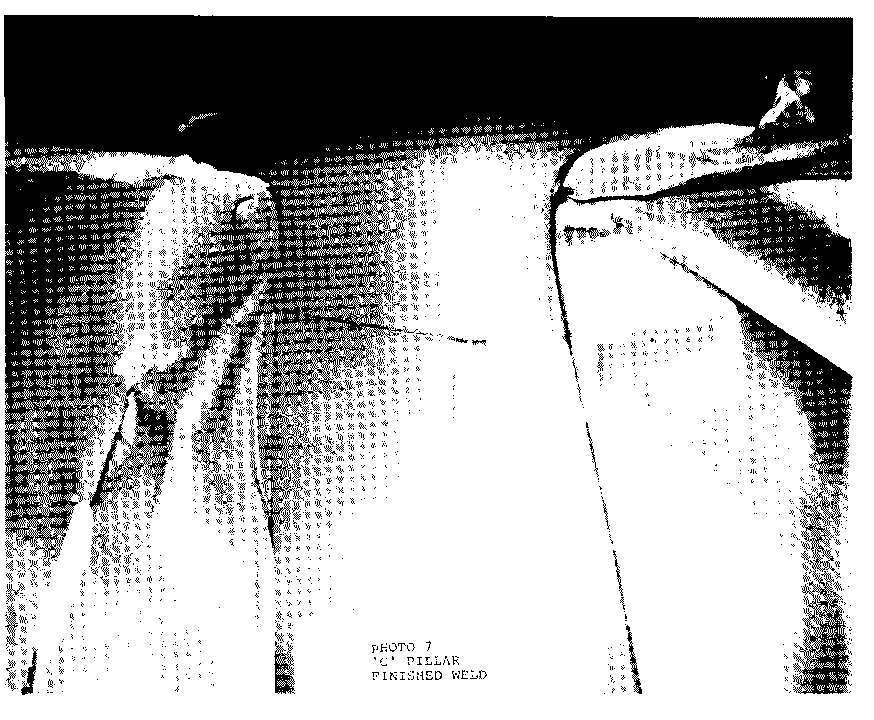
6. Finish the welds flush with the exterior surface (Refer to Photos 4 and 7). The panel should be allowed to cool from welding operation prior to finish, to minimize heat input and possible panel distortion. Cooling between rough finish and final finish is also recommended.
7. If the weld in the door opening provides a poor gap appearance with the door closed, it should be dressed to provide an acceptable appearance.
8. Feather edge the paint using standard paint preparation procedures.
9. Metal prep the bare metal thoroughly. (DuPont 5717 metal conditioner or equivalent)
10. Mask off the surrounding area and spray on an acrylic primer. (DuPont 215S Acrylic Primer or equivalent)
11. Apply primer surfacer. Allow primer to air dry or bake at 82 DEG C (180 DEG F) for 20 minutes.
12. Sand primer with 360 grit dry followed by 400 grit dry.
13. Reclean panel with solvent. (DuPont 3812 or equivalent)
14. Apply 3M No. 5900 sealer or equivalent to the joint. This is a two-component material used for flexible parts repair. NOTE: A Flexible sealer must be used. A rigid body filler will result in future cracking.
15. Follow 3M instructions for application and dry time. The material should be skived into the joirt and the excess removed immediately. Care must be taken not to damage the primer previously applied.
NOTE: Sealer should hot be applied over the MIG welds.
16. Apply 3M No. 5900 sealer or equivalent over the weld in the corner of the door opening to seal any opening between the roof, side and door frame.
17. Apply a paint adhesion promoter and allow to dry (DuPont 22S or equivalent).
18. Follow recommended paint repair procedures for acrylic paints.
19. Using a vinyl adhesive, bond Jimmy quarter window reveal molding back into place (Krazy Glue or equivalent). Care should be taken to insure that the sharp front corner of the reveal molding is tight to the body to prevent its being ripped loose by car wash brushes, etc.
* One source that MIG welders are available from is Henning Hansen, P.O. Box 220, Pickering, ON L1V 2R4 (416) 839-7481.
General Motors bulletins are intended for use by professional technicians, not a "do-it-yourselfer". They are written to inform those technicians of conditions that may occur on some vehicles, or to provide information that could assist in the proper service of a vehicle. Properly trained technicians have the equipment, tools, safety instructions and know-how to do a job properly and safely. If a condition is described, do not assume that the bulletin applies to your vehicle, or that your vehicle will have that condition. See a General Motors dealer servicing your brand of General Motors vehicle for information on whether your vehicle may benefit from the information.
