Radiator Replacement All
Removal Procedure
- Drain the coolant from the radiator.

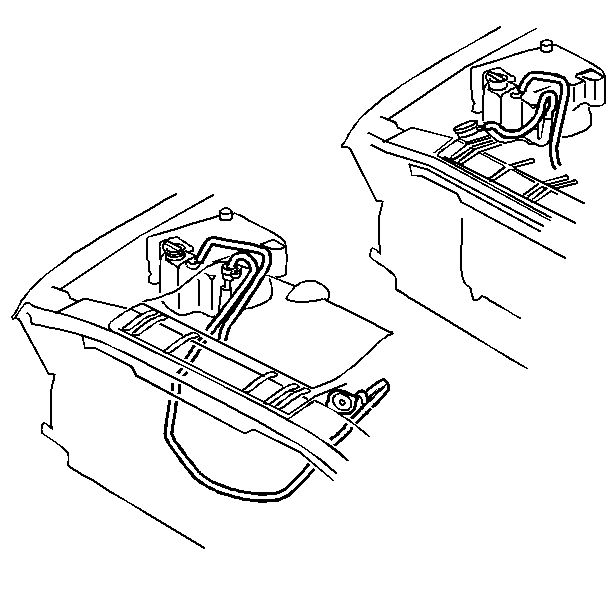
- Disconnect the coolant
recovery reservoir hose.
- Loosen the radiator hose clamps.
- Disconnect the (upper) radiator inlet hose from the radiator.
Refer to
Radiator Hose Replacement
.

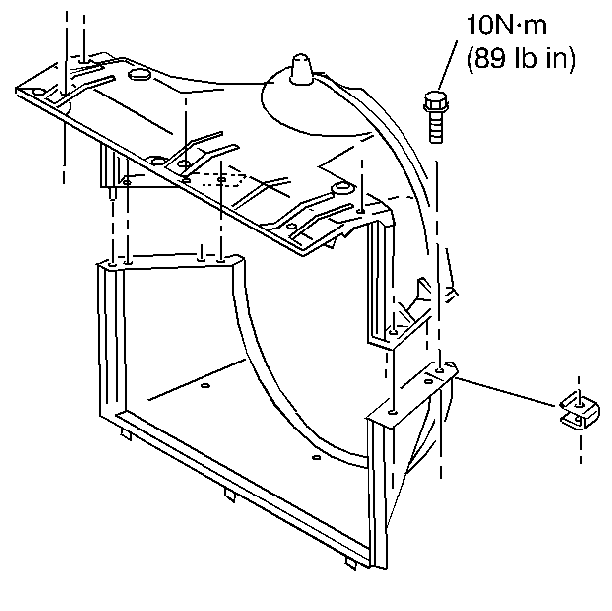
- Remove the upper fan shroud.
Refer to
Fan Shroud Replacement
- Disconnect the (lower) radiator outlet hose from the radiator.
- Disconnect the heater hose from the radiator.
- Disconnect the engine oil cooler lines from the radiator (if equipped).
Refer to
Oil Cooler Hose/Pipe Replacement
.
- Disconnect the transmission oil cooler lines from the radiator,
if equipped.
- Lift the lower fan shroud just enough to disengage the locating
tabs.

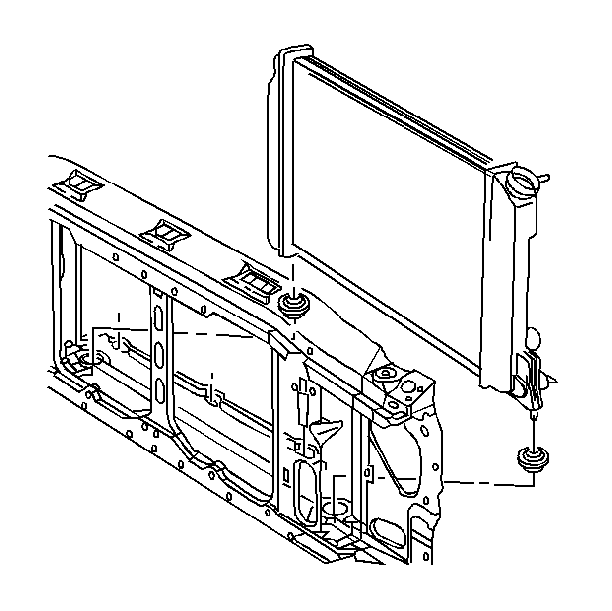
- Remove the radiator by
lifting it up and out of the vehicle.
- Lift the lower fan shroud from the vehicle.
- Inspect all sealing surfaces for deterioration or signs of leakage.
Installation Procedure
- Place the lower fan shroud in position under the cooling fan.
Refer to
Fan Shroud Replacement

- Install the radiator onto
the rubber mounts in the vehicle.
- Position the lower fan shroud against the radiator, while engaging
the locating tabs.
- Connect the engine oil cooler line nuts to the radiator, if equipped.
Refer to
Oil Cooler Hose/Pipe Replacement
.
- Connect the transmission oil cooler line nuts to the radiator,
if equipped.
Tighten
Tighten the oil cooler line nuts to 24 N·m (18 lb ft).
Refer to Fastener Tightening Notice in General Information.
- Connect the radiator outlet hose to the radiator. Refer to
Radiator Hose Replacement
.
- Connect the heater hose to the radiator.

- Fasten the upper fan shroud
to the lower fan shroud. Refer to
Fan Shroud Replacement
- Connect the radiator inlet hose to the radiator. Refer to
Radiator Hose Replacement
.

- Connect the coolant recovery
reservoir hose to the radiator.
- Fill the radiator with the specified coolant and concentration.
Refer to
Radiator Replacement
- Check the cooling system for leaks. Refer to Radiator Leak Testing (On and Off Vehicle)
Radiator Replacement Inspection
Radiator Maintenance
Check the radiator for bent fins or signs of leakage. Repair or replace
leaking radiator cores. Do not seal temporarily with a sealer type antifreeze
or coolant additive. Remove any stones from between the fins. Clean loose
debris from the radiator core. To maintain efficient heat dissipation, an
occasional external flushing with water removes the majority of the dirt accumulation.
Direct a stream of moderate water pressure from behind the radiator core to
force debris out in the opposite direction of entry. Direct the water stream
in line with the fins to reduce the possibility of bending the fins. Clean
the road film from the radiator core with a quality grease solvent. Blow the
solvent with compressed air from the rear to the front of the radiator core
for more efficient cleaning. To ensure a thorough cleaning remove the grille
and the fan shroud.
Inspection Procedure
- Remove the radiator cap.
- Look for plugged tubes. Look for scale on the inside of the tank.
- Test the radiator as described in Radiator Testing.
- Replace a badly plugged radiator.
- Check the coolant level. If it is low, add the recommended coolant
and concentration. Refer to
Coolant Recovery System
.
- Check the condition of the hoses.
| • | Tighten, or replace the hose clamps where leakage is evident. |
| • | Replace cracked, stripped or corroded clamps. |
| • | Check the hoses for a spongy or cracked appearance. |
- Check the radiator core for leaks.
- Check for dirt obstructing the air passages which reduces the
transfer of heat.
- Check the coolant recovery tank for leaks.
- Inspect the radiator mounting.
| • | Check the rubber bumpers. |
| • | Check that the radiator mounting bolts are secure. |
| • | Check the radiator supports. |
| • | Check the stabilizer rods. |
| • | Check the radiator core side flanges. |
- Inspect the cooling fan.
| • | Check the fan blade-to-radiator core clearances. |
| • | Check the fan blade-to-fan shroud clearances. |
| • | Check that the fan attaching bolts are all in place. |
| • | Check the fan attaching bolts for proper torque. |
| • | Replace the fan if a blade is bent. |
| - | The distance to the shroud from the fan blade should be equal
around the entire perimeter of the shroud. |
| - | Correct as necessary after making any adjustment to the fan assembly,
mounting bracket, or the coolant pump hub. |
- Inspect the radiator filler cap.
| • | Check the seal for cracks. |
| • | Check the seal for signs of separation. |


