Wheel Hub Bolt Replacement RWD
Removal Procedure
Tools Required
J 9746-02 Wheel Stud Remover
- Raise and suitably support the vehicle. Refer to Lifting and Jacking the Vehicle in General Information.
- Remove the wheel assembly. Refer to Wheel Removal in Tires and Wheels.
- Remove the rotor. Refer to Front Wheel Hub, Bearing, and Seal Replacement .
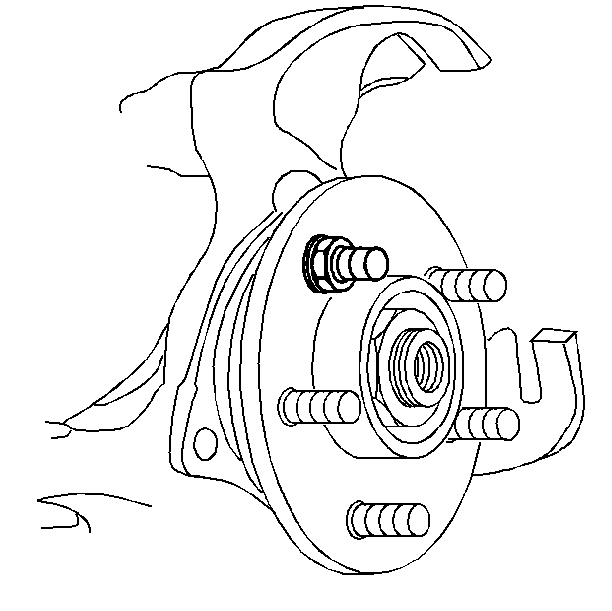
- Remove the wheel bolt.
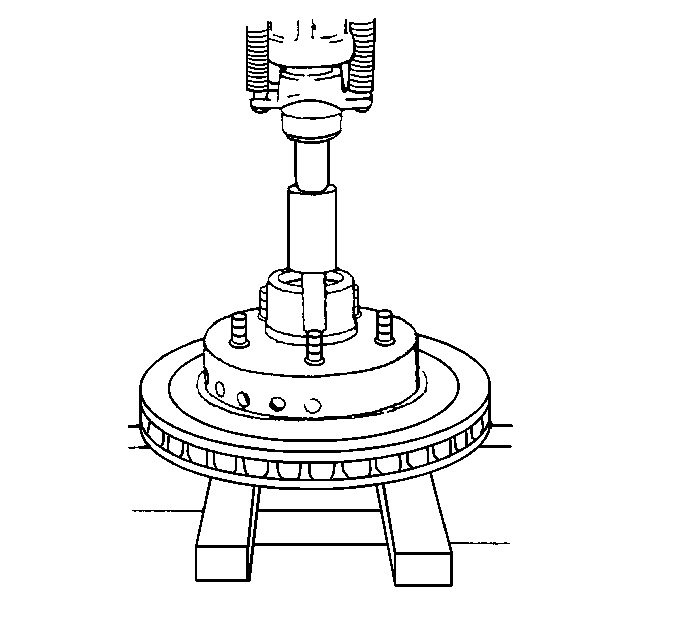
| • | Press the bolt out using an arbor press. |
| • | Do not damage the wheel mounting surface on the hub flange. |
Installation Procedure
- Install the bolt into the hole in the hub.
- Install the rotor. Refer to Front Wheel Hub, Bearing, and Seal Replacement .
- Install the wheel assembly. Refer to Wheel Installation in Tires and Wheels.
- Lower the vehicle.

| 1.1. | Start the serrated bolt into the hole in the hub by tapping lightly with a hammer. |
| 1.2. | The bolt must be square with the hub before pressing on the arbor press. |
Wheel Hub Bolt Replacement 4WD
Removal Procedure
Tools Required
J 6627-A Wheel Stud Remover
- Raise and suitably support the vehicle with safety stands. Refer to Lifting and Jacking the Vehicle in General Information.
- Remove the tire and the wheel. Refer to Wheel Removal in Tires and Wheels.
- Remove the caliper mounting bolts.
- Remove the brake caliper and hang the caliper from the suspension.
- Remove the rotor.
- Remove the wheel hub bolt using J 6627-A .
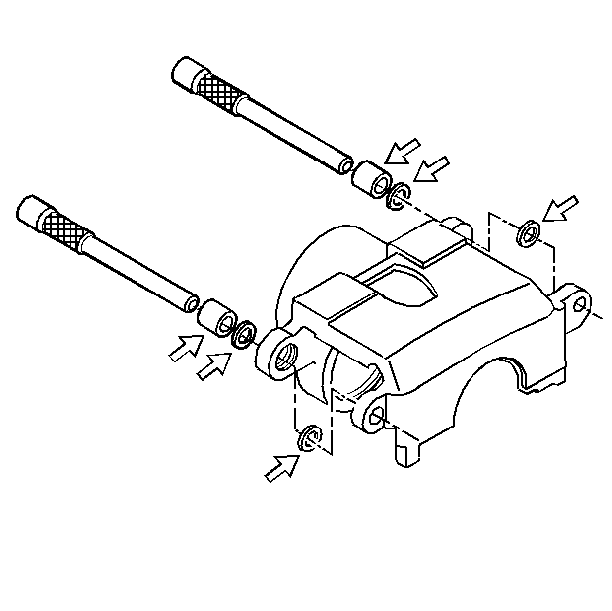
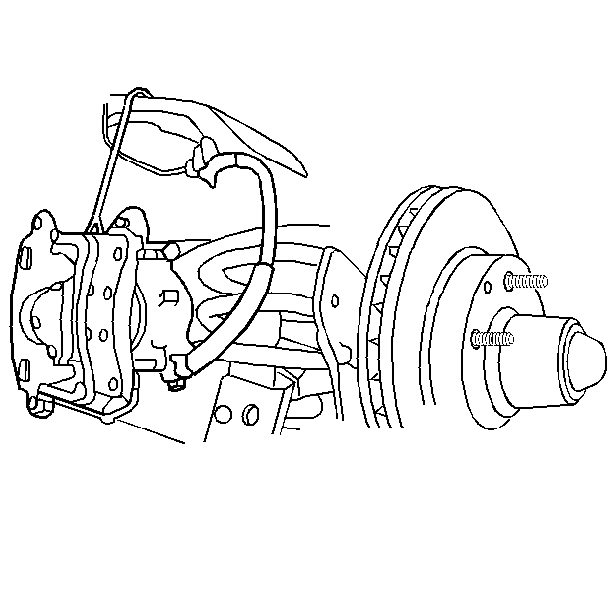
Notice: Support the caliper with a piece of wire to prevent damage to the brake line.
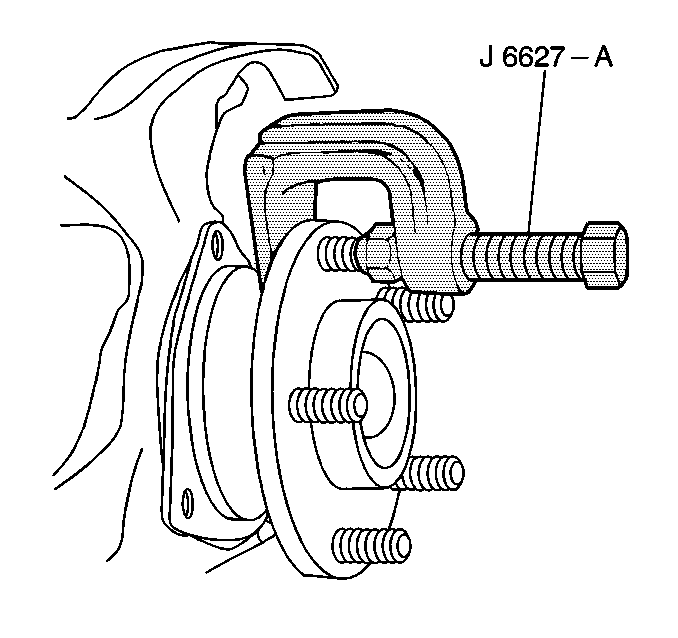
Important: Do not hammer on a wheel hub bolt.
Installation Procedure
- Install the wheel hub bolt to the hub and bearing assembly.
- Install four washers and the nut to the wheel hub bolt.
- Remove the nut and the washers.
- Install the rotor.
- Install the caliper and the caliper mounting bolts.
- Install the tire and the wheel. Refer to Wheel Installation in Tires and Wheels.
- Lower the vehicle.
Notice: Use the correct fastener in the correct location. Replacement fasteners must be the correct part number for that application. Fasteners requiring replacement or fasteners requiring the use of thread locking compound or sealant are identified in the service procedure. Do not use paints, lubricants, or corrosion inhibitors on fasteners or fastener joint surfaces unless specified. These coatings affect fastener torque and joint clamping force and may damage the fastener. Use the correct tightening sequence and specifications when installing fasteners in order to avoid damage to parts and systems.
Tighten
Tighten the wheel hub nut to 130 N·m (95 lb ft),
drawing in the wheel hub bolt.

Notice: Make sure the brake hose is not twisted or kinked after installation. Damage to the hose could result.
Tighten
Tighten the caliper mounting bolts to 115 N·m (85 lb ft).
