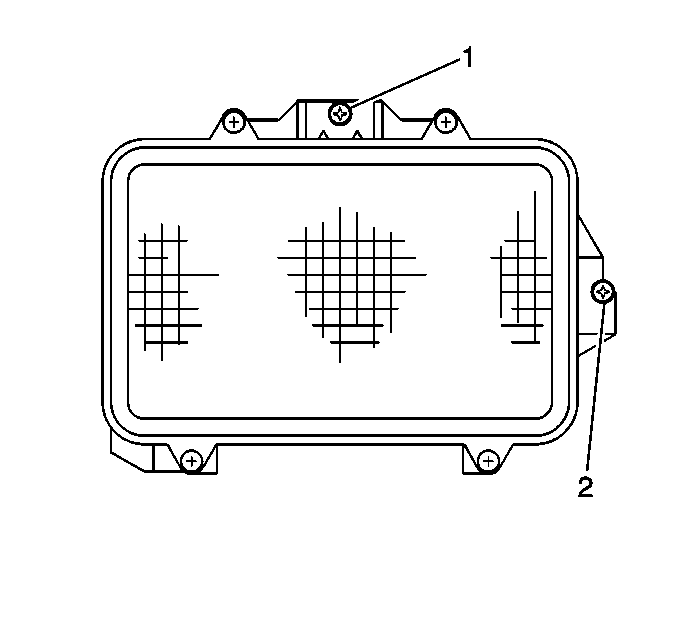
Adjustment Procedure
The front foglamps can be adjusted by turning the adjustment screws. On the Bravada utility, the adjustment screw is located above the center of the front foglamp. On the Envoy utility, the adjustment thumb screw is located on the back side of the lamp, under the electrical connector. Turning the adjustment screw clockwise raises the aim, and turning the screw counter-clockwise lowers the aim. On all other vehicles, the adjustment screw(s) is located above the center and to the side of the lens on the lamp assembly. Turning the screw clockwise lowers the aim, and turning the screw counter-clockwise raises the aim. Some front foglamps can be adjusted horizontally also.
The front foglamps can be adjusted using the screen method. Refer to Headlamp Adjustment for information on setting up an aiming screen. To aim the foglamps using the screen method:
- Position the vehicle squarely with the screen, so that the front surfaces of the foglamps are 7.62 m (25 ft) from the aiming screen.
- Ensure that all vehicle components are properly installed, if other work has been performed on the vehicle. Stop all other work on the vehicle.
- Ensure that the vehicle has ½ tank of fuel or less.
- Close all of the vehicle doors.
- Rock the vehicle to stabilize the suspension.
- Using the adjuster screws (1,2), adjust the height of the horizontal tape line on the aiming screen so that the distance between the line and the floor is 101.6 mm (4 in) LESS than the distance between the floor and the horizontal centerline of the front foglamps.
- Turn on the front foglamps, and block the light from the headlamps, if necessary.
- Observe the top edge of the high intensity zones on the aiming screen.

Important: The top edge of the high intensity zones must be at or below the level of the horizontal tape line.
