For 1990-2009 cars only
Removal Procedure
- Remove the caliper bracket mounting bolts.
- Remove and suspend the caliper and caliper bracket assembly.
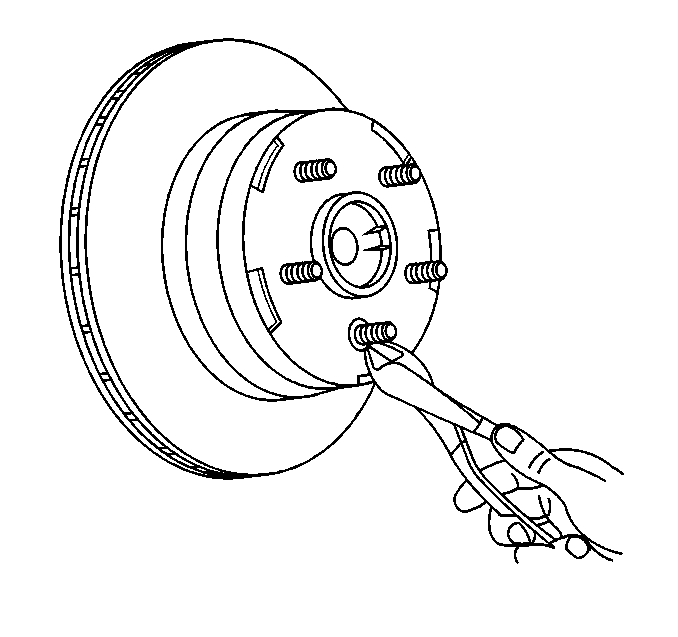
- Remove and dispose of the sheet metal retainers.
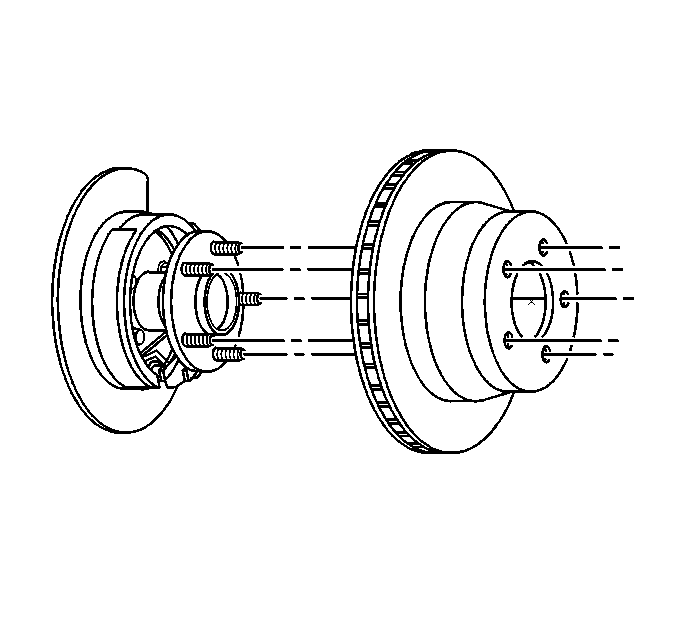
- Remove the rotor. Slowly turn the rotor while pulling the rotor away from the axle flange.
- Inspect and clean all parts. Replace parts as necessary.
- Refinish the rotor if necessary. Refer to Brake Rotor Refinishing .
Important: Do not disconnect the brake hose from the caliper or separate the caliper from the caliper bracket.
Notice: Do not allow the brake components to hang from the flexible brake hoses. Damage to the brake hoses could result.


Installation Procedure
Tools Required
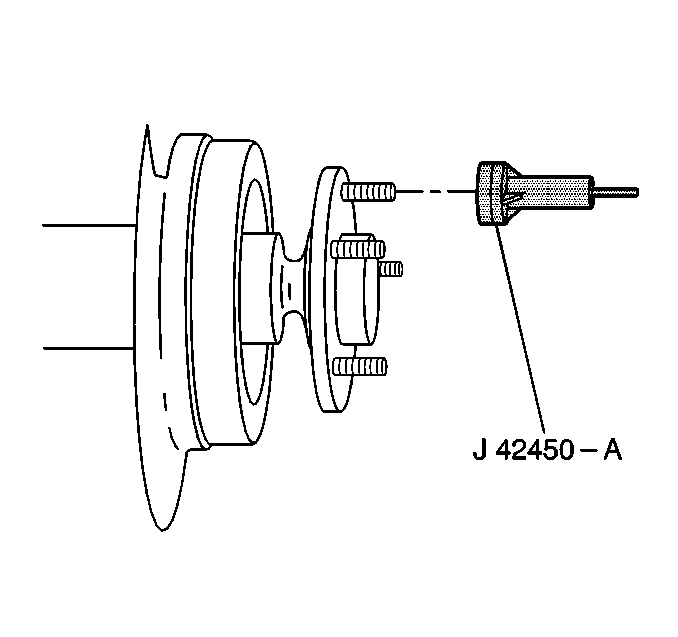
J 42450-A Hub Cleaning Kit
Caution: Do not move the vehicle until a firm brake pedal is obtained. Failure to obtain a firm pedal before moving vehicle may result in personal injury.
Notice: Whenever the rotor has been separated from the axle flange, clean any rust or foreign material from the mating surface of the axle flange and brake rotor. Failure to do this may result in increased lateral runout of the rotor and brake pulsation.
- Use the J 42450-A in order to clean the axle flange.
- Install the rotor. Slowly turn the rotor while pushing the rotor on the axle flange.
- Install the brake caliper bracket assembly. Refer to Brake Caliper Bracket Replacement .
- Install the brake pads. Refer to Rear Disc Brake Pads Replacement .
- Install the brake caliper. Refer to Rear Brake Caliper Replacement .
- Burnish replaced or refinished rotors. Refer to Brake Pad and Rotor Burnishing .


