Removal Procedure
- Remove the engine oil pan. Refer to Oil Pan Replacement .
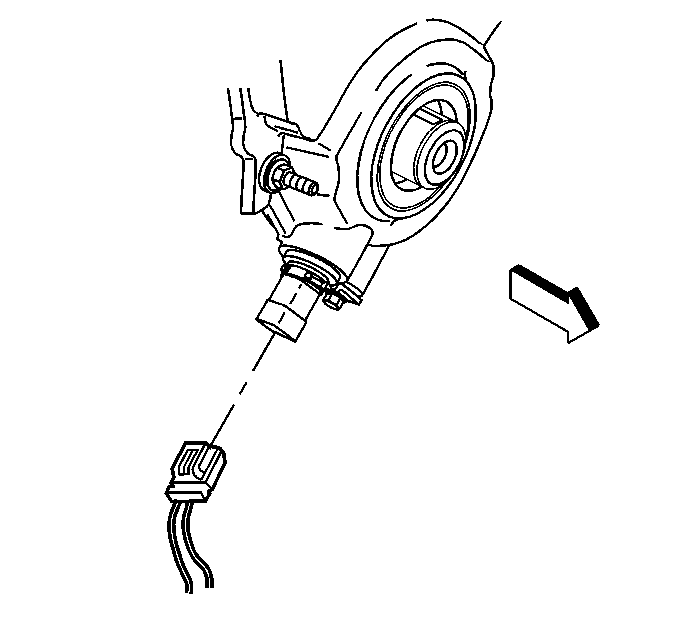
- Disconnect the crankshaft position (CKP) sensor electrical connector.
- Remove the crankshaft balancer. Refer to Crankshaft Balancer Replacement .
- Remove the water pump. Refer to Water Pump Replacement in Engine Cooling.
- Remove the CKP sensor. Refer to Crankshaft Position Sensor Replacement in Engine Controls - 4.3L.
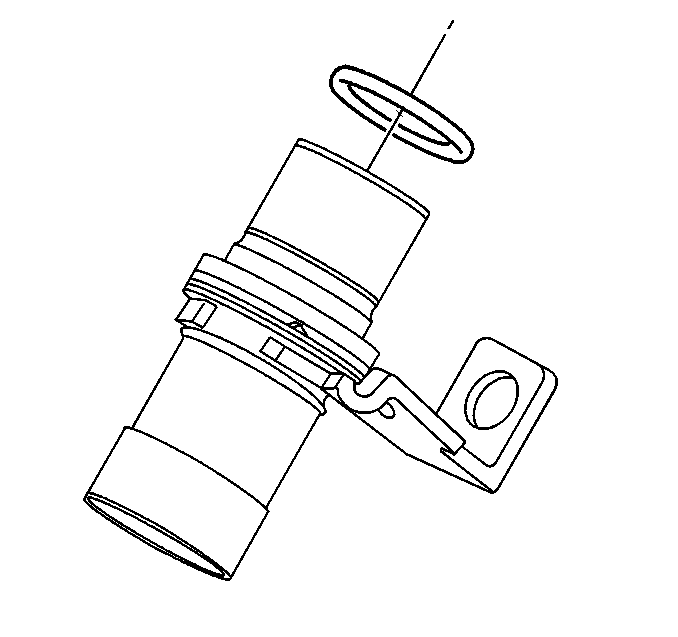
- Remove the crankshaft position sensor seal (O-ring).
- Discard the crankshaft position sensor seal (O-ring).
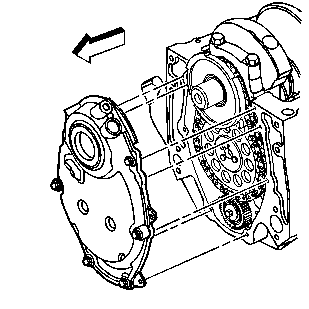
- Remove the engine front cover bolts.
- Remove the engine front cover.
- Discard the engine front cover.
- Clean all sealing surfaces.


Important: After the composite engine front cover is removed do not reinstall the engine front cover. Always install a NEW engine front cover.
Installation Procedure
- Install the NEW engine front cover.
- Install the engine front cover bolts.
- Lubricate the NEW crankshaft position sensor seal (O-ring) with clean engine oil.
- Install the NEW crankshaft position sensor seal (O-ring) onto the crankshaft position sensor.
- Install the CKP sensor. Refer to Crankshaft Position Sensor Replacement in Engine Controls - 4.3L.
- Install the engine oil pan. Refer to Oil Pan Replacement .
- Connect the CKP sensor electrical connector.
- Install the water pump. Refer to Water Pump Replacement in Engine Cooling.
- Install the crankshaft balancer. Refer to Crankshaft Balancer Replacement .

Important: Once the composite engine front cover is removed DO NOT reinstall the engine front cover. Always install a NEW engine front cover.
Notice: Use the correct fastener in the correct location. Replacement fasteners must be the correct part number for that application. Fasteners requiring replacement or fasteners requiring the use of thread locking compound or sealant are identified in the service procedure. Do not use paints, lubricants, or corrosion inhibitors on fasteners or fastener joint surfaces unless specified. These coatings affect fastener torque and joint clamping force and may damage the fastener. Use the correct tightening sequence and specifications when installing fasteners in order to avoid damage to parts and systems.
Tighten
Tighten the bolts to 12 N·m (106 lb in).

Important: DO NOT reuse the original crankshaft position sensor seal (O-ring). When installing the crankshaft position sensor be sure the crankshaft position sensor is fully seated and held stationary in the engine front cover crankshaft position sensor bore. A crankshaft position sensor that is not completely seated will cock in the engine front cover and may result in erratic engine operation.

