Removal Procedure
Tools Required
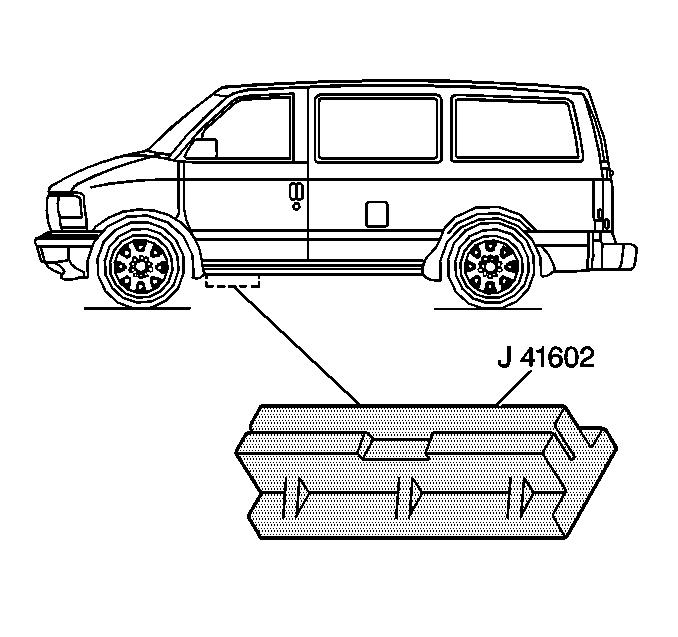
J 41602 Body Protection Hoist Adapter Set.
- Raise the vehicle at the frame. Refer to Lifting and Jacking the Vehicle in General Information.
- Use the J 41602 in order to support the body at the pinchweld flange.
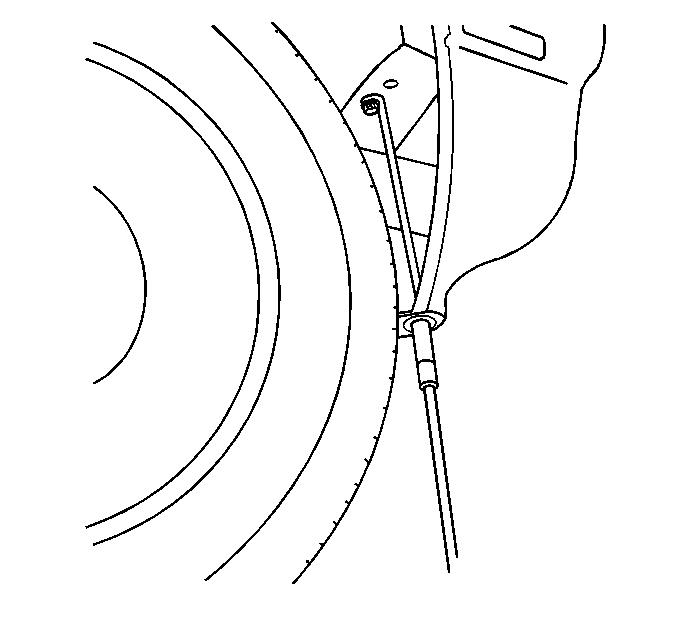
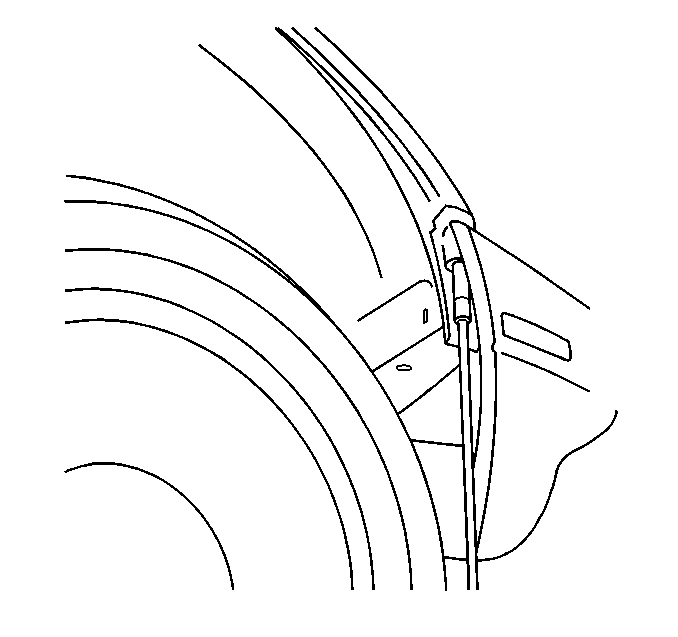
- Remove the bolts that retain the front bumper fascia at the brace.
- Remove the bolts that retain the front bumper fascia at the fender.
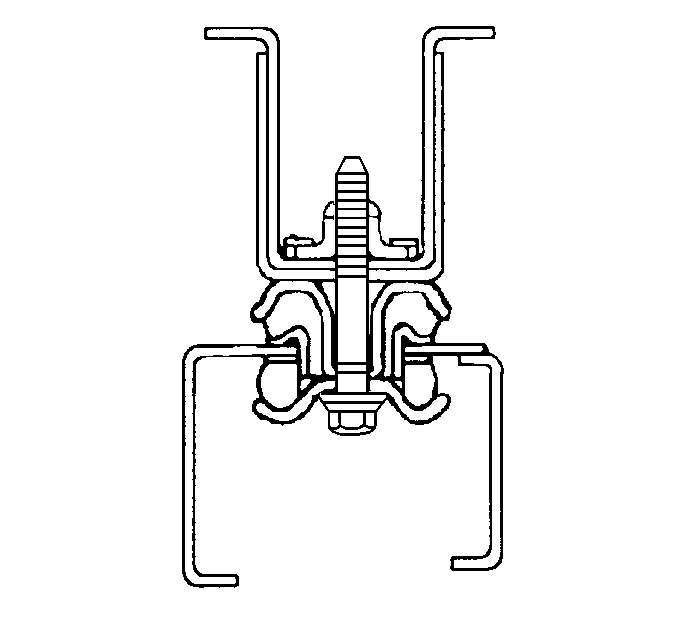
- Remove the bolt, the retainer, and the lower insulator of the mount:
- Remove the upper body insulator.
Important: Properly support the frame and the body while changing the mount. If you are changing only one mount, the entire side on which the mount is placed must be lowered enough to provide clearance for the mount.
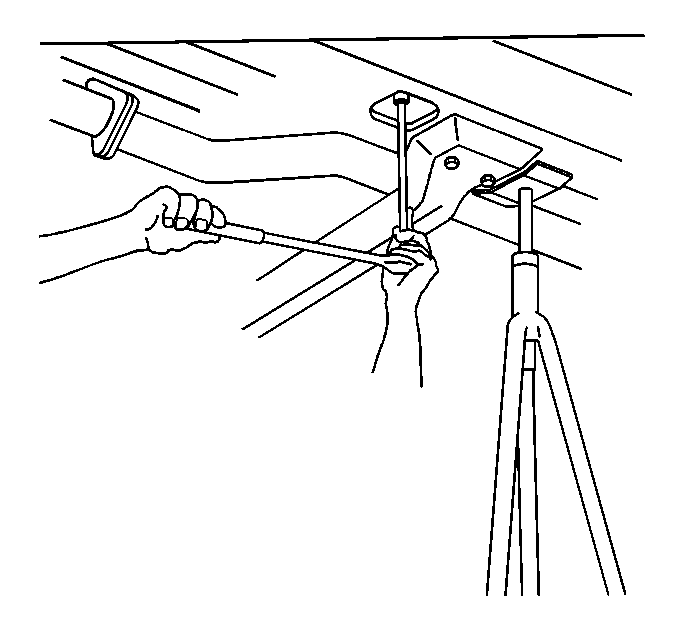
| 5.1. | Loosen the remaining bolts on that side far enough for the upper insulator to be removed. |
| 5.2. | Gradually lower the screw jack in order to allow the frame to come away from the body. |
Installation Procedure
Tools Required
J 41602 Body Protection Hoist Adapter Set.
- Install the upper body insulator:
- Install the lower insulator, the retainer, and the bolt to the mount. Do not tighten.
- Snug the right #2 body mount (2).
- Snug the left #2 body mount (2).
- Tighten the remaining body mounts:
- Reinstall the bumper fascia bolts.
- Remove the screw jack.
- Lower the vehicle.
- Remove the J 41602 from the pinchweld flange.
Notice: Use the correct fastener in the correct location. Replacement fasteners must be the correct part number for that application. Fasteners requiring replacement or fasteners requiring the use of thread locking compound or sealant are identified in the service procedure. Do not use paints, lubricants, or corrosion inhibitors on fasteners or fastener joint surfaces unless specified. These coatings affect fastener torque and joint clamping force and may damage the fastener. Use the correct tightening sequence and specifications when installing fasteners in order to avoid damage to parts and systems.
| 1.1. | Gradually raise the screw jack in order to allow the frame to meet the body. |
| 1.2. | Tighten the bolts of the mounts not replaced. |
Tighten
Tighten the bolts of the mounts to 35 N·m (26 lb ft).
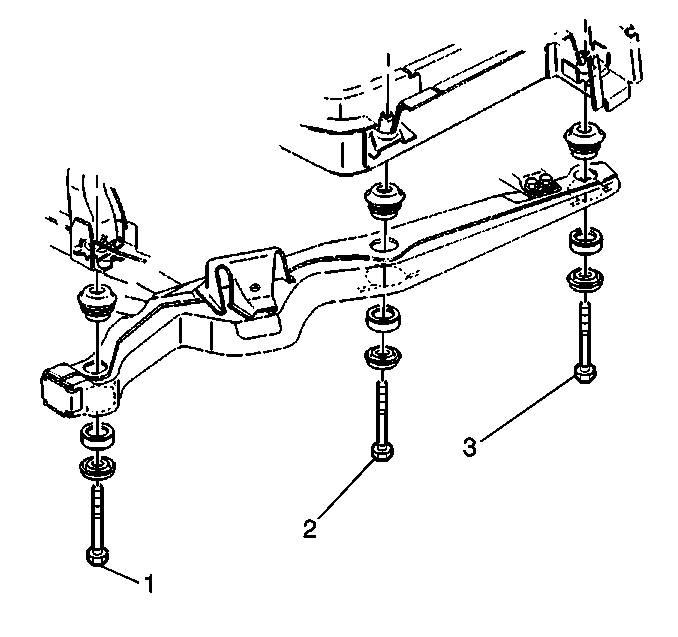
Important: Follow the body mount tightening sequence.
Tighten
| • | Tighten the center mount bolt to 155 N·m (114 lb ft). |
| • | Tighten the end mount bolts to 90 N·m (66 lb ft). |
Tighten
Tighten the bolts to 6 N·m (53 lb in).
