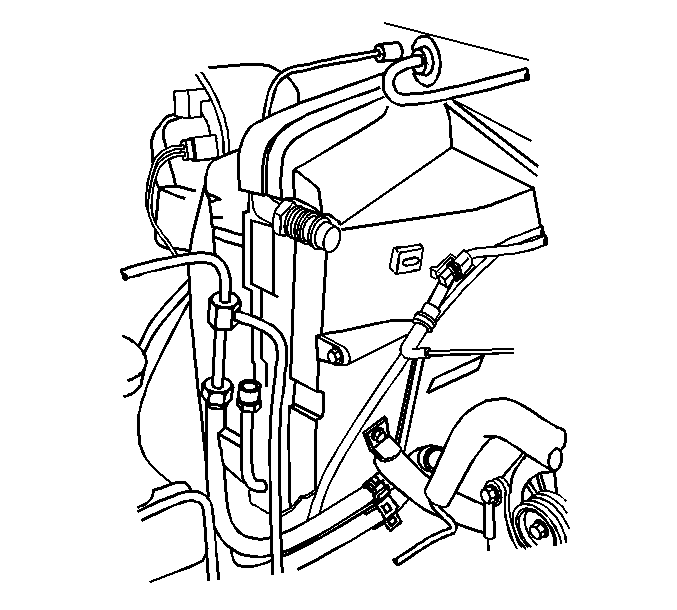
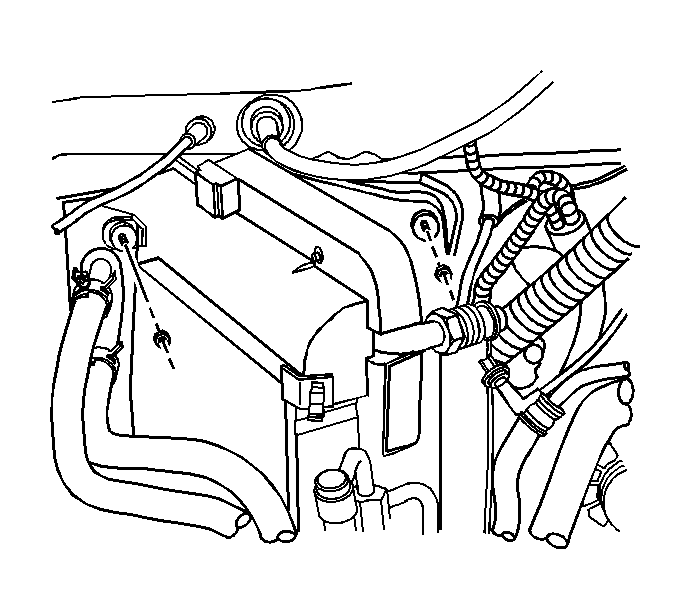
For 1990-2009 cars only
Tools Required
J 39400-A Halogen Leak Detector
Removal Procedure
- Remove the air cleaner assembly. Refer to Air Cleaner Assembly Replacement in Engine Controls - 4.3L.
- Remove the accumulator. Refer to Air Conditioning Accumulator Replacement .
- Remove the coolant recovery reservoir. Refer to Coolant Recovery Reservoir Replacement in Engine Cooling.
- Disconnect the electrical connectors.
- Remove the bypass valve bracket from the outer case.
- Remove the evaporator tube from the accumulator.
- Remove the relay bracket.
- Loosen the evaporator tube nut at the evaporator.
- Remove the evaporator tube from the evaporator.
- Remove the screws from the outer evaporator case.
- Remove the outer case from the module.
- Remove the screws in order to split the evaporator module in half.
- Remove the inner case from the module.
- Remove the evaporator core.


Installation Procedure
- If replacing the evaporator core, add the PAG oil to the evaporator. Refer to Refrigerant System Capacities for capacity information.
- Install the evaporator core.
- Install the inner case to the evaporator module.
- Install the evaporator case screws.
- Install the outer case to the evaporator module.
- Install the screws to the evaporator case.
- Install a new O-ring. Refer to O-Ring Replacement .
- Install the evaporator tube to the evaporator.
- Tighten the evaporator tube nut to the evaporator.
- Install the bypass valve bracket to the outer case.
- Install the relay bracket.
- Connect the electrical connectors.
- Install the accumulator. Refer to Air Conditioning Accumulator Replacement .
- Install the coolant recovery reservoir. Refer to Coolant Recovery Reservoir Replacement in Engine Cooling.
- Install the air cleaner assembly. Refer to Air Cleaner Assembly Replacement in Engine Controls - 4.3L.

Notice: Refer to Fastener Notice in the Preface section.
Tighten
Tighten the screws to 6 N·m (53 lb in).
Tighten
Tighten the screws to 6 N·m (53 lb in).
Tighten
Tighten the nut to 28 N·m (20 lb ft).
