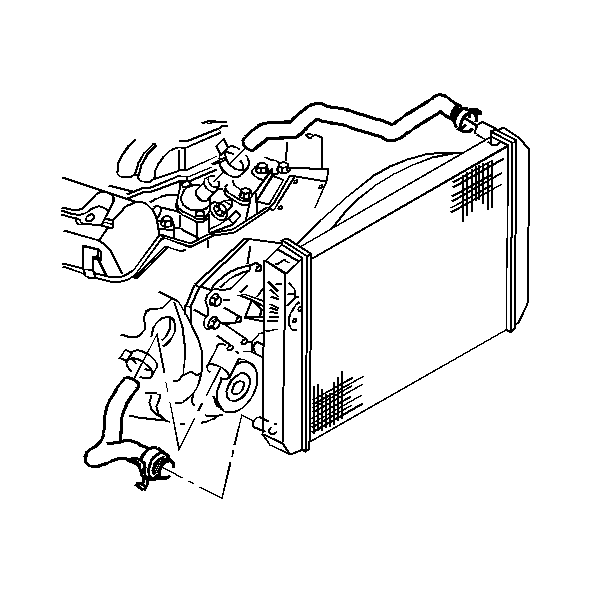
Removal Procedure
- Disconnect the negative battery cable.
- Drain the coolant from the radiator to a level below the hose being removed. Refer to Cooling System Draining and Filling .
- Remove air cleaner assembly. Refer to Air Cleaner Assembly Replacement in Engine Controls.
- Remove the radiator inlet hose and the clamp from the radiator and the coolant outlet (upper hose).
- Remove the radiator outlet hose and the clamp from the radiator and the coolant pump (lower hose).
Caution: Unless directed otherwise, the ignition and start switch must be in the OFF or LOCK position, and all electrical loads must be OFF before servicing any electrical component. Disconnect the negative battery cable to prevent an electrical spark should a tool or equipment come in contact with an exposed electrical terminal. Failure to follow these precautions may result in personal injury and/or damage to the vehicle or its components.
Caution: As long as there is pressure in the cooling system, the temperature can be considerably higher than the boiling temperature of the solution in the radiator without causing the solution to boil. Removal of the pressure cap while the engine is hot and pressure is high will cause the solution to boil instantaneously -- possibly with explosive force -- spewing the solution over the engine, fenders and the person removing the cap.

Installation Procedure
- Connect the radiator outlet hose and the clamps to the radiator and the coolant pump (lower hose).
- Connect the radiator inlet hose and the clamps to the radiator and coolant outlet (upper hose).
- Install air cleaner assembly. Refer to Air Cleaner Assembly Replacement in Engine Controls.
- Fill the coolant to the proper level. Refer to Cooling System Draining and Filling .
- Connect the negative battery cable. Refer to Battery Cable in Engine Electrical.
- Start the engine. After the engine reaches normal operating temperature, check for coolant leaks. Refer to Cooling System Leak Testing .

