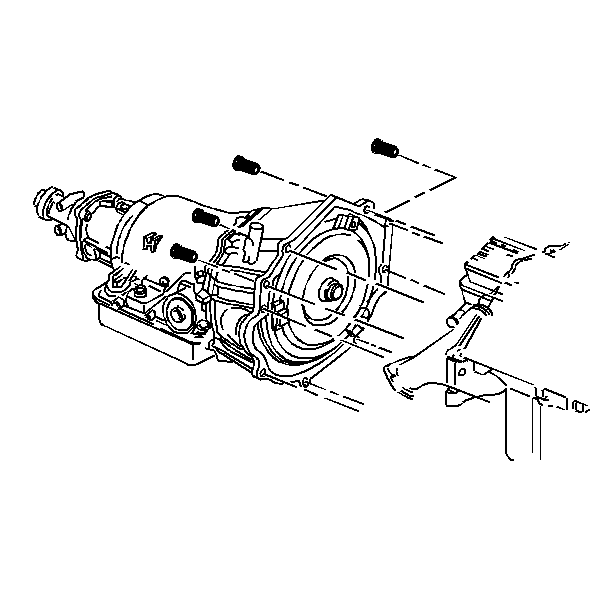
For 1990-2009 cars only
Tools Required
J 21366 Converter Holding Strap
Removal Procedure
- Raise the vehicle. Refer to Lifting and Jacking the Vehicle in General Information.
- Drain the transmission fluid, if necessary. Refer to Automatic Transmission Fluid and Filter Replacement .
- Remove the shift cable from the transmission. Refer to Shift Cable Replacement .
- Remove the rear propeller shaft.
- If equipped with a transfer case, remove the front propeller shaft.
- If equipped with a transfer case, remove the transfer case. Refer to Transfer Case Assembly Replacement in Driveline/Axle.
- Remove the catalytic converter. Refer to Catalytic Converter Replacement in Engine Exhaust.
- Remove the filler tube from the transmission. Refer to Filler Tube Replacement .
- Plug the fluid fill tube opening in the transmission.
- Remove the torque converter bolts. Refer to Flywheel to Torque Converter Bolt Replacement .
- Disconnect the wiring harness connector from the vehicle speed sensor and from the park/neutral position switch.
- Disconnect the transmission oil cooler lines from the transmission. Refer to Oil Cooler Hose/Pipe Replacement .
- Plug the transmission oil cooler lines connectors in the transmission case.
- Remove the starter motor. Refer to Starter Motor Replacement in Engine Electrical.
- Remove nine bolts securing the transmission to the engine.
- Pull the transmission straight back from the engine.
- Install the J 21366 in order to keep the torque converter from sliding off of the transmission turbine shaft.
- Remove the transmission from the vehicle.
- Flush the transmission oil cooler and lines. Refer to Transmission Fluid Cooler Flushing and Flow Test .

Installation Procedure
- Install the J 21366 in order to keep the torque converter from sliding off of the transmission turbine shaft.
- Raise the transmission into place and remove the J 21366 .
- Install the nine bolts securing the transmission to the engine.
- Install the torque converter bolts. Refer to Flywheel to Torque Converter Bolt Replacement .
- Install the starter motor. Refer to Starter Motor Replacement in Engine Electrical.
- Unplug the transmission oil cooler lines connectors in the transmission case.
- Connect the transmission oil cooler lines to the transmission. Refer to Oil Cooler Hose/Pipe Replacement .
- Connect the wiring harness connector to the vehicle speed sensor and the park/neutral position switch.
- Unplug the fluid fill tube opening in the transmission.
- Install the filler tube. Refer to Filler Tube Replacement .
- Install the catalytic converter. Refer to Catalytic Converter Replacement in Engine Exhaust.
- If equipped with a transfer case, install the transfer case. Refer to Transfer Case Assembly Replacement in Driveline/Axle.
- If equipped with a transfer case, Install the front propeller shaft.
- Install the rear propeller shaft.
- Install the shift cable to the transmission. Refer to Shift Cable Replacement .
- Lower the vehicle.
- Fill the transmission with new transmission fluid, if necessary.
- Reset the TAP values. Refer to Adapt Function .

Notice: Refer to Fastener Notice in the Preface section.
Tighten
Tighten the bolts to 47 N·m (35 lb ft).
Important: It is recommended that the transmission adaptive pressure (TAP) information be reset.
Resetting the TAP values using a scan tool will erase all learned values in all cells. As a result, the ECM, PCM or TCM will need to relearn the TAP values. Transmission performance may be affected as new TAP values are learned,