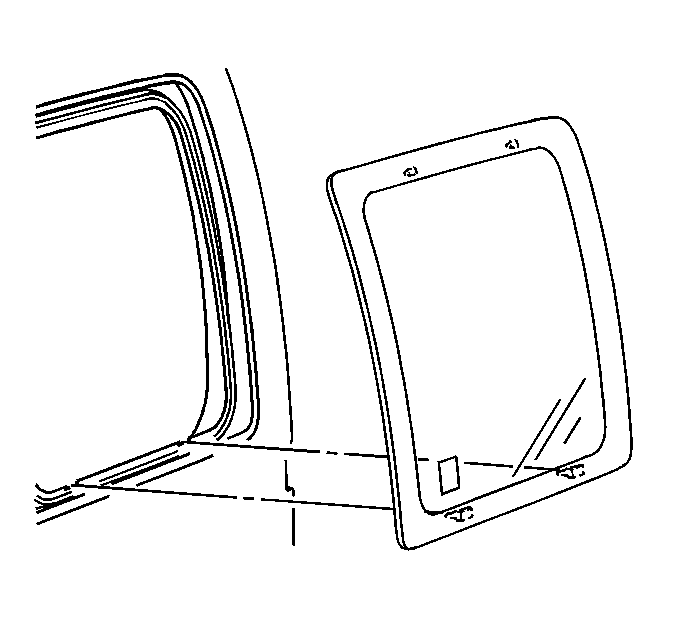
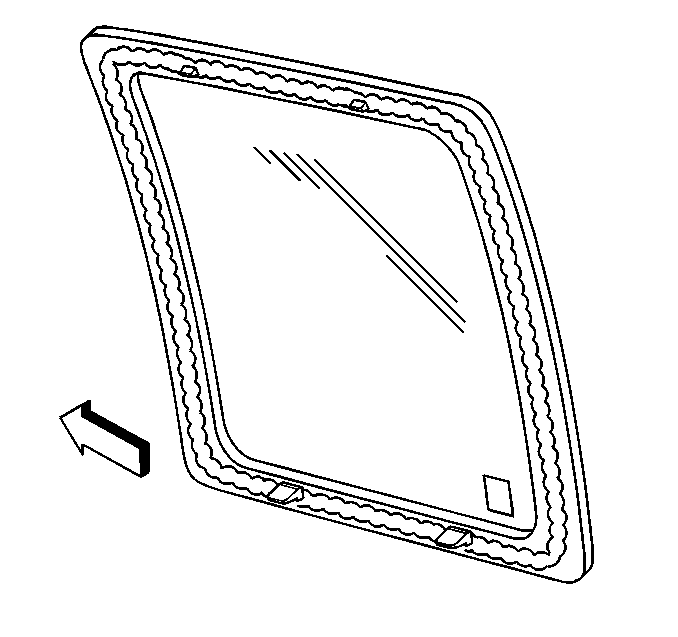
Removal Procedure
Tools Required
J 24402-A Cold Knife
Glass Sealant Remover
- Remove the window garnish molding from the window opening. Refer
to
Rear Door Trim Panel Replacement
in Interior Trim.
- Place a protective covering around the perimeter of the outside
window opening.
- Remove the window using the J 24402-A
.
| 3.1. | Insert the blade between the window and the urethane adhesive. |
| 3.2. | Keeping the blade against the window edge, cut the adhesive from
the window. |
- Clear away any loose adhesive from the frame.
Installation Procedure

- Apply the body primer
on the pinchweld flange in the areas where the paint has come off.
| 1.1. | Use the repair kit GM P/N 12346284 or equivalent
that contains the proper primers and adhesive. |
| 1.2. | Allow the primer to dry. |
- Apply the clear primer to the window covering.
| 2.1. | Apply the primer in an area 18 mm (0.75 in) from
the edge of the glass. |
| 2.2. | Wipe the primer dry immediately. |
- Apply the black primer to the same area as the clear primer.
Allow the primer to dry.

- Apply a urethane adhesive bead to the pinchweld flange.
| 4.1. | Fill in any gaps in the old adhesive. |
| 4.2. | Apply light hand pressure to the glass in order to wet-out the
adhesive and to bond the glass to the pinchweld flange. |
- Install the window garnish molding to the window opening. Refer
to
Rear Door Trim Panel Replacement
in Interior Trim.
- Allow the vehicle to stand for a minimum of six hours
at room temperature, 22°C (70°F) at 30 percent humidity, in
order to let the adhesive dry.


