Valve Rocker Arm Cover Replacement Left Side
Removal Procedure
- Remove the engine cover. Refer to Engine Cover Replacement in Interior Trim.
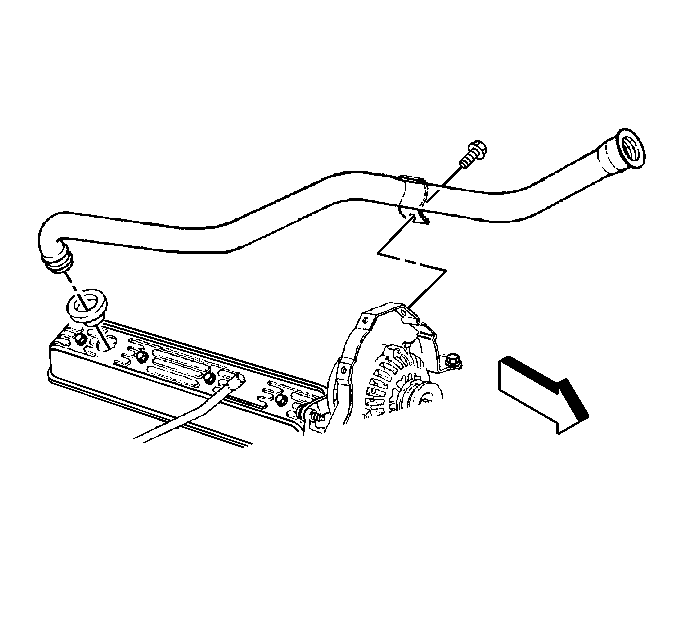
- Remove the screw retaining the oil fill tube to the generator bracket.
- Remove the oil fill tube from the engine.
- Use the following procedure in order to gain access to the right side valve cover:
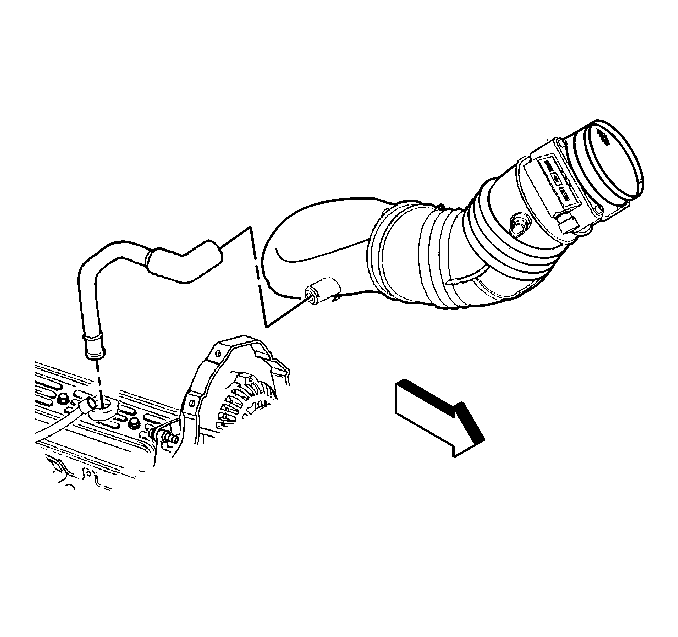
- Remove the crankcase vent tube from the right side valve cover.
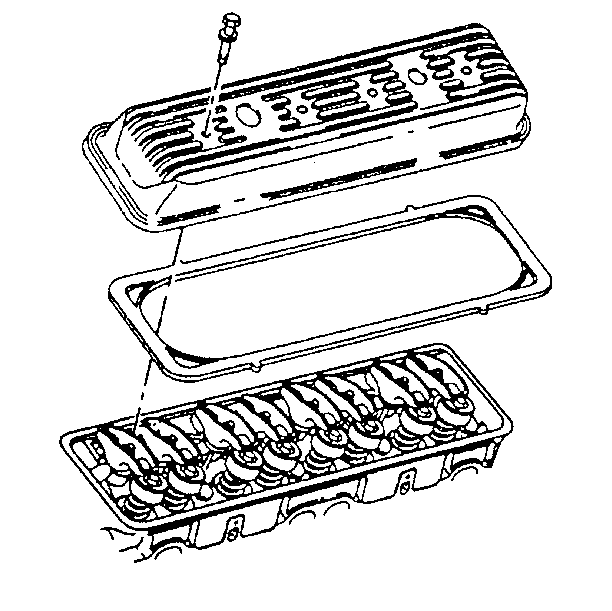
- Remove the valve covers from the engine.Refer to Valve Rocker Arm Cover Installation (Left) in Engine Mechanical.
- Clean all sealing surfaces. Refer to Valve Rocker Arm Cover Clean and Inspect in Engine Mechanical.
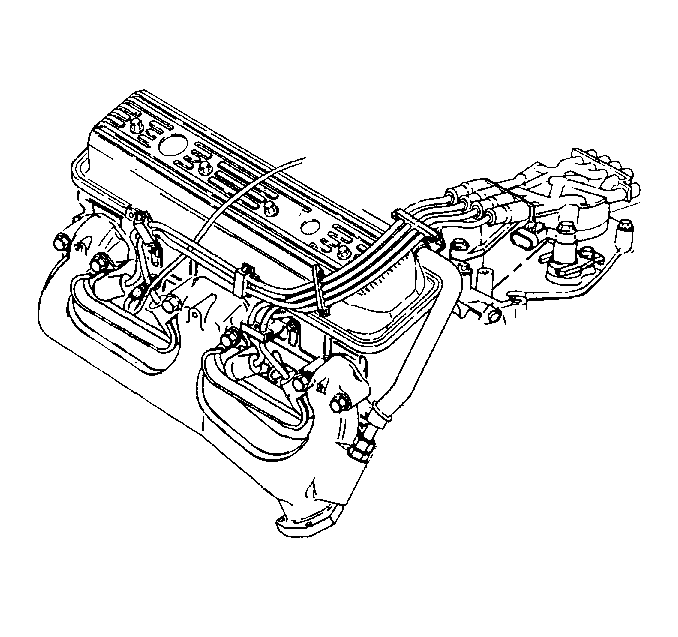
| 4.1. | Disconnect the ignition control module (ICM) electrical connector. |
| 4.2. | Open the engine electrical harness retainer. |
| 4.3. | Reposition the engine electrical harness over the ignition coil. |
| 4.4. | Disconnect the spark plug wires from the distributor cap. Refer to Distributor Replacement in Engine Electrical. |
| 4.5. | Remove AIR Bypass hose assembly, if so equiped. |
Installation Procedure
- Install the right valve cover to the engine. Refer to Valve Rocker Arm Cover Installation (Right) in Engine Mechanical.
- Install the crankcase vent tube to the right side valve cover.
- Connect the spark plug wires to the distributor cap. Refer to Distributor Replacement in Engine Electrical.
- The wires and the distributor cap are numbered in order to aid assembly.
- Install AIR Bypass Hose assembly, if so equiped.
- Use the following procedure in order to reposition the engine electrical harness:
- Install the engine oil fill tube to the engine.
- Install the screw to the generator bracket.
- Install the negative battery cable. Refer to Battery Cable Replacement in engine electrical.
- Install the engine cover. Refer to Engine Cover Replacement in Interior Trim.


| • | Reposition the engine electrical harness into the harness retainer. |
| • | Close the engine electrical harness retainer. |
| • | Connect the ignition control module (ICM) electrical connector. |
Tighten
Tighten the screw to 20 N·m (15 lb ft).
Valve Rocker Arm Cover Replacement Right Side
Removal Procedure
- Remove the engine cover. Refer to Engine Cover Replacement in Interior Trim.
- Disconnect the spark plug wires from the distributor cap. Refer to Distributor Replacement in Engine Electrical.
- Remove the PCV valve from the valve cover and set it aside.
- Disconnect the coolant sender electrical connector.
- Remove AIR Bypass Hose assembly, if so equiped.
- In order to gain access, remove the A/C compressor, if equipped. Refer to Condenser Replacement in HVAC.
- Remove the power steering pulley from the power steering pump. Refer to Power Steering Pump Pulley Replacement in Steering.
- Remove the power steering pump mounting bracket using the following procedure:
- Remove the left valve cover from the engine. Refer to Valve Rocker Arm Cover Installation (Left) in Engine Mechanical.
- Clean all sealing surfaces. Refer to Valve Rocker Arm Cover Clean and Inspect .
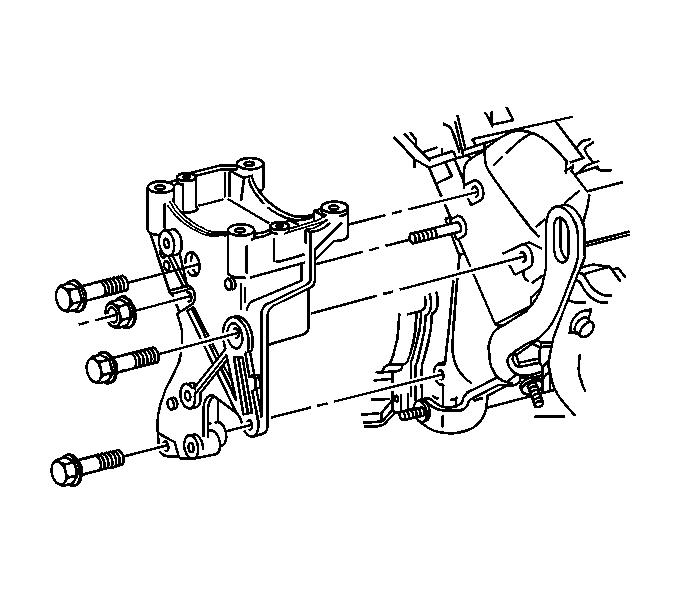
| • | Remove two nuts from the back of the power steering pump. |
| • | Remove the nut from the stud. |
| • | Remove the three bolts from the mounting bracket. |
| • | Slide the power steering pump mounting bracket forward, with the power steering pump still attached. |
| • | Lay the pump and the bracket aside. |

Installation Procedure
- Install the left valve cover to the engine.
- Install the power steering pump pulley to the power steering pump. Refer to Power Steering Pump Pulley Replacement in Steering.
- Install the power steering pump mounting bracket using the following procedure:

Refer to Valve Rocker Arm Cover Installation (Left) .
| • | Install the power steering pump bracket onto the stud. |
| • | Install the three bolts finger tight. |
| • | Install the two nuts to the back of the power steering pump finger tight. |
Notice: Use the correct fastener in the correct location. Replacement fasteners must be the correct part number for that application. Fasteners requiring replacement or fasteners requiring the use of thread locking compound or sealant are identified in the service procedure. Do not use paints, lubricants, or corrosion inhibitors on fasteners or fastener joint surfaces unless specified. These coatings affect fastener torque and joint clamping force and may damage the fastener. Use the correct tightening sequence and specifications when installing fasteners in order to avoid damage to parts and systems.
Tighten
Tighten the nuts and the bolts to 44 N·m (32 lb ft).

| • | Install the A/C compressor, if equipped. Refer to Condenser Replacement in HVAC. |
| • | Connect the coolant sender electrical connector. |
| • | Install the PCV valve to the valve cover. |
| • | Install AIR Bypass Hose assembly, if so equiped. |
| • | Connect the spark plug wires to the distributor cap. Refer to Distributor Replacement in Engine Electrical. |
| • | Install the engine cover. Refer to Engine Cover Replacement in Interior Trim. |
