For 1990-2009 cars only
Removal Procedure
Tools Required
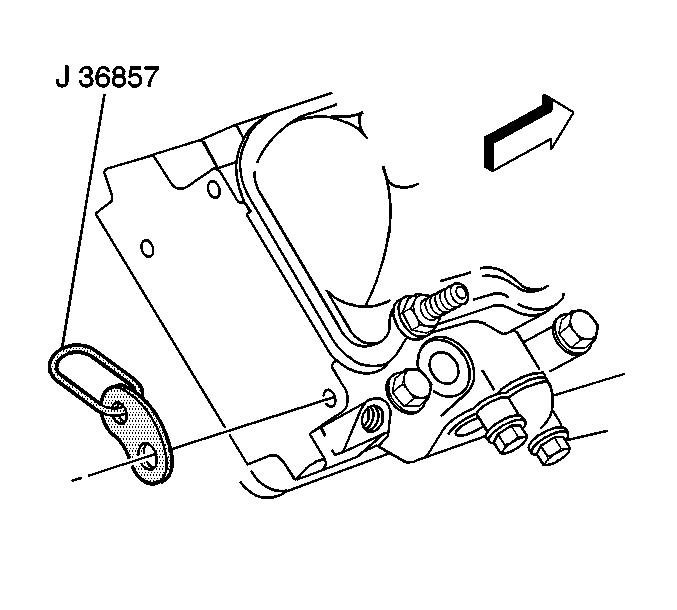
J 36857 Engine Lift Bracket
- Remove the engine cover from the vehicle. Refer to Engine Cover Replacement in Body and Accessories.
- Disconnect the battery negative cables from the batteries.
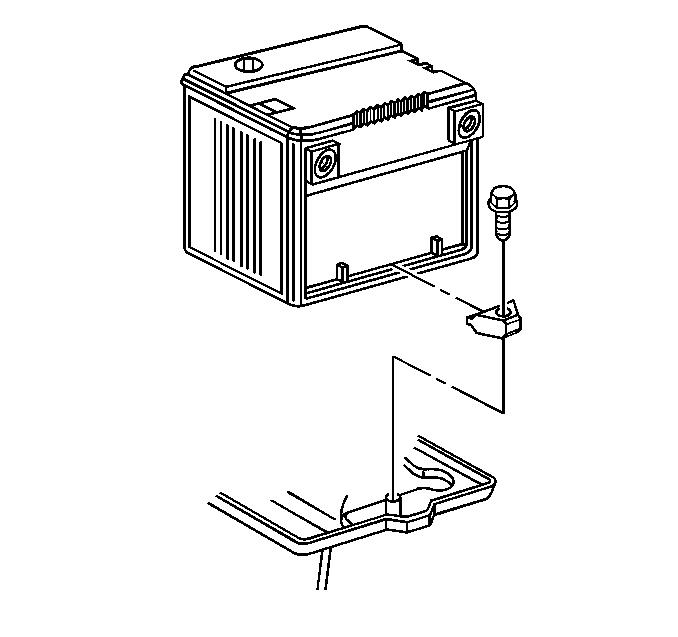
- Remove the battery from the vehicle. Refer to Battery Replacement in Engine Electrical.
- Remove the air cleaner assembly from the vehicle. Refer to Air Cleaner Assembly Replacement in Engine Controls-- 6.5L.
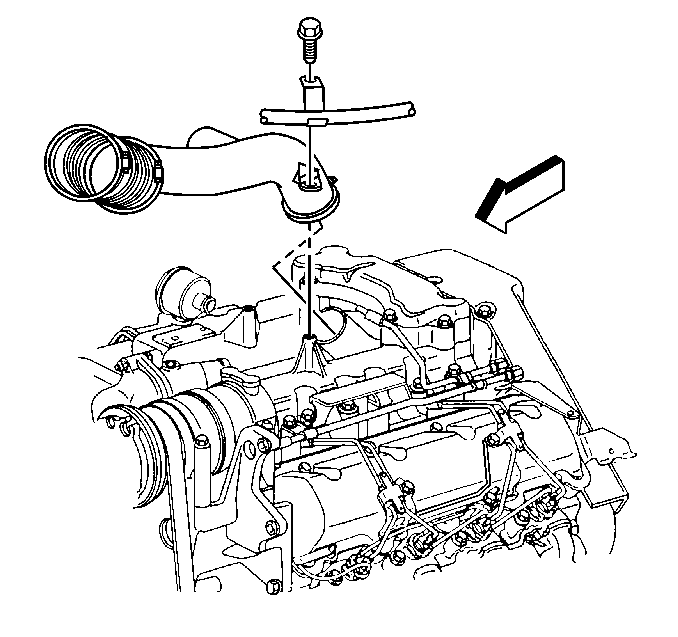
- Remove the air intake duct from the throttle body.
- Drain the cooling system. Refer to Cooling System Draining and Filling in Engine Cooling.
- Remove the surge tank from the vehicle. Refer to Surge Tank (Diesel) Replacement in Engine Cooling.
- Remove the front bumper from the vehicle. Refer to Front Bumper Replacement in Body and Accessories.
- Remove the grill and park light assembly from the vehicle. Refer to Grille Replacement in Body and Accessories.
- Evacuate the air conditioning system. Refer to Refrigerant Recovery and Recharging in HVAC.
- Remove the radiator support from the vehicle. Refer to Radiator Support Replacement in Body and Accessories.
- Remove the radiator from the vehicle. Refer to Radiator Replacement in Engine Cooling.
- Remove the air conditioning condenser from the vehicle. Refer to Condenser Replacement in HVAC.
- Remove the drive belt from the vehicle. Refer to Drive Belt Replacement .
- Remove the radiator hoses from the engine. Refer to Radiator Hose Replacement in Engine Cooling.
- Remove the engine wiring harness and the connectors.
- Remove the ground wires from the engine block. Refer to Engine Ground Strap Replacement .
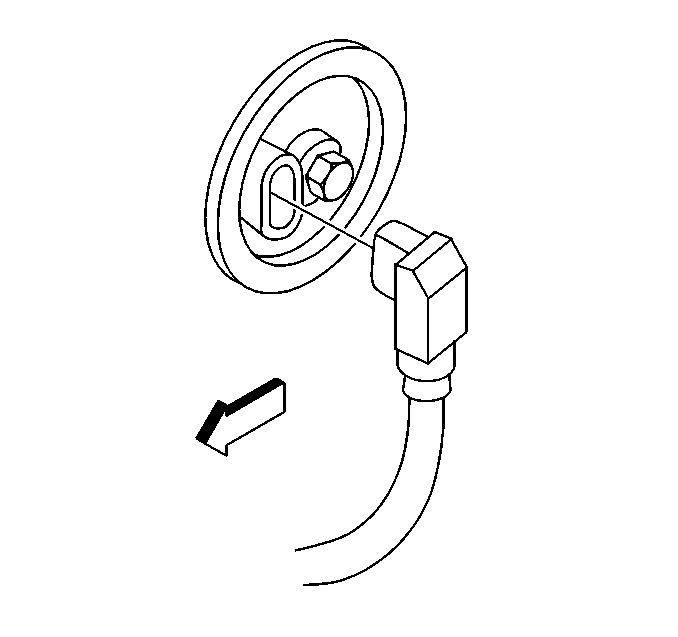
- Disconnect the electrical connector for the block heater.
- Remove the engine oil fill tube.
- Remove the engine oil level indicator and tube. Refer to Oil Level Indicator and Tube Replacement .
- Remove the left accessory bracket from the engine block. Refer to Accessory Brackets Replacement .
- Remove the right accessory bracket from the engine block. Refer to Accessory Brackets Replacement .
- Remove the upper intake manifold from the lower intake manifold. Refer to Intake Manifold Replacement .
- Remove the lower intake manifold from the cylinder head. Refer to Intake Manifold Replacement .
- Remove the turbocharger from the engine block. Refer to Turbocharger Replacement .
- Remove the exhaust manifolds from the engine block. Refer to Exhaust Manifold Replacement .
- Remove the engine front cover from the engine block. Refer to Engine Front Cover Replacement .
- Remove the fuel injection pump from the engine block. Refer to Fuel Injection Pump Replacement in Engine Controls-6.5L.
- Remove the transmission shift cable connector.
- Raise the vehicle and support with safety stands.
- Remove the starter motor from the engine block. Refer to Starter Motor Replacement .
- Remove the flywheel inspection cover.
- Remove the torque converter to flywheel bolts.
- Remove the engine cooler lines from the retaining brackets. Refer to Engine Oil Cooler Hose/Pipe Replacement in Engine Cooling.
- Remove the bolts from the transmission to the engine block.
- Remove the safety stands and lower the vehicle.
- Install the J 36857 and a length of chain, using GM P/N 23503910 or equivalent attaching bolt, to the rear of the right cylinder head and the front of the left cylinder head.
- Support the transmission with a strap between the frame rails.
- Install the suitable lifting device to the engine.
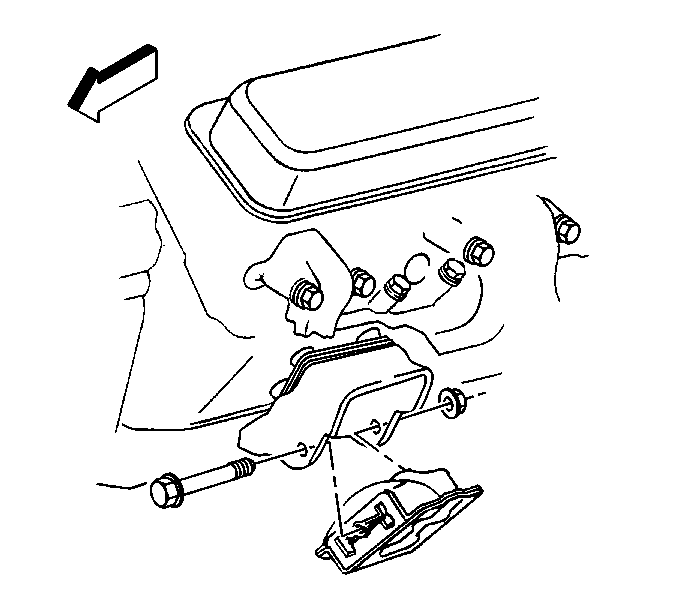
- Remove the front engine mount through bolts (left side shown).
- Remove the engine from the vehicle.
- Remove the flywheel from the crankshaft.
- Install the engine assembly on a suitable engine stand.
- Remove the suitable lifting devise from the engine assembly.
- Remove the lifting brackets from the cylinder heads.
| • | For the front battery, refer to Battery Cable Replacement in Engine Electrical. |
| • | For the auxiliary battery, refer to Battery Cable Replacement in Engine Electrical. |
Important: It may be necessary to remove the flywheel from the crankshaft before the engine assembly is install on the engine stand.
Installation Procedure
Tools Required
J 36857 Engine Lift Bracket
- Install the J 36857 and a length of chain, using GM P/N 23503910 or equivalent attaching bolt, to the rear of the right cylinder head and the front of the left cylinder head.
- Remove the engine assembly from the engine stand.
- Install the flywheel on the crankshaft. Refer to Engine Flywheel Replacement .
- Install the engine assembly in the vehicle.
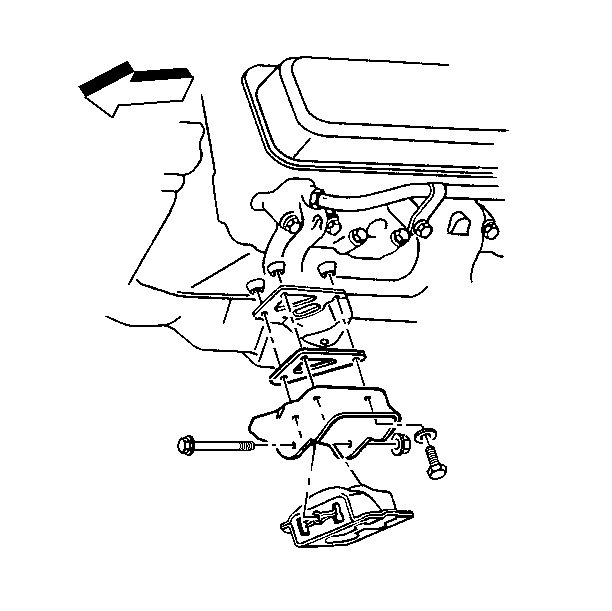
- Install the front engine mount through bolts.
- Remove the lifting device to the engine.
- Remove the support from the transmission.
- Remove the chain and attaching bolts from the cylinder heads.
- Install the bolts from the transmission to engine block.
- Raise the vehicle and support with safety stands.
- Install the bolts from the flywheel to the torque convertor.
- Install the engine cooler lines to the retaining brackets. Refer to Engine Oil Cooler Hose/Pipe Replacement in Engine Cooling.
- Install the flywheel inspection cover.
- Install the starter motor to the engine block. Refer to Starter Motor Replacement in Engine Electrical.
- Remove the safety stands and lower the vehicle.
- Connect the transmission shift cable connector.
- Install the fuel injection pump to the engine block. Refer to Fuel Injection Pump Replacement in Engine Controls-6.5L.
- Install the engine front cover to the engine block. Refer to Engine Front Cover Replacement .
- Install the exhaust manifold to the cylinder heads. Refer to Exhaust Manifold Replacement .
- Install the turbocharger from the engine block. Refer to Turbocharger Replacement .
- Install the lower intake manifold from the cylinder head. Refer to Intake Manifold Replacement .
- Install the upper intake manifold to the lower intake manifold. Refer to Intake Manifold Replacement .
- Install the right accessory bracket to the cylinder head. Refer to Accessory Brackets Replacement .
- Install the left accessory bracket to the cylinder head. Refer to Accessory Brackets Replacement .
- Install the oil level indicator and tube to the engine block. Refer to Oil Level Indicator and Tube Replacement .
- Install the radiator hoses from the engine. Refer to Radiator Hose Replacement in Engine Cooling.
- Install the drive belt on the pulleys. Refer to Drive Belt Replacement .
- Install the radiator in the vehicle. Refer to Radiator Replacement in Engine Cooling.
- Install the engine wiring harness and the connectors.
- Reconnect the ground wires to the engine block. Refer to Engine Ground Strap Replacement .
- Reconnect the block heater if needed.
- Install the A/C condenser the vehicle. Refer to Condenser Replacement in HVAC.
- Install the radiator support in the vehicle. Refer to Radiator Support Replacement in Body and Accessories.
- Install grille and parking light assembly on the vehicle. Refer to Grille Replacement in Body and Accessories.
- Install the front bumper on the vehicle. Refer to Front Bumper Replacement in Body and Accessories.
- Install the surge tank in the vehicle. Refer to Surge Tank (Diesel) Replacement in Engine Cooling.
- Install the air intake duct to the turbocharger.
- Install the air cleaner assembly in the vehicle. Refer to Air Cleaner Assembly Replacement in Engine Controls-- 6.5L.
- Connect the battery negative cables to the batteries.
- Fill the cooling system. Refer to Cooling System Draining and Filling in Engine Cooling.
- Fill the engine with the proper grade and type of engine oil.
- Recharge the A/C system. Refer to Refrigerant Recovery and Recharging in HVAC.
- Install a scan tool and make any adjustments that are necessary.
- Install the engine cover in the vehicle. Refer to Engine Cover Replacement in Body and Accessories.



| • | For the front battery, refer to Battery Cable Replacement in Engine Electrical. |
| • | For the auxiliary battery, refer to Battery Cable Replacement in Engine Electrical. |
