For 1990-2009 cars only
Installation Procedure
- Raise the vehicle. Suitably support the vehicle with safety stands.
- Remove the heat shield above the catalytic converter. Refer to Exhaust Heat Shield Replacement in Exhaust System.
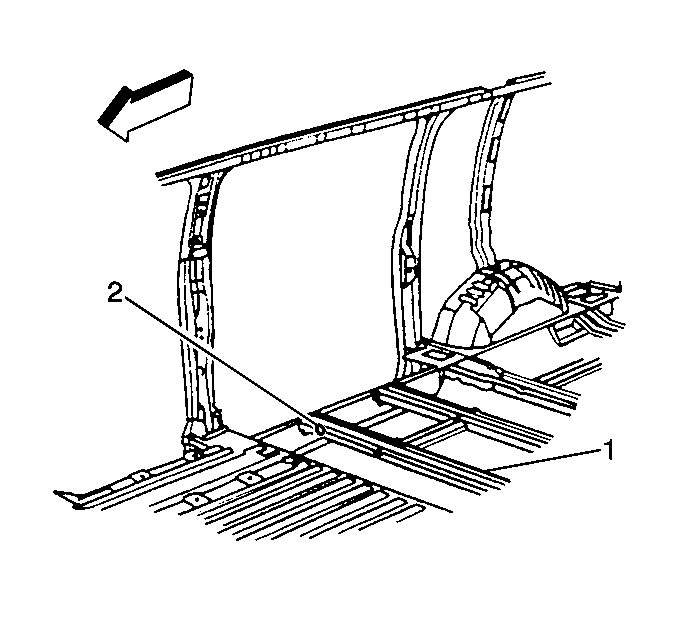
- Drill a 10 mm (3/8 in) hole (2) through the hole in the floor panel cross sill (1) into the floor panel of the vehicle.
- Using a pointed tool, pierce a hole in the carpet/mat large enough for the spacer to fit through.
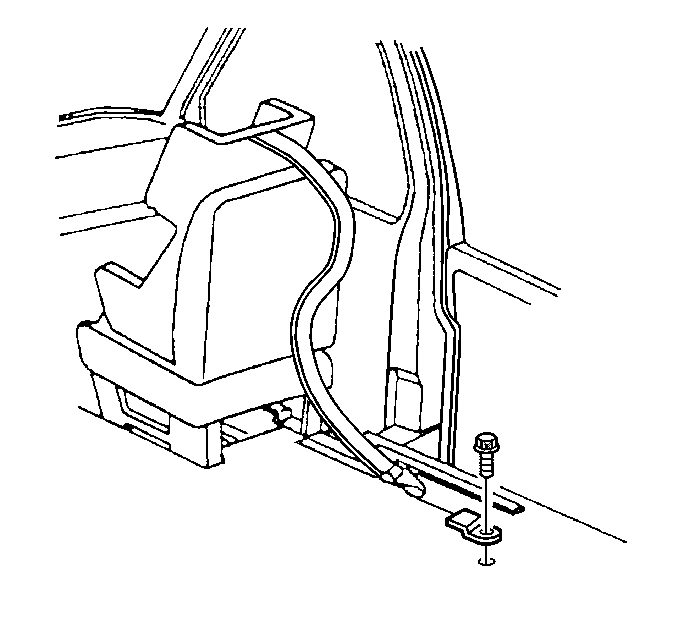
- Insert the bolt through the anchor bracket and spacer.
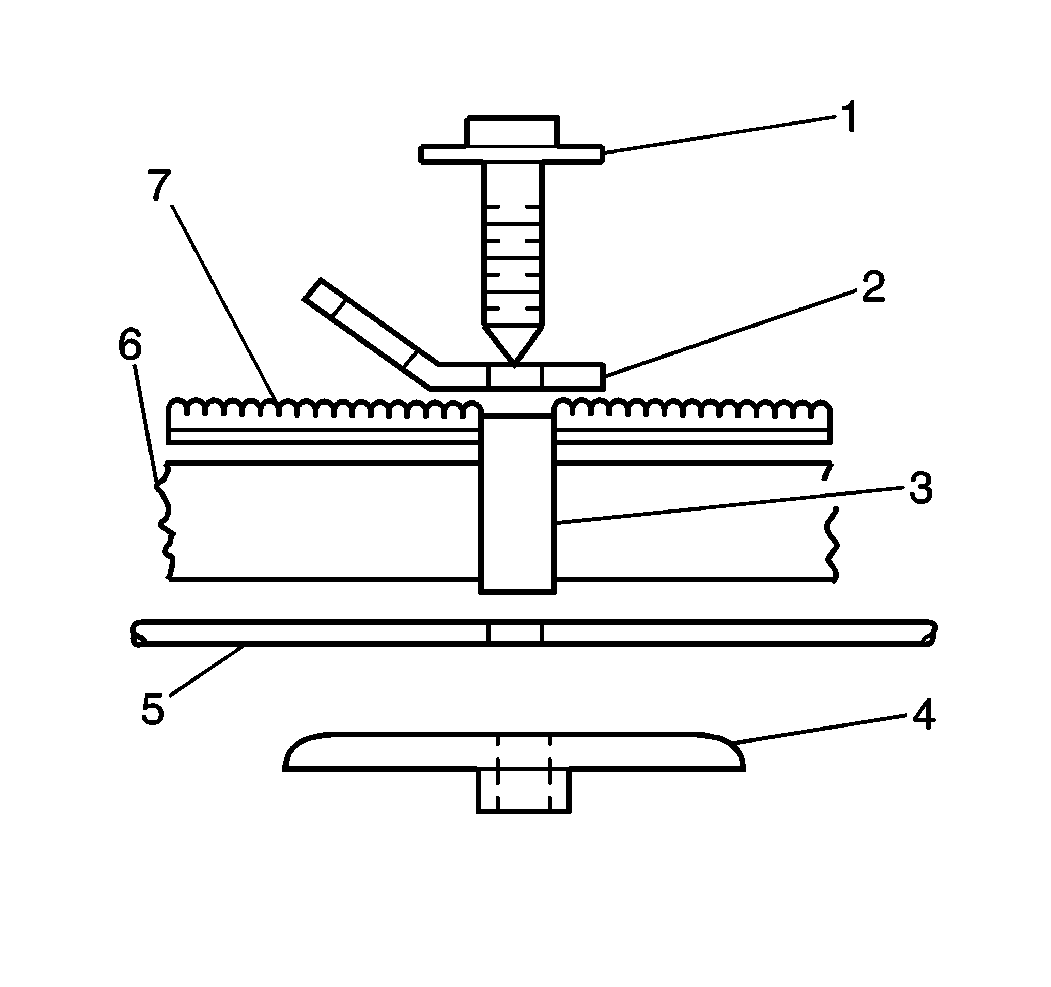
- From inside the vehicle insert the bolt (1) and the bracket and spacer (2 & 3) into the hole made in the carpet/mat (6 & 7) and the floor panel (5).
- Apply sealer patch GM P/N 14060504 to the underbody before installing the nut.
- From inside the vehicle thread the bolt (1) into the nut (4) that is positioned under the vehicle.
- Install the heat shield above the catalytic converter. Refer to Exhaust Heat Shield Replacement in Exhaust System.
- Remove the safety stands.
- Lower the vehicle.


Notice: Use the correct fastener in the correct location. Replacement fasteners must be the correct part number for that application. Fasteners requiring replacement or fasteners requiring the use of thread locking compound or sealant are identified in the service procedure. Do not use paints, lubricants, or corrosion inhibitors on fasteners or fastener joint surfaces unless specified. These coatings affect fastener torque and joint clamping force and may damage the fastener. Use the correct tightening sequence and specifications when installing fasteners in order to avoid damage to parts and systems.
Tighten
Tighten the child restraint tether belt anchor retaining nut to 27 N·m
(20 lb ft).
