Removal Procedure
- Ensure that the transmission is in the mechanical neutral position.
| • | Rotate the transmission control lever clockwise until it reaches
the full clockwise stop position. |
| • | Move the shift lever counterclockwise two detents. |
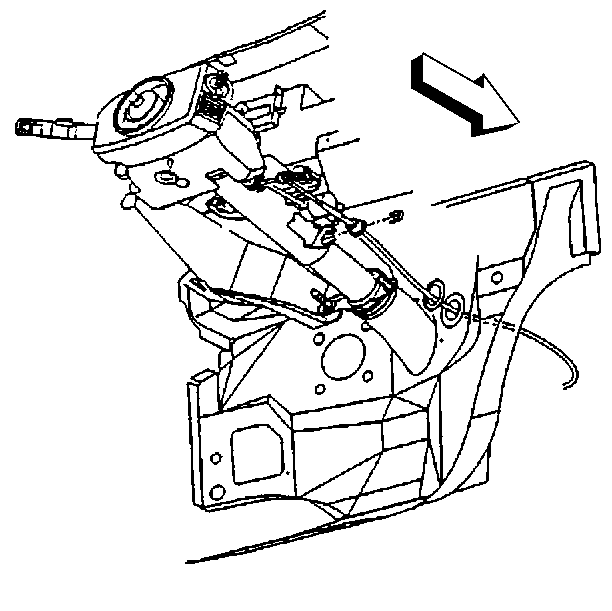
- Remove the clip that secures
the shift cable to the steering column bracket.
- Remove the shift cable end from the steering column shift controller
stud ball.
- Rase the vehicle. Refer to
Lifting and Jacking the Vehicle
in General Information.
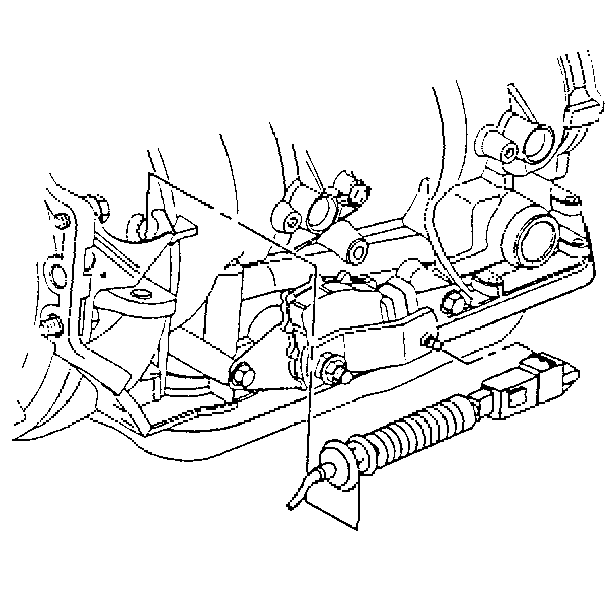
- Remove the shift cable
from the transmission bracket.
- Remove the shift cable end from the transmission shift lever stud
ball.
- Remove the grommet from the hole in the floor panel.
- Remove the cable from the vehicle.
Installation Procedure
- Ensure that the transmission is in the mechanical neutral position.
| • | Rotate the transmission control lever clockwise until it reaches
the full clockwise stop position. |
| • | Move the shift lever counterclockwise two detents. |

- Connect the shift cable
end to the steering column shift controller stud ball.
- Install the clip that secures the shift cable to the steering
column bracket.
- Feed the shift cable through the grommet hole.
- Install the grommet.
- Rase the vehicle. Refer to
Lifting and Jacking the Vehicle
in General Information.

- Install the shift cable
to the transmission bracket.
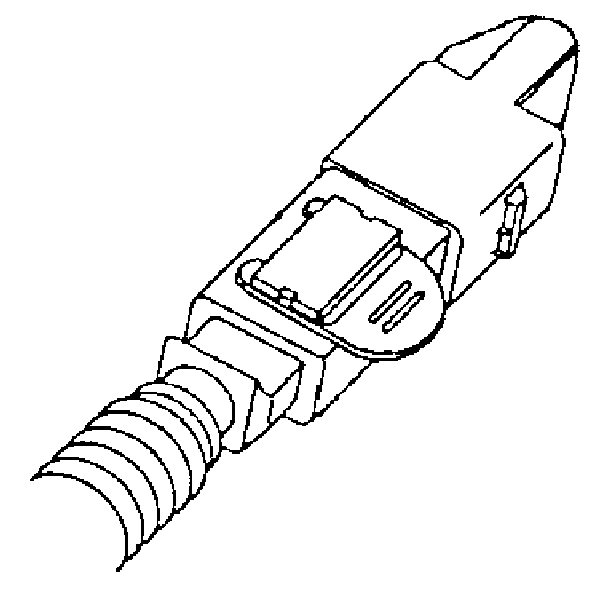
- Remove the shipping tag
from around the adjusting button.
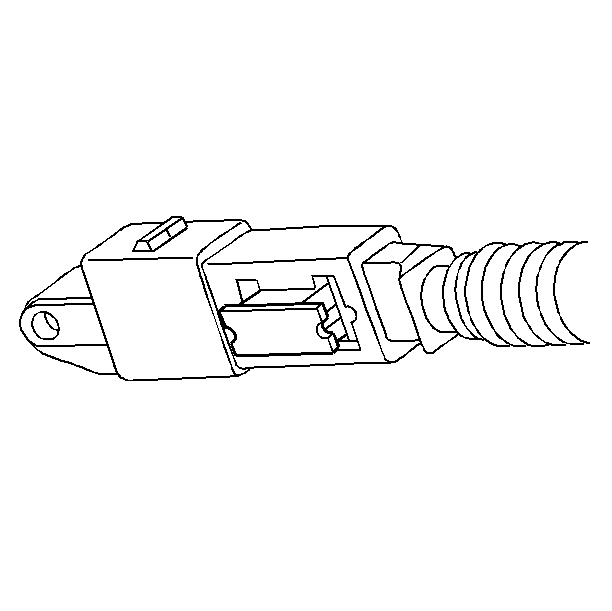
- Push the button on the
shift cable end out.
- Position the shift cable end onto the transmission shift control
lever.
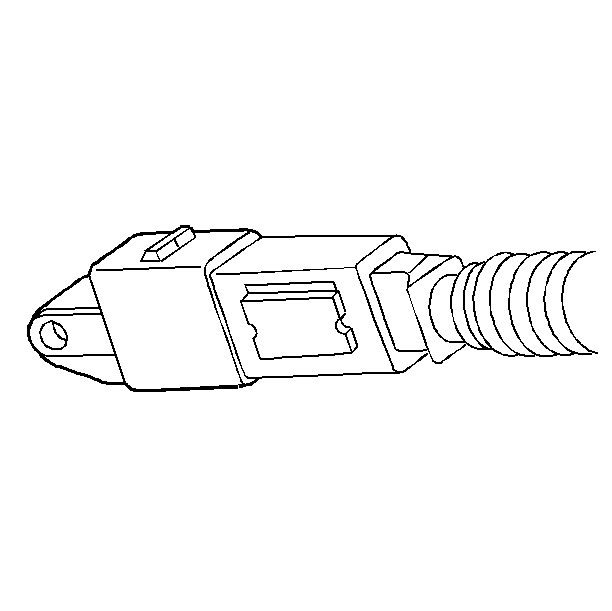
- Press the adjustment button
in.
- Position the button guard over the button.


