For 1990-2009 cars only
Removal Procedure
- Disconnect the battery negative cable. Refer to Battery Negative Cable Disconnection and Connection in Engine Electrical.
- Recover the refrigerant from the system. Refer to Refrigerant Recovery and Recharging .
- Remove the radiator grille. Refer to Grille Replacement in Exterior Trim.
- Remove the lower hood latch cover from the vehicle. Refer to Hood Latch Cover Replacement in Body Front End.
- Remove the hood latch from the vehicle. Refer to Hood Primary and Secondary Latch Replacement in Body Front End.
- Remove the left hand headlamp housing. Refer to Headlamp Capsule Replacement in Lighting Systems.
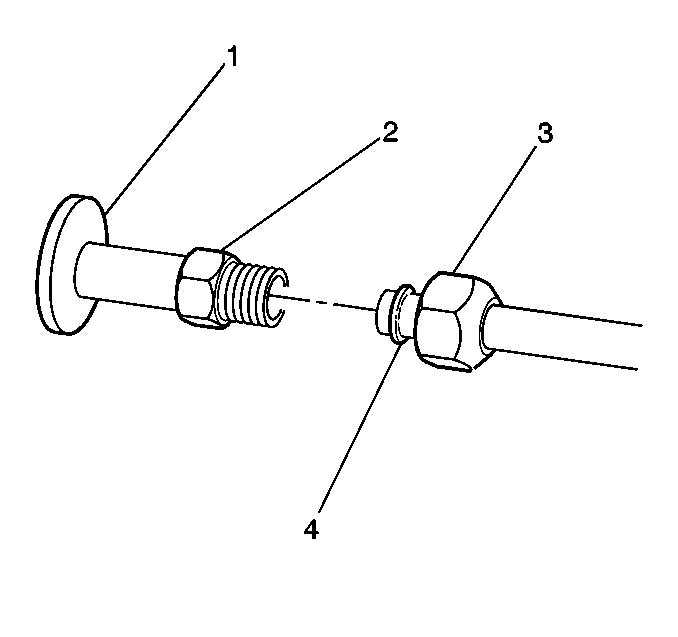
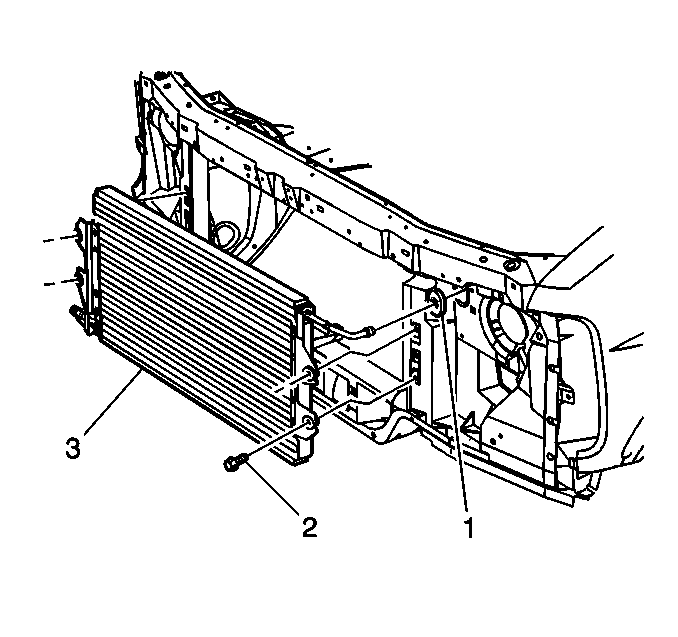
- Remove the A/C lines (4) from the condenser (1).
- Remove the retaining bolts and the condenser (3) from the vehicle.


Installation Procedure
- Install the condenser (3) and the retaining bolts to the vehicle.
- Install the A/C lines (4) to the condenser (1).
- Install the left hand headlamp housing. Refer to Headlamp Capsule Replacement in Lighting Systems.
- Install the hood latch to the vehicle. Refer to Hood Primary and Secondary Latch Replacement in Body Front End.
- Install the lower hood latch cover to the vehicle. Refer to Hood Latch Cover Replacement in Body Front End.
- Install the radiator grille. Refer to Grille Replacement in Exterior Trim.
- Evacuate and Recharge the refrigerant. Refer to Refrigerant Recovery and Recharging .
- Connect the battery negative cable. Refer to Battery Negative Cable Disconnection and Connection in Engine Electrical.

Tighten
Tighten the condenser retaining bolts to 10 N·m
(89 lb in).

Tighten
Tighten the compressor/condenser hose to the condenser
to 28 N·m (21 lb ft).
