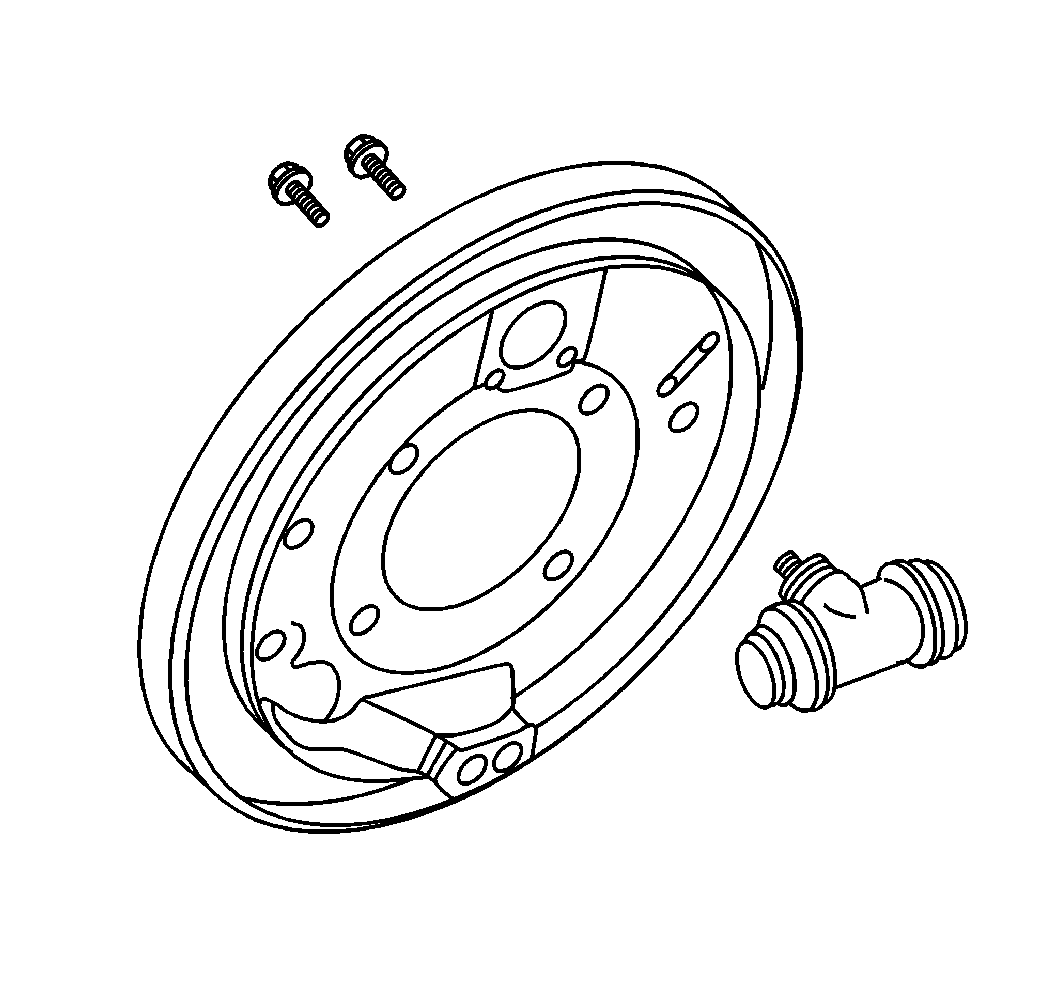
Removal Procedure
- Install the pin into the park brake lever. Refer to Parking Brake Cable Adjuster Disabling in Parking Brake.
- Raise and suitably support the vehicle. Refer to Lifting and Jacking the Vehicle in General Information.
- Remove the tire and the wheel assembly. Refer to Tire and Wheel Removal and Installation in Tires and Wheels.
- Remove the rear brake drum. Refer to Brake Drum Replacement .
- Remove the rear brake shoes. Refer to Brake Shoe Replacement .
- Disconnect the brake pipe from the rear brake cylinder. Refer to Brake Pipe Replacement in Hydraulic Brakes.
- Remove the rear brake cylinder retaining bolts.
- Remove the rear brake cylinder from the vehicle.

Installation Procedure
- Connect the rear brake cylinder to the vehicle.
- Install the rear brake cylinder retaining bolts.
- Connect the brake pipe to the rear brake cylinder. Refer to Brake Pipe Replacement in Hydraulic Brakes.
- Install the rear brake shoes. Refer to Brake Shoe Replacement .
- Install the rear brake drums. Refer to Brake Drum Replacement .
- Remove the pin to the park brake lever. Refer to Parking Brake Cable Adjuster Enabling in Park Brake.
- Install the tire and the wheel on the vehicle. Refer to Tire and Wheel Removal and Installation in Tires and Wheels.
- Bleed the hydraulic brake system. Refer to Hydraulic Brake System Bleeding in Hydraulic Brakes.
- Adjust the rear brakes. Refer to Drum Brake Adjustment .
- Adjust the park brake if necessary. Refer to Park Brake Adjustment in Park Brake.
- Lower the vehicle.
- With the engine OFF, gradually apply the brake pedal approximately 2/3 of its travel distance.
- Slowly release the brake pedal.
- Wait 15 seconds, then repeat steps 12-13 until a firm brake pedal is obtained. This will properly seat the wheel cylinders and brake shoes.

Notice: Use the correct fastener in the correct location. Replacement fasteners must be the correct part number for that application. Fasteners requiring replacement or fasteners requiring the use of thread locking compound or sealant are identified in the service procedure. Do not use paints, lubricants, or corrosion inhibitors on fasteners or fastener joint surfaces unless specified. These coatings affect fastener torque and joint clamping force and may damage the fastener. Use the correct tightening sequence and specifications when installing fasteners in order to avoid damage to parts and systems.
Tighten
Tighten the rear brake cylinder retaining bolts to 20 N·m (15 lb ft).
Notice: Use the correct fastener in the correct location. Replacement fasteners must be the correct part number for that application. Fasteners requiring replacement or fasteners requiring the use of thread locking compound or sealant are identified in the service procedure. Do not use paints, lubricants, or corrosion inhibitors on fasteners or fastener joint surfaces unless specified. These coatings affect fastener torque and joint clamping force and may damage the fastener. Use the correct tightening sequence and specifications when installing fasteners in order to avoid damage to parts and systems.
Tighten
Tighten the rear brake pipe to the rear brake cylinder to 17 N·m
(13 lb ft).
