Important: There is only one production standard piston grade size. When using
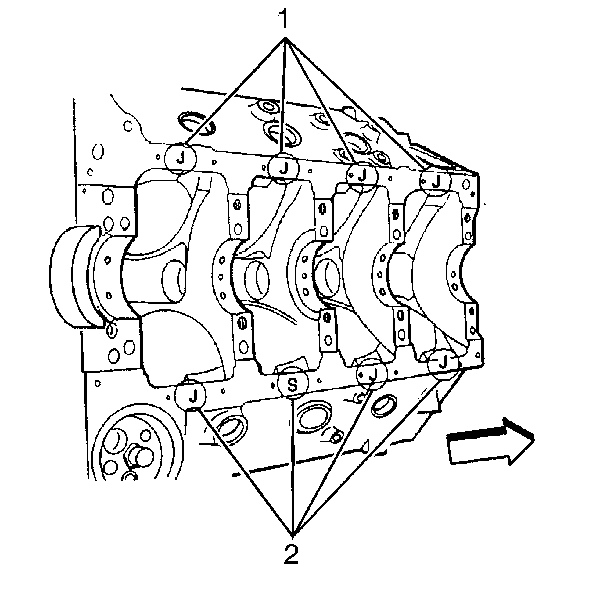
production standard grade size pistons in all eight cylinder bores, a J is
metal stamped in a single place on the cylinder block oil pan rail (1).
A 0.13 mm (0.005 in) oversize production piston is available
for in a plant rework of cylinders that do not meet the production standard
specification. An S metal stamped on the pan rail (2) next to any reworked
cylinder identifies that cylinder as production oversize. A J will also be
metal stamped in a single place on the oil pan rail to represent that all
remaining cylinders are production standard.
All service oversize pistons are the same weight as production pistons.
Using service oversize pistons will not affect engine balance.
Important:
| • | Do not use a wire brush or glass bead blasting. |
| • | Use a cleaning solution that will dissolve the carbon deposits. |
| • | Remove the carbon in the ring grooves with a ring groove cleaner. |
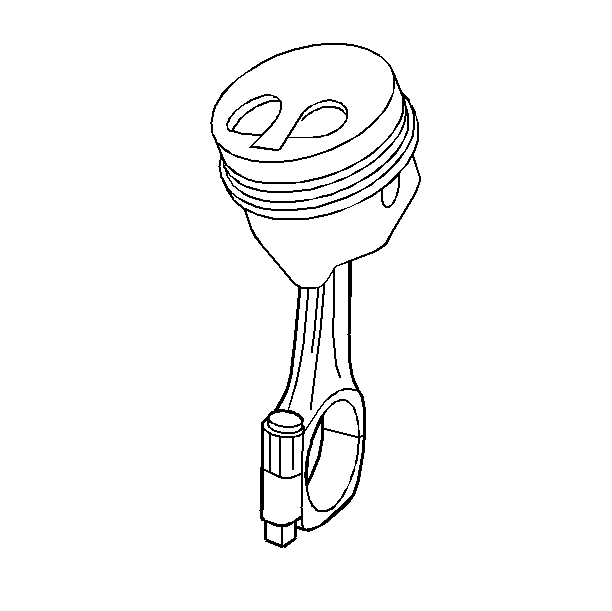
- Clean the piston, by removing all of the varnish and the carbon deposits.
- Inspect the piston for the following conditions:
| • | Cracking or wear of the ring lands |
| • | Burrs or nicks of the ring grooves |
| • | Cracking of the skirts or pin bosses |
| • | Cracking of the piston dome (Use Magnaflux Spot-check dye method
or the equivalent) |
| • | Scuffing or deep scratches of the piston skirt |
| • | Scuffing of the piston bore |
| • | Wear of the piston pin retaining ring or the grooves |

- Inspect the connecting
rod for the following conditions:
| • | Cracks or nicks on the connecting rod (Use Magnaflux Spot-check
dye method or the equivalent) |
| • | Scuffing or scratching of the piston pin bushing |
| • | Nicks or scoring of the bearing bore |
- The connecting rod is not serviceable for the following repairs:
| • | Connecting rod bearing bore enlargement |
Piston Measurement
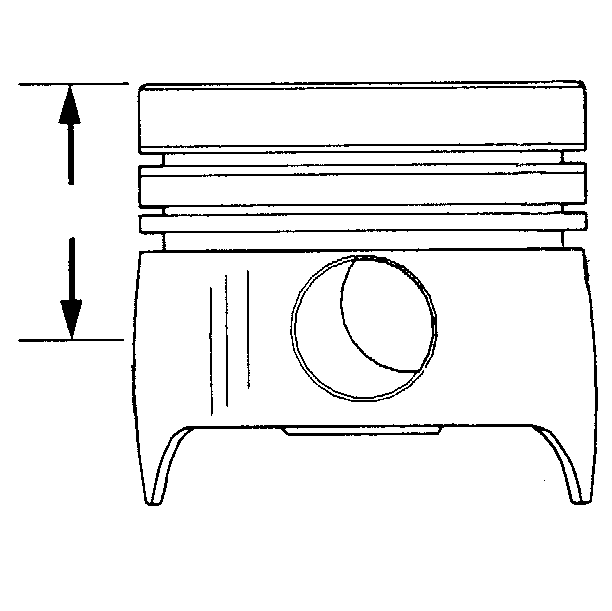
The piston skirts are barrel-shaped. To accurately determine the piston
diameter, the piston must be measured at a specific gage point.

The piston gage
point is 65.33 mm (2.575 in) from the top of the piston.
Measuring Piston Pin To Piston Pin Bushing Clearance
- Measure the piston pin to piston pin bushing.
- Measure the piston pin diameter.
- Measure the piston pin bushing inside diameter. Use an inside
micrometer.
- Substract the piston pin diameter from the piston pin bushing
inside diameter to obtain the clearance.
- If the clearance is excessive, replace the piston and piston pin.
Piston pins are available only with new pistons.
- If the clearance is excessive with a new piston and piston pin,
replace the connecting rod. Piston pin bushings are available only with new
connecting rods.
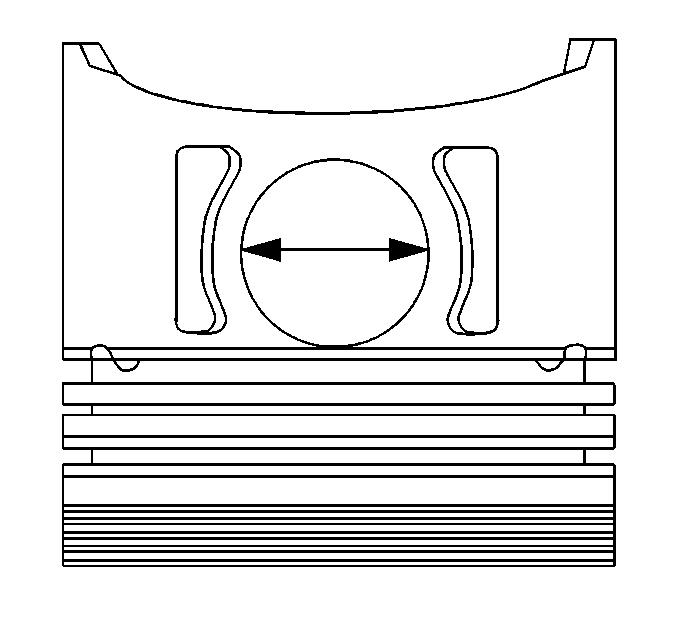
Measuring Piston Pin To Piston Clearance

- Measure the piston pin diameter.
- Measure the piston pin hole inside diameter. Use an inside micrometer.
- Substract the piston pin diameter from the piston pin hole diameter
to obtain the clearance.
- If the clearance is excessive, replace the piston and piston pin.
Piston pins are available only with new pistons.
