For 1990-2009 cars only
Removal Procedure
- Remove the passenger windshield garnish molding. Refer to Windshield Garnish Molding Replacement in Interior trim.
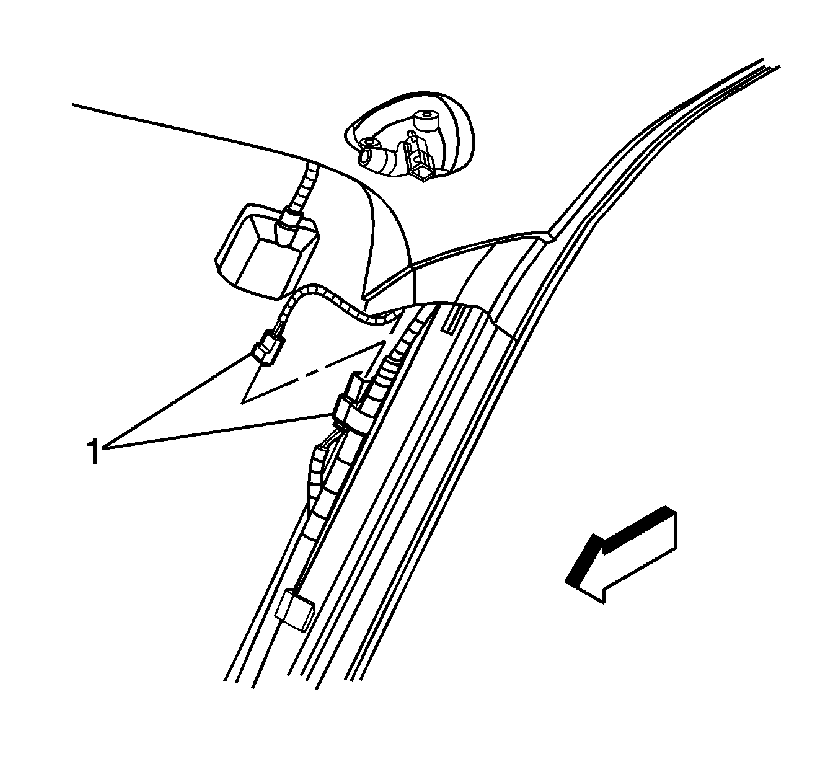
- Disconnect the microphone electrical connector (1).
- Remove the front headliner. Refer to Headlining Front Trim Panel Replacement in Interior Trim.
- Release the microphone wiring from the glue spots on the headliner.
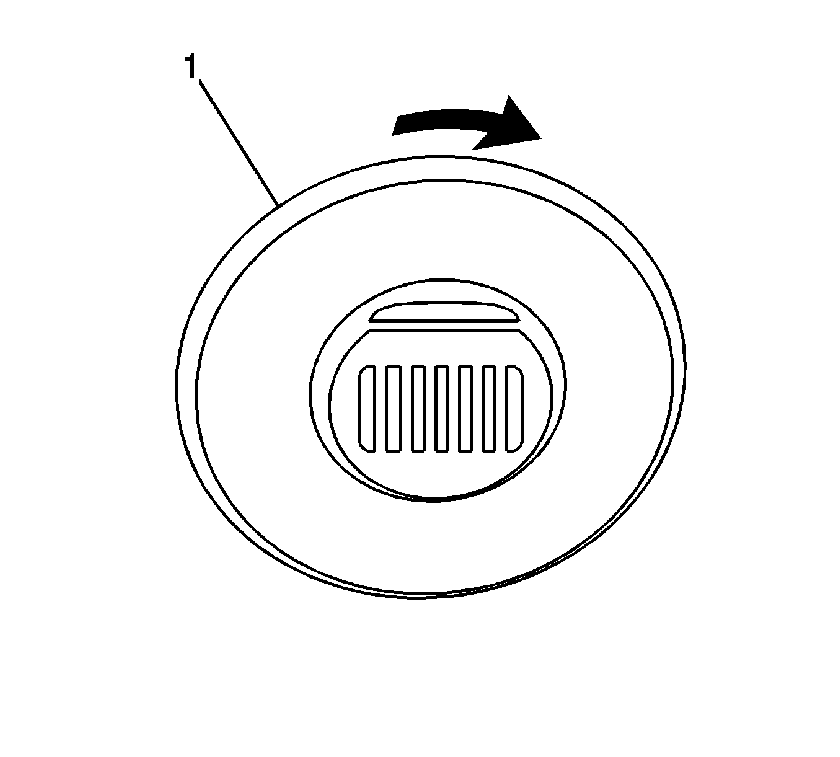
- Grasp the microphone (1) and rotate clockwise in order to release the microphone (1) from the headliner.
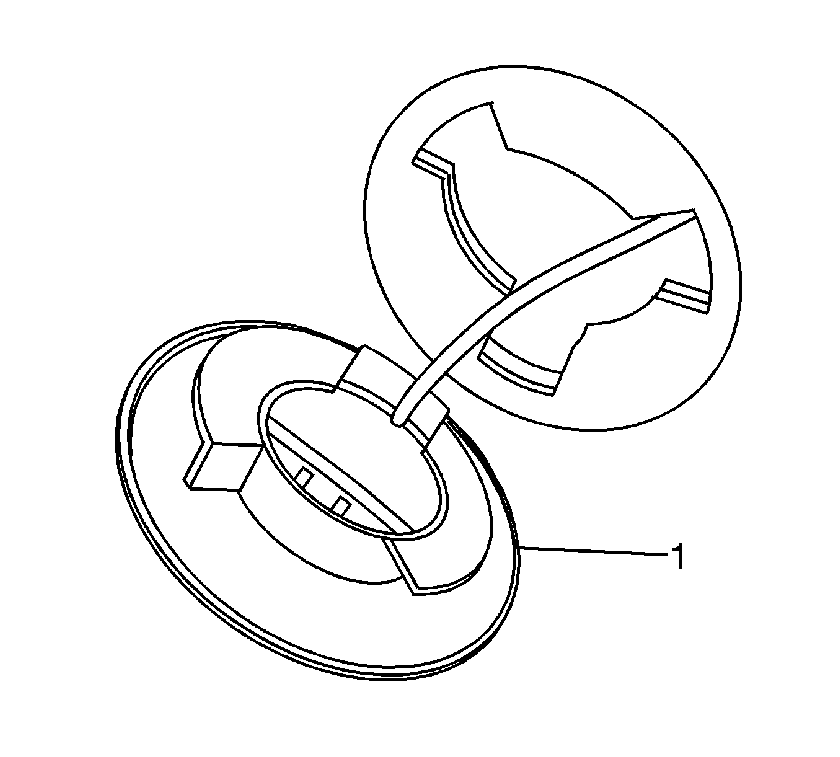
- Remove the microphone (1) and wiring from the headliner.


Installation Procedure
- Feed the microphone (1) wire through the hole in the headliner.
- Align the microphone (1) with the hole in the headliner and install the microphone in the opening.
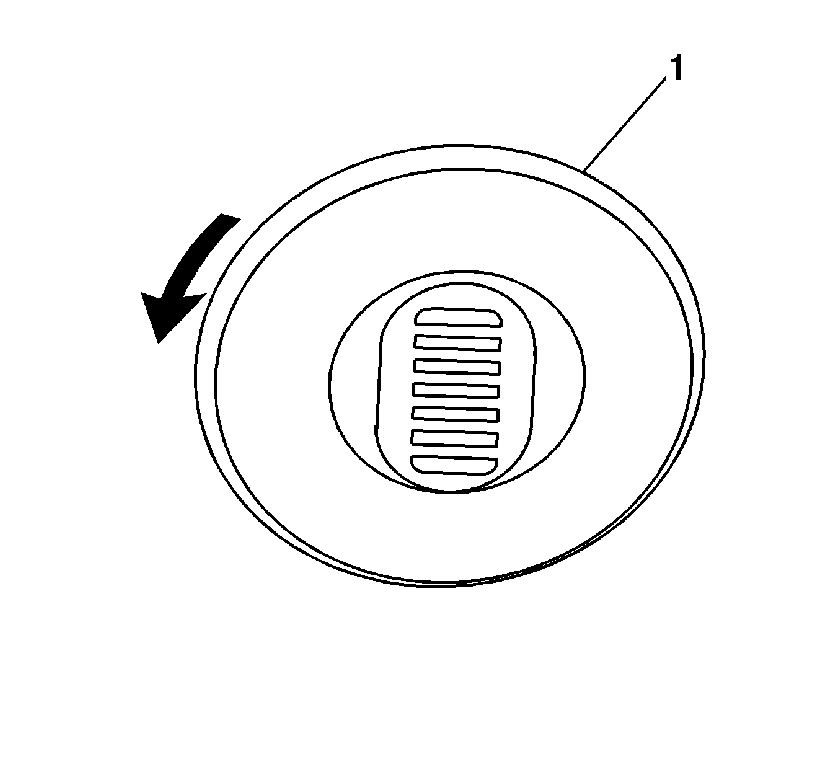
- Rotate the microphone (1) counter clockwise to secure.
- Glue or tape the microphone wiring to the headliner.
- Install the front headliner. Refer to Headlining Front Trim Panel Replacement in Interior Trim.
- Connect the microphone electrical connector (1).
- Install the passenger windshield garnish molding. Refer to Windshield Garnish Molding Replacement in Interior trim.


