Camshaft and Bearings Cleaning and Inspection RPO LY2/LMF
Special Tools
| • | J 7872
Magnetic Base Dial Indicator Set |
| • | J 8520
Camshaft Lobe Lift Indicator |

- Clean the components in solvent.
Caution: Refer to Safety Glasses and Compressed Air Caution in the Preface section.
- Dry the components with compressed air.
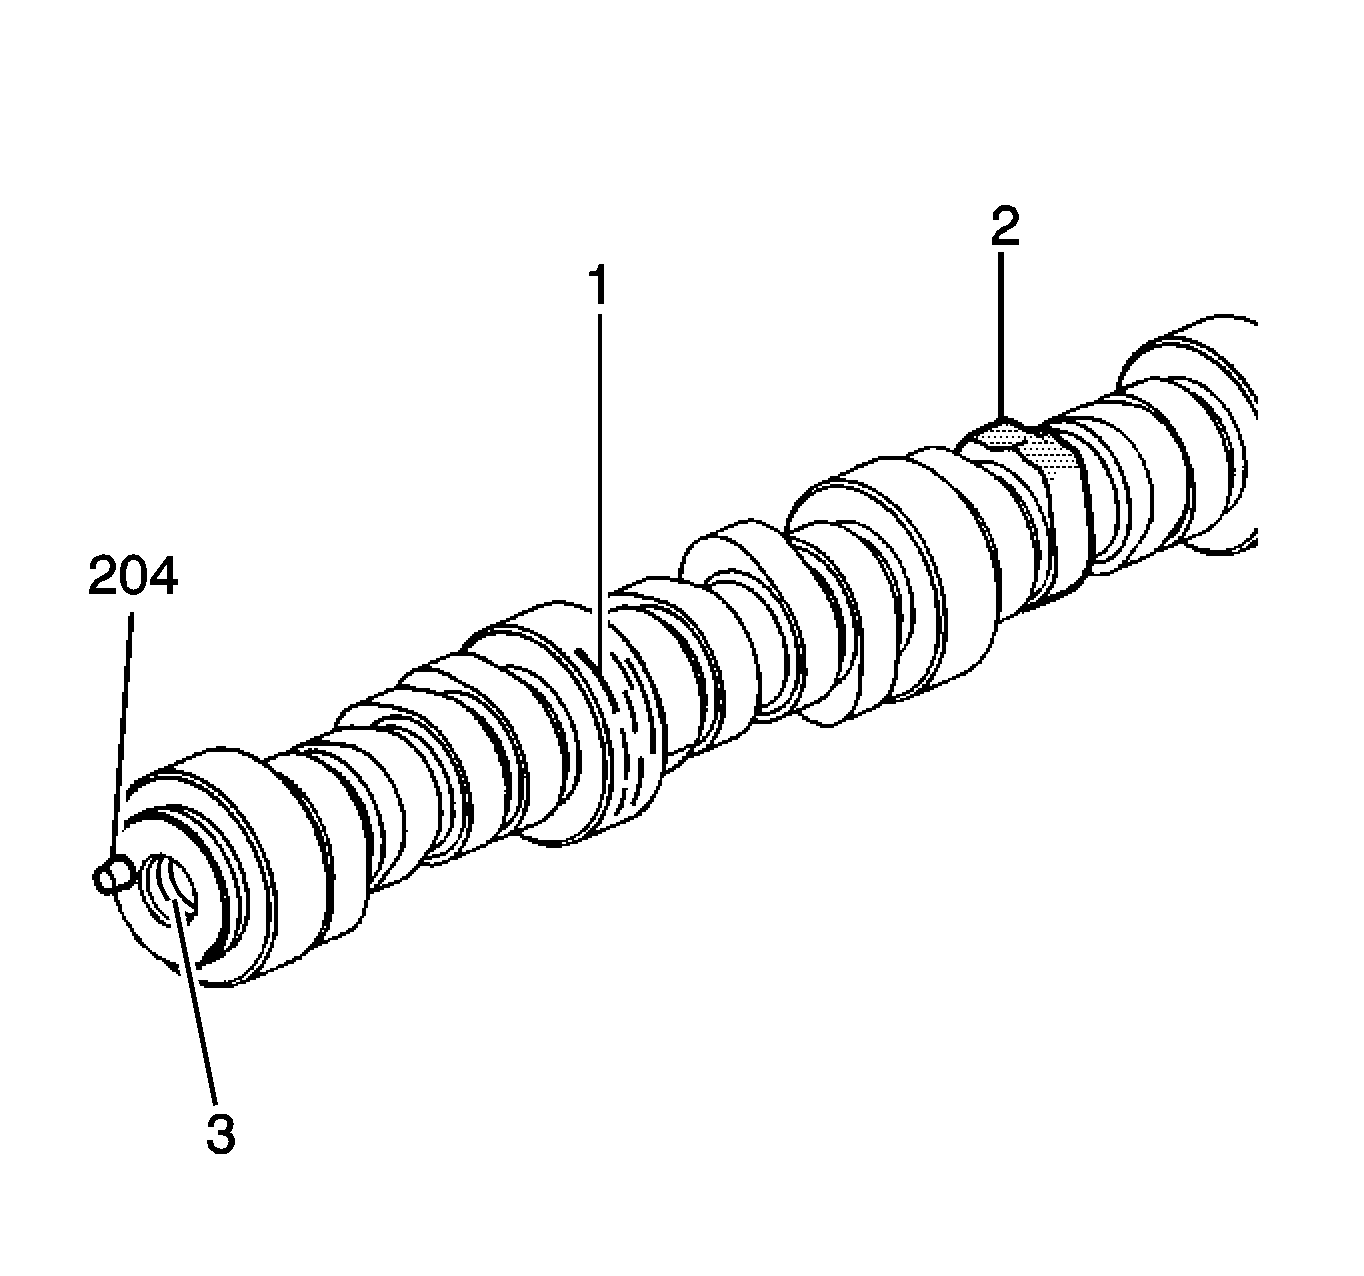
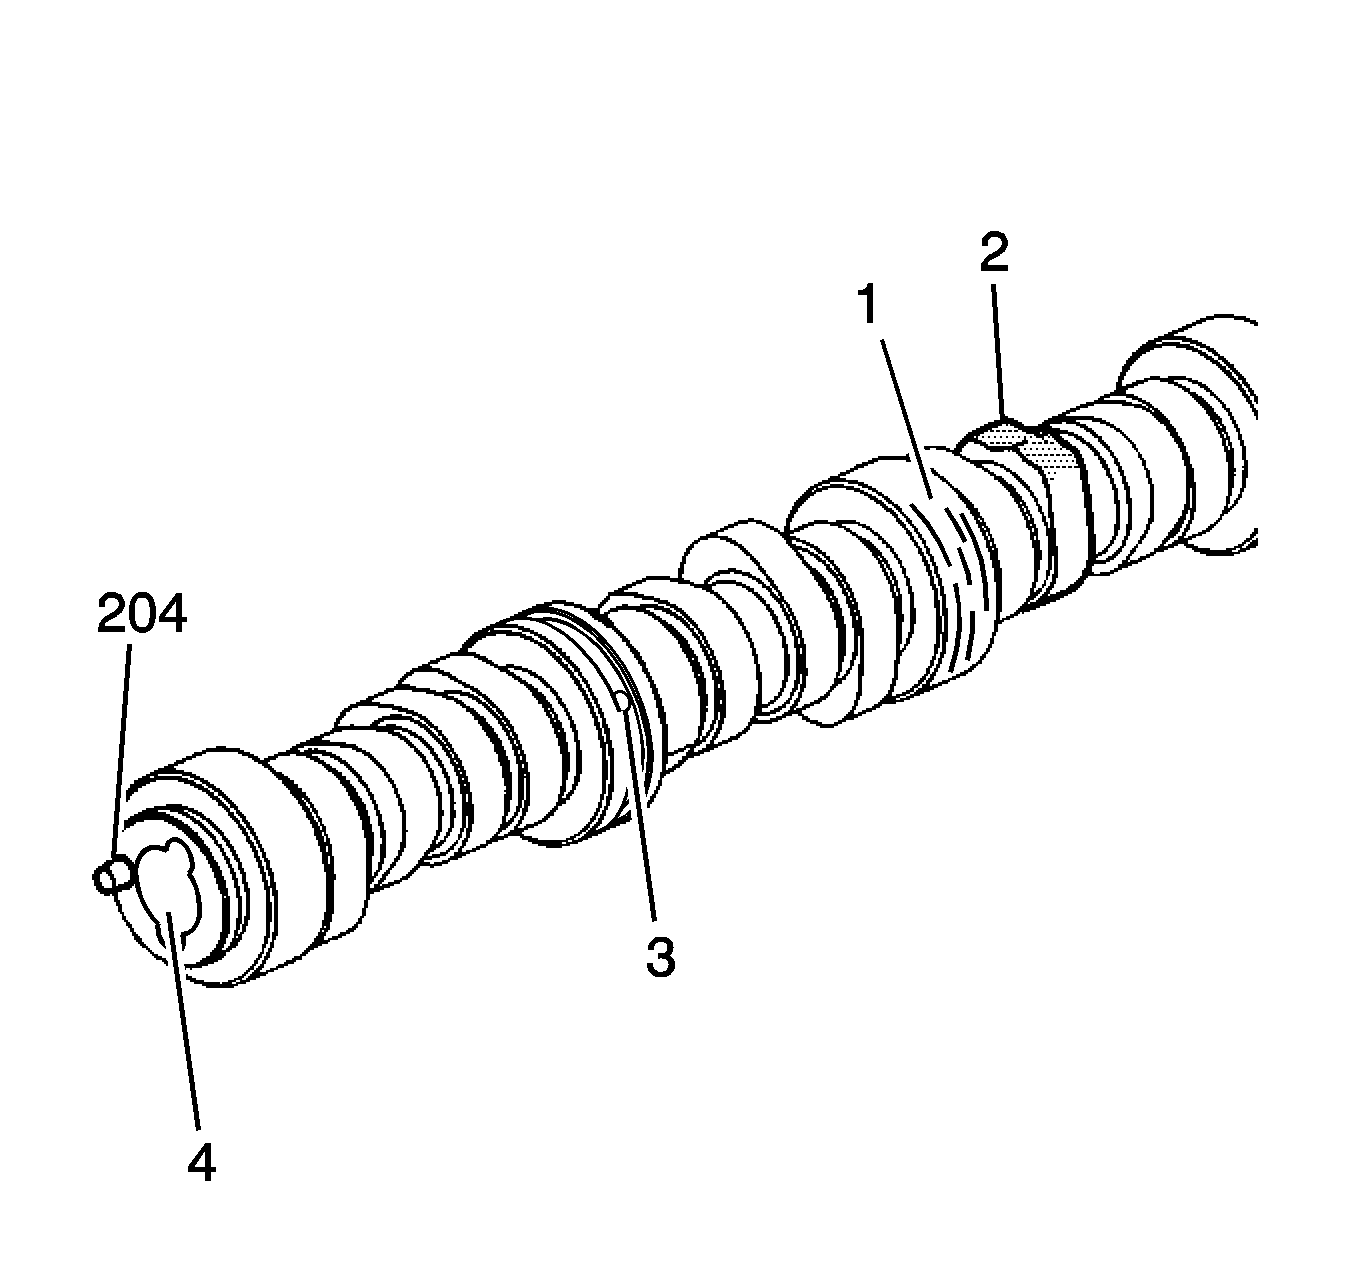
- Inspect the camshaft bearing journals (1) for scoring or excessive wear.
- Inspect the camshaft valve lifter lobes (2) for scoring or excessive wear.
- Inspect the threaded bolt hole (3) in the front of the camshaft for damaged threads or debris.
- Inspect the camshaft sprocket pin (204) for damage.
- Inspect the camshaft retainer plate for wear or a damaged sealing gasket.
If the camshaft retainer plate sealing gasket is not cut or damaged, it may be used again.

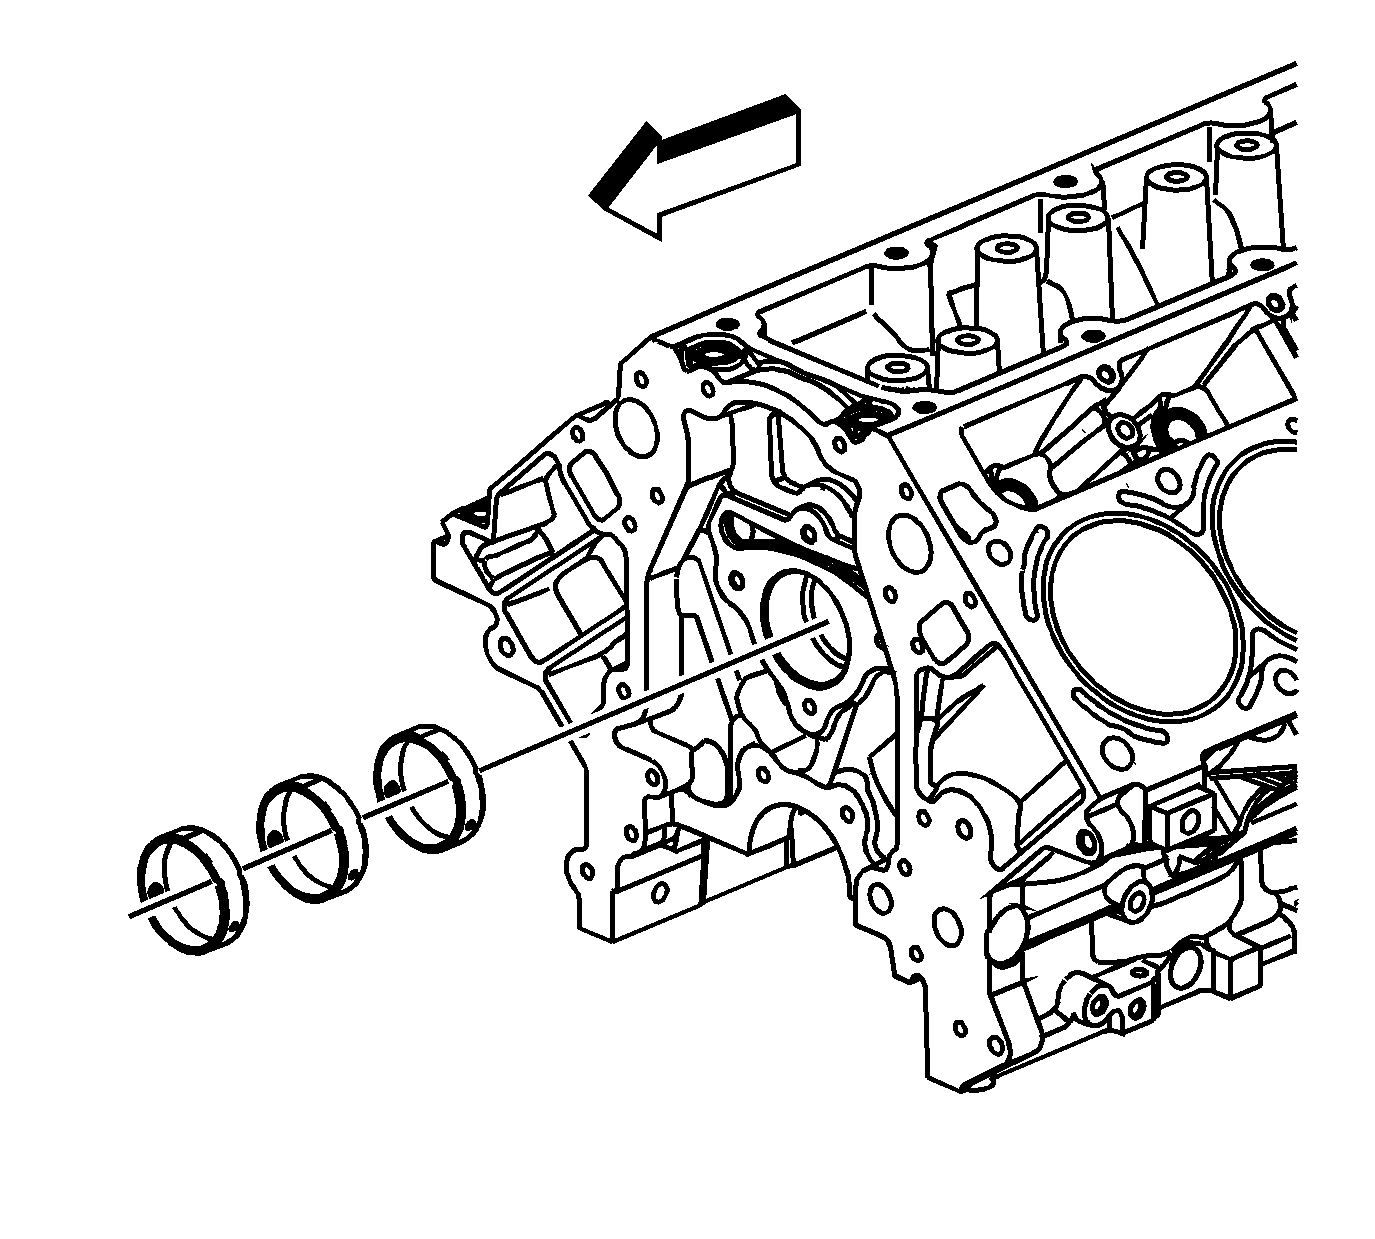
- Inspect the camshaft bearings for the following:
| • | Excessive wear or scoring. The presence of the copper color bearing material should be considered normal and not a guideline for bearing replacement. Measure the bearing inside diameter (ID) as required for an over-sized condition. Refer
to
Engine Mechanical Specifications. |
| • | Proper fit in the engine block. Camshaft bearings have an interference fit to the engine block and should not be loose in the engine block bearing bores. |
| • | Oil lubrication hole plugged by debris. |
| • | Bearings with excessive wear or scoring must be replaced. |

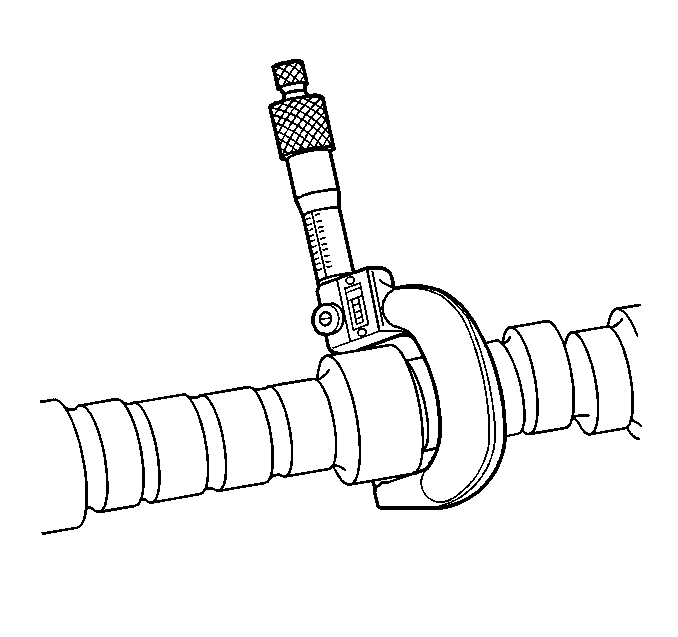
- Using a micrometer, measure the camshaft journals for wear and out-of-round.
| • | If the camshaft bearing journals are greater than 0.025 mm (0.001 in) out-of-round, replace the camshaft. |
| • | If the camshaft bearing journal diameter is less than 54.99 mm (2.164 in), replace the camshaft. |

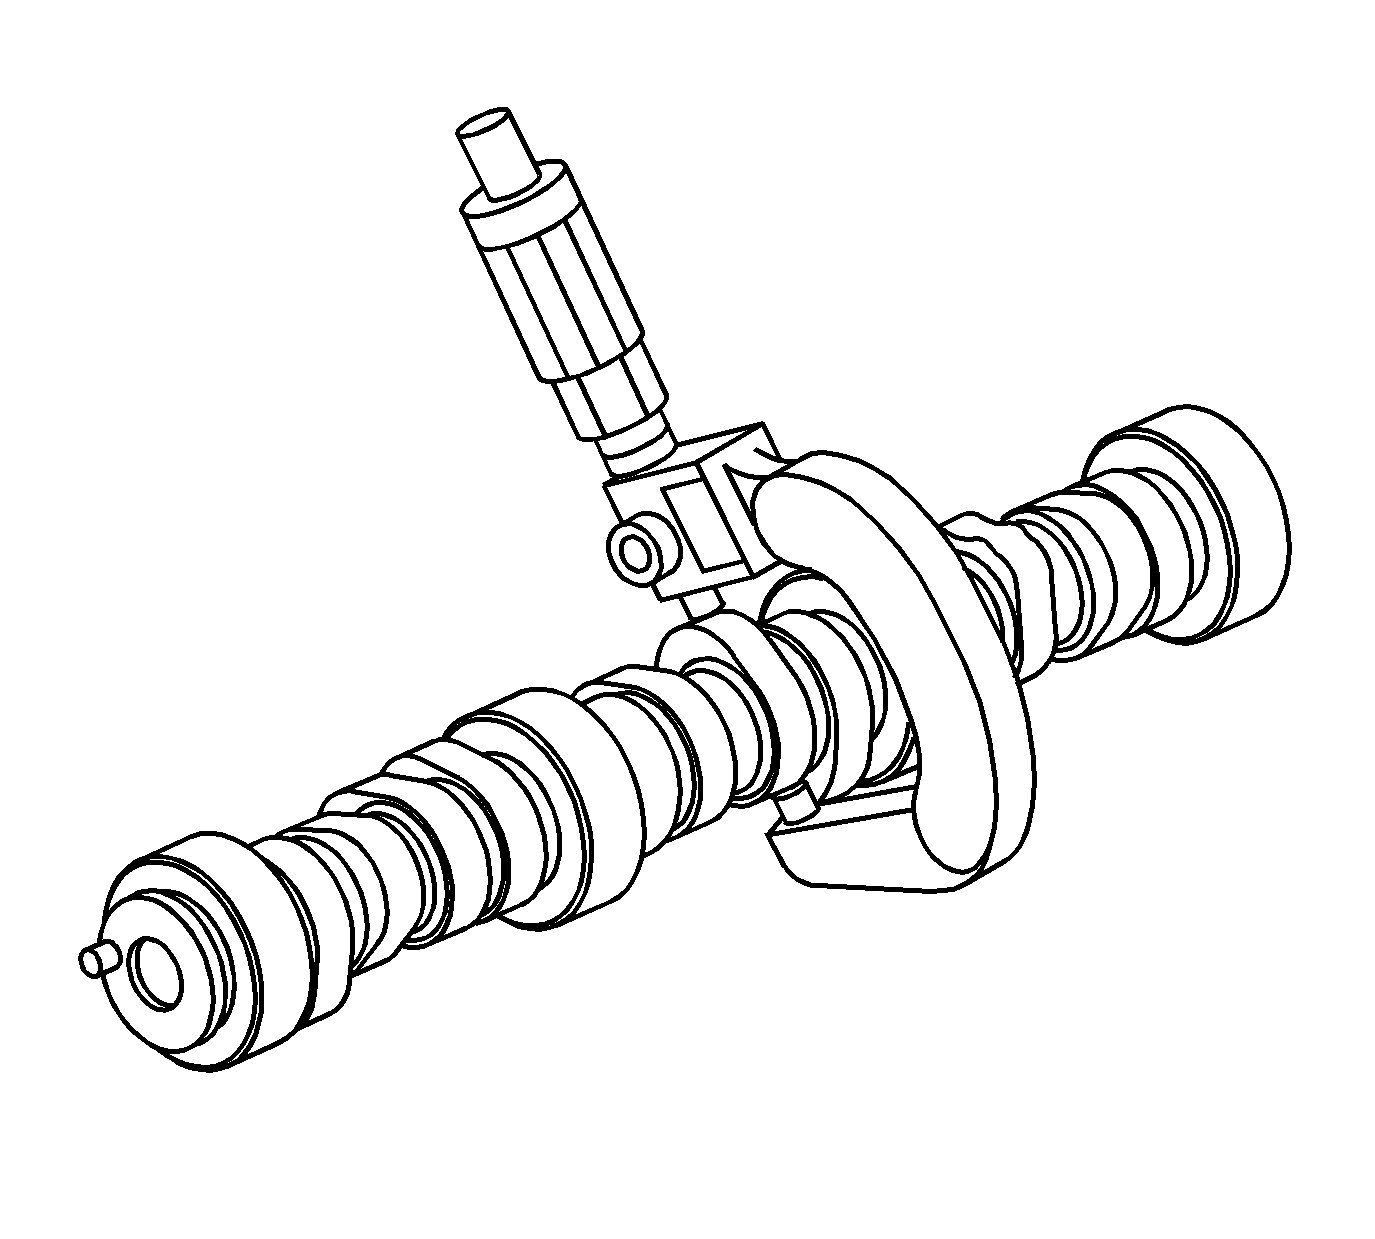
- Using a micrometer, measure the camshaft
lobes for wear. Refer to
Engine Mechanical Specifications.

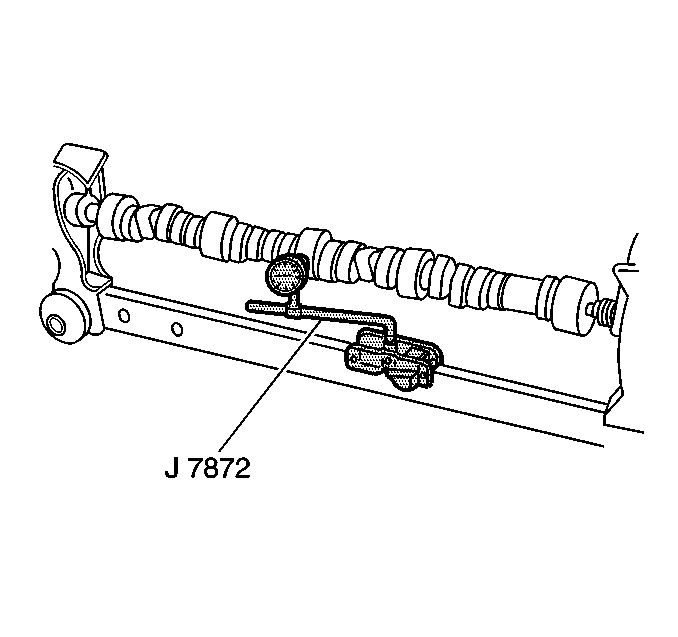
- Measure the camshaft runout.
| 11.1. | Mount the camshaft in wooden V-blocks or between centers on a fixture. |
| 11.2. | Using the
J 7872
, measure the runout of the intermediate camshaft bearing journals. |
| 11.3. | If camshaft runout exceeds 0.05 mm (0.002 in), the camshaft is bent and should be replaced. |
Measuring Camshaft Lobe Lift

Important: Measuring camshaft lobe lift is a procedure used to determine if the camshaft lobes have worn. This test is to be performed prior to engine disassembly and with the camshaft and valve train components installed in the
engine.
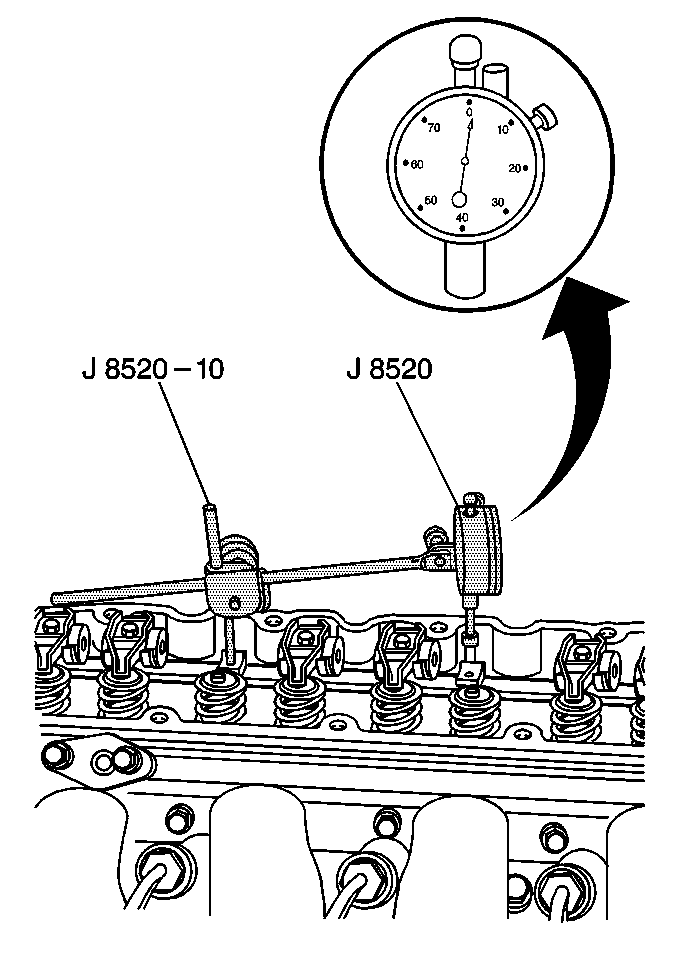
- Using the
J 8520
, measure camshaft lobe lift.
- Remove the valve rocker arms and bolts.
- Install the dial indicator mounting stud into the valve rocker arm bolt hole.
- Assemble the components of the
J 8520
and position onto the stud.
- Position the shaft of the dial indicator onto the end of the pushrod.
- Rotate the face of the dial indicator to zero.
- Slowly rotate the crankshaft clockwise, until the dial indicator obtains its highest and lowest readings.
- Compare the total to specifications. Refer to
Engine Mechanical Specifications.
Camshaft and Bearings Cleaning and Inspection RPO LY6
Special Tools
| • | J 7872
Magnetic Base Dial Indicator Set |
| • | J 8520
Camshaft Lobe Lift Indicator |

- Clean the components in solvent.
Caution: Refer to Safety Glasses and Compressed Air Caution in the Preface section.
- Dry the components with compressed air.
- Inspect the camshaft bearing journals (1) for scoring or excessive wear.
- Inspect the camshaft valve lifter lobes (2) for scoring or excessive wear.
- Inspect the camshaft position (CMP) actuator oil passages (3) for restrictions.
- Inspect the threaded bolt hole (4) in the front of the camshaft for damaged threads or debris.
- Inspect the camshaft sprocket pin (204) for damage.
- Inspect the camshaft retainer plate for wear or a damaged sealing gasket.
If the camshaft retainer plate sealing gasket is not cut or damaged, it may be used again.

- Inspect the camshaft bearings for the following:
| • | Excessive wear or scoring. The presence of the copper color bearing material should be considered normal and not a guideline for bearing replacement. Measure the bearing inside diameter (ID) as required for an over-sized condition. Refer
to
Engine Mechanical Specifications. |
| • | Proper fit in the engine block. Camshaft bearings have an interference fit to the engine block and should not be loose in the engine block bearing bores. |
| • | Oil lubrication hole plugged by debris. |
| • | Bearings with excessive wear or scoring must be replaced. |

- Using a micrometer, measure the camshaft journals for wear and out-of-round.
| • | If the camshaft bearing journals are greater than 0.025 mm (0.001 in) out-of-round, replace the camshaft. |
| • | If the camshaft bearing journal diameter is less than 54.99 mm (2.164 in), replace the camshaft. |

- Using a micrometer, measure the camshaft
lobes for wear. Refer to
Engine Mechanical Specifications.

- Measure the camshaft runout.
| 12.1. | Mount the camshaft in wooden V-blocks or between centers on a fixture. |
| 12.2. | Using the
J 7872
, measure the runout of the intermediate camshaft bearing journals. |
| 12.3. | If camshaft runout exceeds 0.05 mm (0.002 in), the camshaft is bent and should be replaced. |
Measuring Camshaft Lobe Lift

Important: Measuring camshaft lobe lift is a procedure used to determine if the camshaft lobes have worn. This test is to be performed prior to engine disassembly and with the camshaft and valve train components installed in the
engine.
- Using the
J 8520
, measure camshaft lobe lift.
- Remove the valve rocker arms and bolts.
- Install the dial indicator mounting stud into the valve rocker arm bolt hole.
- Assemble the components of the
J 8520
and position onto the stud.
- Position the shaft of the dial indicator onto the end of the pushrod.
- Rotate the face of the dial indicator to zero.
- Slowly rotate the crankshaft clockwise, until the dial indicator obtains its highest and lowest readings.
- Compare the total to specifications. Refer to
Engine Mechanical Specifications.
