For 1990-2009 cars only
Special Tools
J 3049-A Valve Lifter Remover
Removal Procedure
- Remove the intake manifold. Refer to Lower Intake Manifold Replacement.
- Remove the pushrods. Refer to Valve Rocker Arm and Push Rod Replacement.
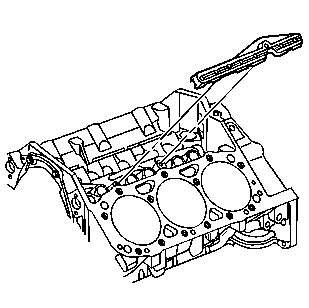
- Remove the bolts and lifter pushrod guide.
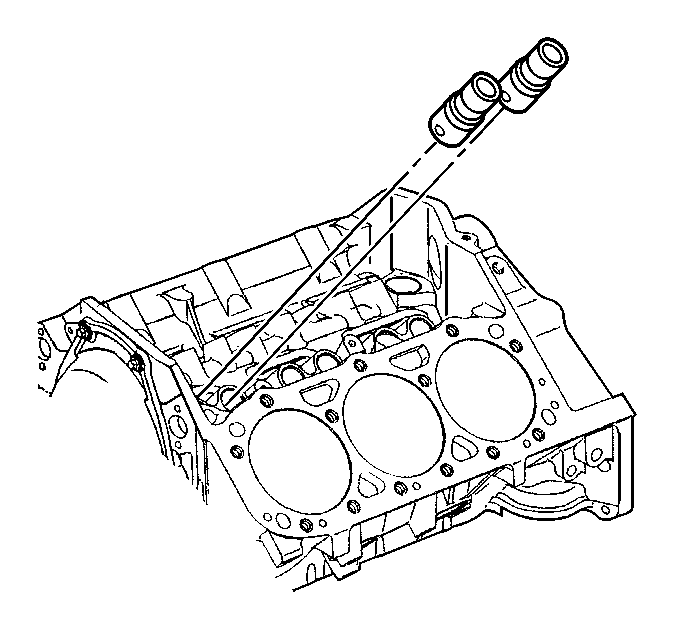
- Remove the lifters.
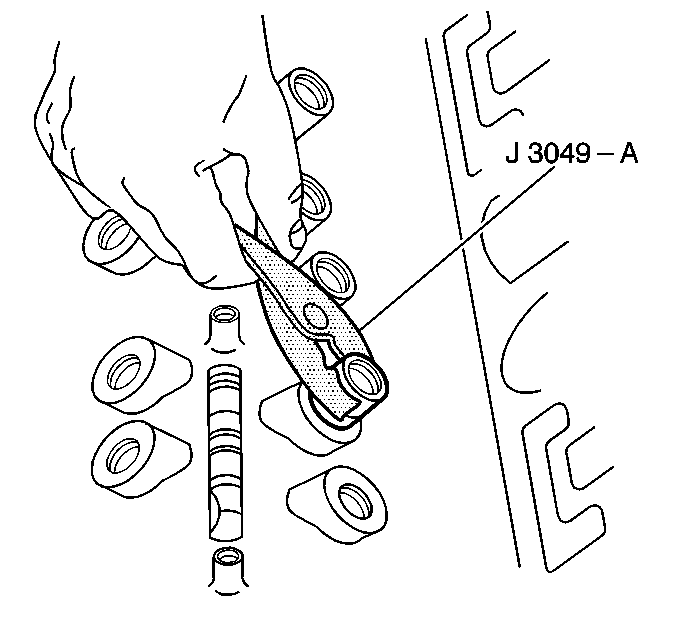
- Use the J 3049-A in order to remove the stuck valve lifters.
- Use a cleaning solvent and a shop towel to clean any varnish from the valve lifter bores.
- Inspect the lifter bores for excessive wear or scoring. Replace the engine block if there is excessive wear or deep scoring.
- Inspect the camshaft for wear or damage. If the wear is questionable remove the camshaft and inspect. Refer to Camshaft and Bearings Cleaning and Inspection.
- Clean and inspect the lifters, if necessary. Refer to Valve Lifter and Guide Cleaning and Inspection.

Note: Place the components in a rack so that the components can be installed to their original location.

Note: Place the valve lifters in the rack in the upright position in order to maintain the oil inside the valve lifters.

Note: Some valve lifters may be stuck in the valve lifter bores because of gum or varnish deposits and may require the use of J 3049-A for removal.
Installation Procedure
Note: It is normal for NEW lifters to make a slight ticking noise when the engine is first started. Increasing the engine RPM slightly to raise oil pressure should stop the noise.
- Apply lubricant to the lifter rollers. Refer to Adhesives, Fluids, Lubricants, and Sealers for the correct part number.
- Install the lifters.
- Install the lifter pushrod guides and tighten the bolts to 16 N·m (12 lb ft).
- Install the pushrods. Refer to Valve Rocker Arm and Push Rod Replacement.
- Install the intake manifold. Refer to Lower Intake Manifold Replacement.

Note: If reusing the lifters, install the lifters to their original positions.
Caution: Refer to Fastener Caution in the Preface section.

