For 1990-2009 cars only
Removal Procedure
Notice: Broken or deteriorated mounts can cause misalignment and destruction of certain drive train components. When a single mount breaks, the remaining mounts are subjected to abnormally high stresses.
- Raise the vehicle. Refer to Lifting and Jacking the Vehicle in General Information.
- Remove the underbody shields, if equipped.
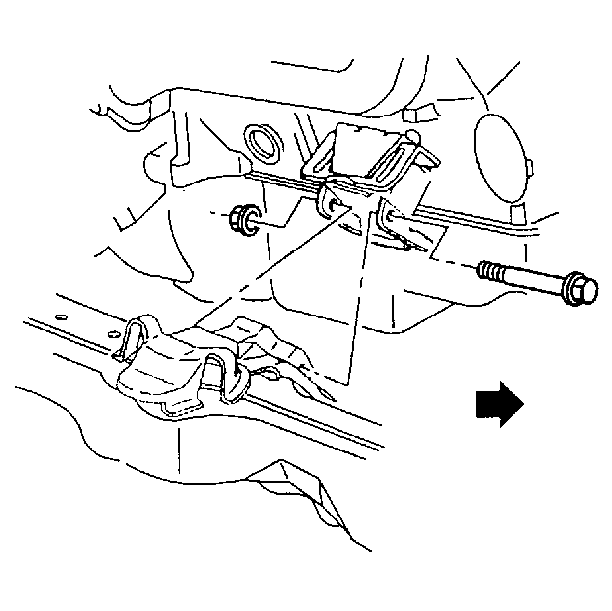
- Remove the engine mount through-bolt and nut for the side being replaced.
- Remove the left hand exhaust manifold. Refer to Exhaust Manifold Replacement - Left Side in Engine Exhaust.
- Using a suitable lifting device, raise the engine only enough to remove the engine mount.
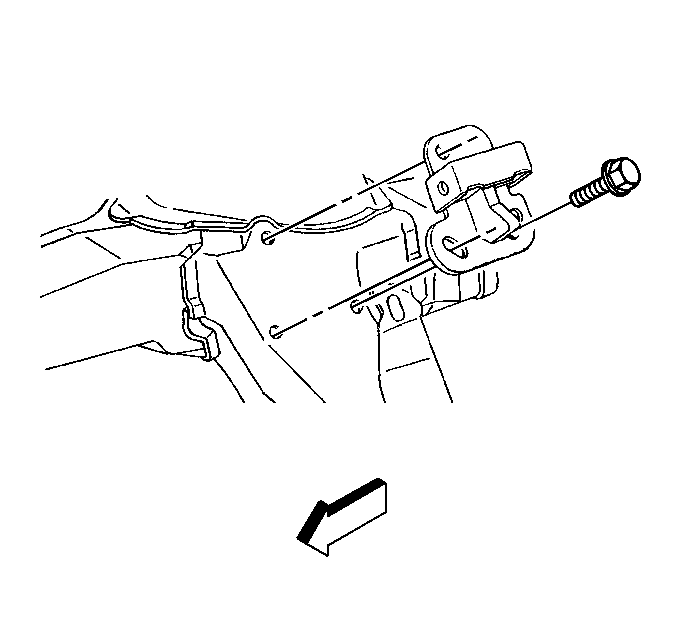
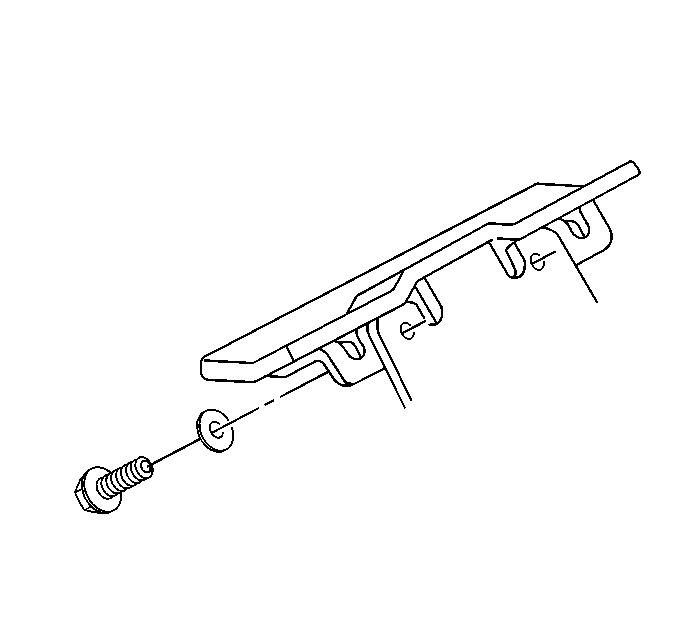
- Remove the bolts for the engine mount frame bracket.
- Remove the engine mount frame bracket.
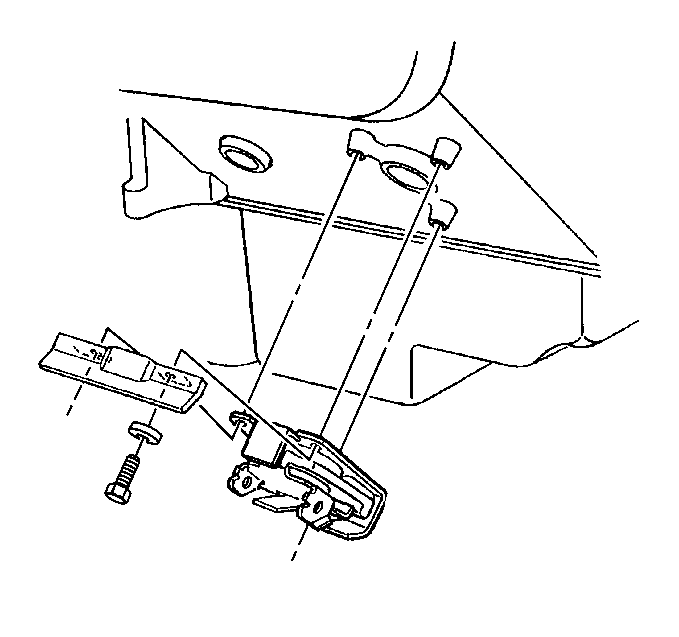
- Remove the bolts holding the engine mount to the engine.
- Remove the engine mount with the shield.

Notice: When raising or supporting the engine for any reason, do not use a jack under the oil pan, any sheet metal, or the crankshaft pulley. Lifting the engine in an unapproved manner may cause component damage.


Installation Procedure
- Sub-assemble the engine mount, shield, and one bolt.
- Install the engine mount and shield to the engine.
- Install the engine mount to engine bolts.
- Install the engine mount frame bracket to the frame.
- Install the engine mount frame bracket bolts.
- Lower the engine.
- Install the left hand exhaust manifold. Refer to Exhaust Manifold Replacement - Left Side in Engine Exhaust.
- Install the engine mount through-bolts and nuts.
- Install the underbody shields, if equipped.
- Lower the vehicle.


Notice: Refer to Fastener Notice in the Preface section.
Tighten
Tighten the engine mount to engine bolts to 55 N·m (41 lb ft).

Tighten
Tighten the engine mount frame bracket bolts to 45 N·m (33 lb ft).

Tighten
| • | Tighten the through-bolts to 74 N·m (55 lb ft). |
| • | Tighten the nuts to 63 N·m (46 lb ft). |
