For 1990-2009 cars only
Removal Procedure
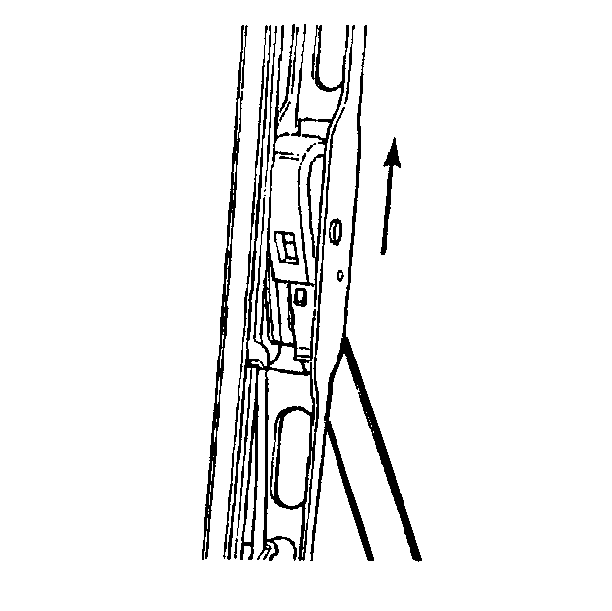
- Lift the arm into the vertical, service position.
- Press down on the locking tab of the blade assembly pivot.
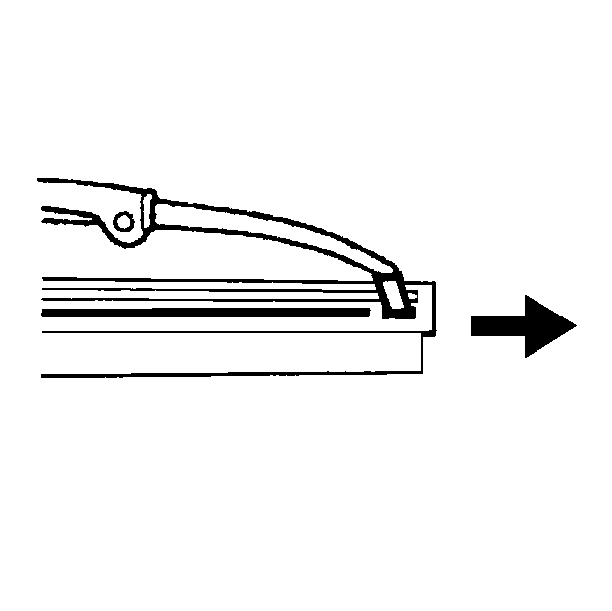
- Pull downward on the blade assembly, disengaging the assembly from the hook of the wiper arm.
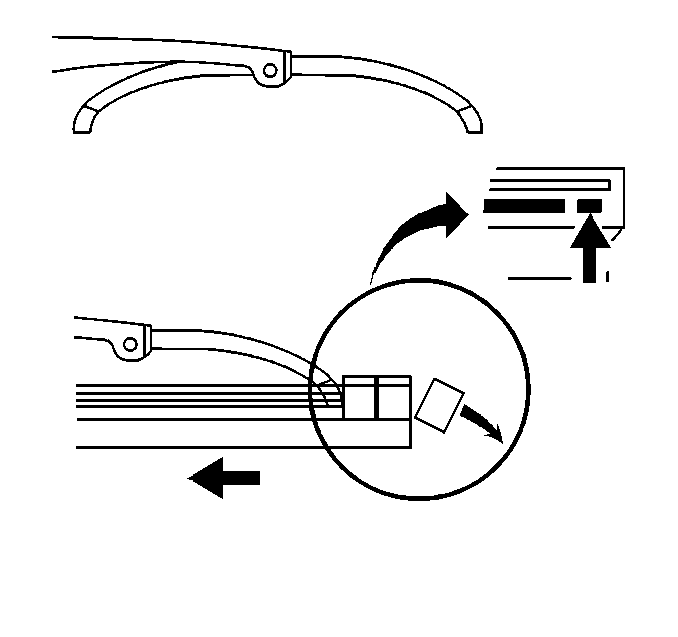
- The element has 2 notches at one end. The blade assembly latches into the notches.
Notice: Use care when removing or installing a blade assembly. Inadvertent bumping can cause the wiper arm to come back and to damage the windshield.


At the notched end of the element, pull the element from the blade assembly.
Installation Procedure
Important: A replacement element has 3 plastic caps. The caps retain 2 metal flexor strips to the element. Do not remove the caps before installing the element.
- Starting at the end of the blade assembly shown, slide the element into the blade assembly's claws.
- Ensure that the blade assembly's claws latch into the notches.
- Ensure that all other blade assembly claws properly engage the slots on both sides of the element.
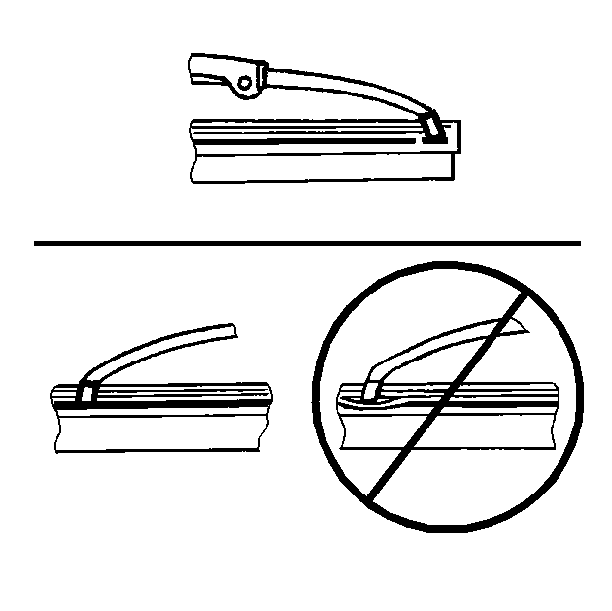
- Insert the pivot of the blade assembly into the wiper arm hook.
- Pull the assembly upward until the locking tab of the pivot engages the slot in the hook.
- Carefully lower the wiper arm assembly onto the windshield.

Important: Insert the notched end of the element into the blade assembly last.
Fully inserting the element forces the plastic caps off of the element.

