For 1990-2009 cars only
Endgate Replacement Pick-up
Removal Procedure
- Perform the following steps in order to disconnect the right and left pickup box endgate cables from the endgate striker bolts:
- Remove the endgate from the vehicle:
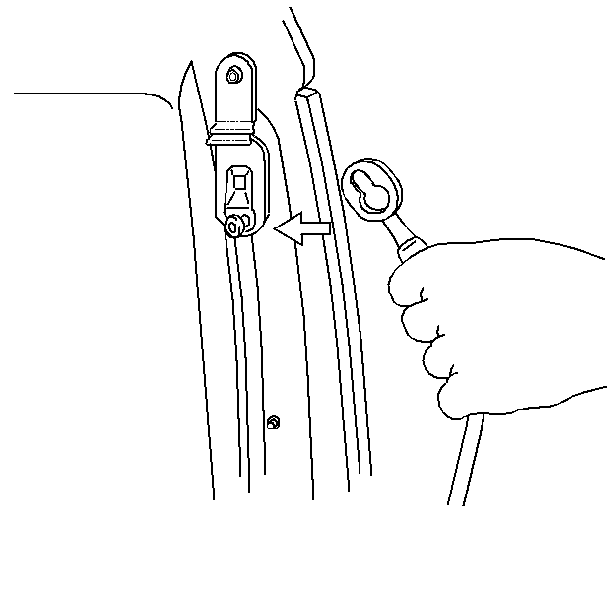
| 1.1. | Open the endgate. |
| 1.2. | Safely support the endgate. |
| 1.3. | Disconnect the slotted hole at the end of the cable from the endgate striker bolt. |
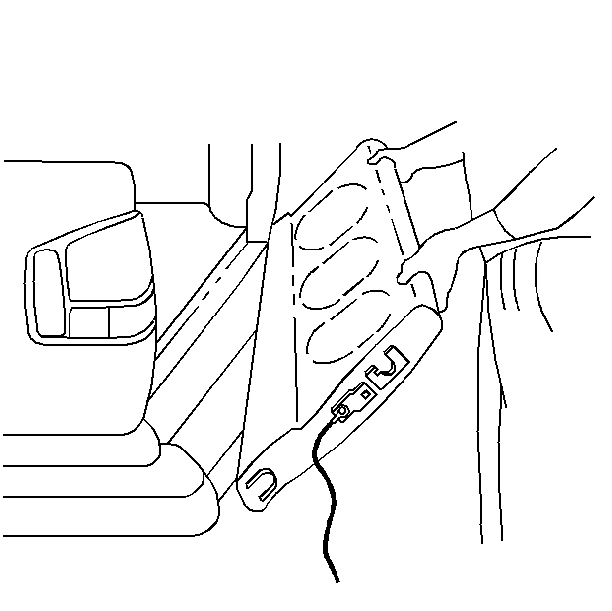
| 2.1. | Raise the endgate to a 45 degree angle. |
Do not pinch the cable between the endgate and the pickup box.
| 2.2. | Lift the endgate from the left side hinge. |
| 2.3. | Lift the endgate from the right side hinge. |
Installation Procedure
- Perform the following steps in order to install the endgate to the vehicle:
- Connect the right pickup endgate cable to the endgate striker bolts.
- Connect the left pickup endgate cable to the endgate striker bolts.

| 1.1. | Install the endgate to the right side hinge. |
| 1.2. | Hold the endgate at a 45 degree angle in order to seat the endgate to the left side hinge. |

Endgate Replacement Utility
Removal Procedure
- Remove the endgate torque rod. Refer to Endgate Torque Rod Replacement .
- Remove the endgate opening door sill trim plate in order to access the wiring harness connectors. Refer to Rear Floor Rear Trim Plate Replacement in Interior Trim.
- Disconnect the electrical connectors, as needed.
- Disconnect the endgate window washer fluid hose.
- Safely support the endgate in the open position in order to remove the grommet from the endgate.
- Remove the endgate struts. Refer to Endgate Strut Replacement .
- Remove the endgate support cables. Refer to Endgate Cable Replacement .
- Remove the endgate spare tire reinforcement (if equipped).
- Remove the hinge pin retainers.
- Remove the hinge pins from the right hinge.
- Remove the hinge pins from the left hinge.
- Remove the endgate from the vehicle.
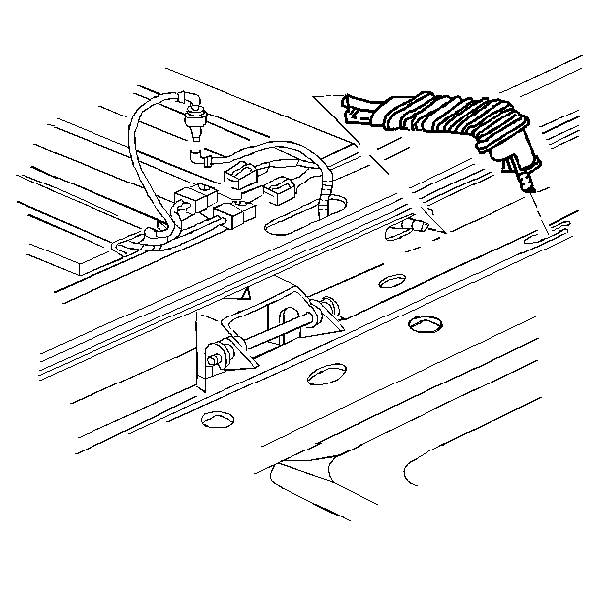
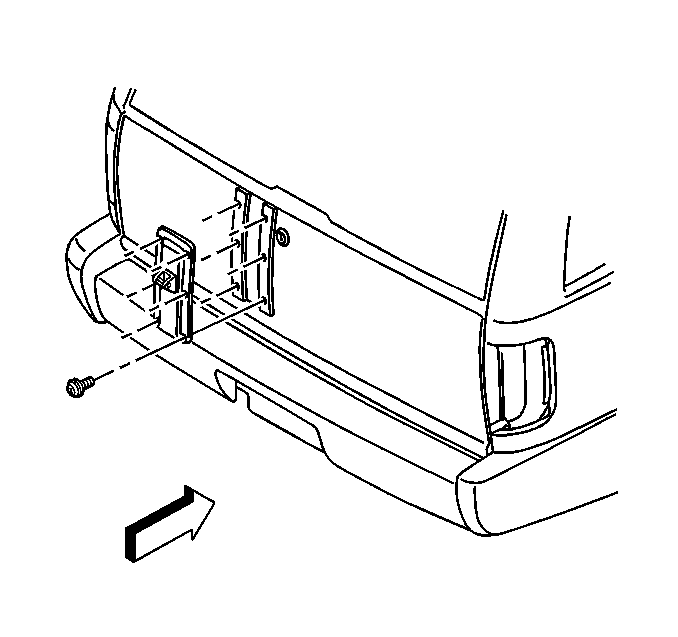
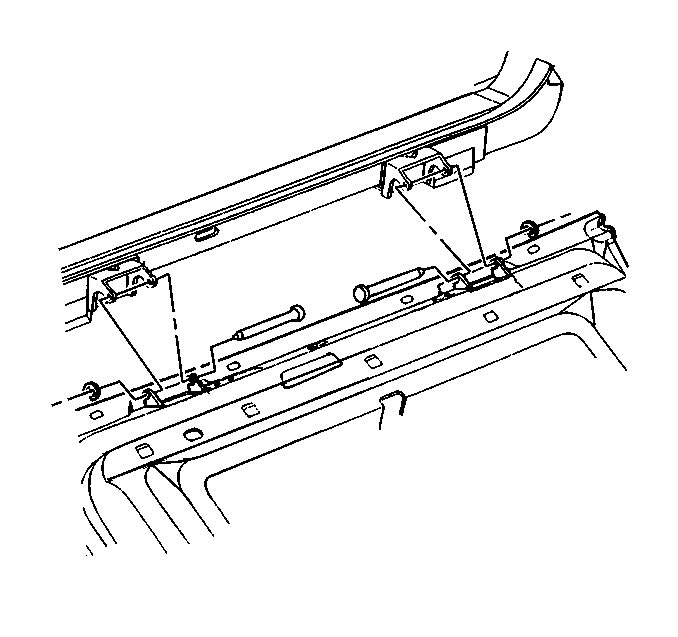
Discard the hinge pin retainers.
Installation Procedure
- Safely support the endgate in the open position in order to install the endgate to the vehicle.
- Install the hinge pins to the right hinges.
- Install the hinge pins to the left hinges.
- Install the new hinge pin retainers.
- Install the endgate support cables. Refer to Endgate Cable Replacement .
- Install the endgate struts. Refer to Endgate Strut Replacement .
- Install the grommet to the endgate.
- Connect the endgate window washer fluid hose.
- Connect the electrical connectors, as needed.
- Install the endgate opening door sill trim plate. Refer to Rear Floor Rear Trim Plate Replacement in Interior Trim.
- Install the endgate torque rod. Refer to Endgate Torque Rod Replacement .
- Install the endgate mounted spare tire reinforcement (if equipped).


