For 1990-2009 cars only
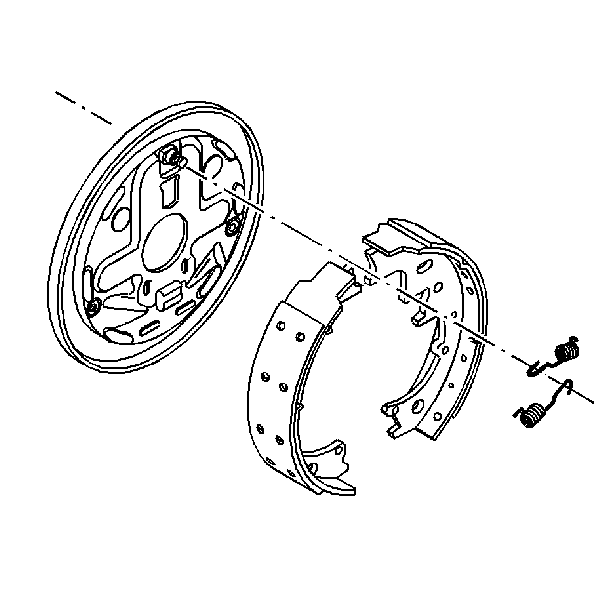
Removal Procedure
Caution: Refer to Brake Dust Caution in the Preface section.
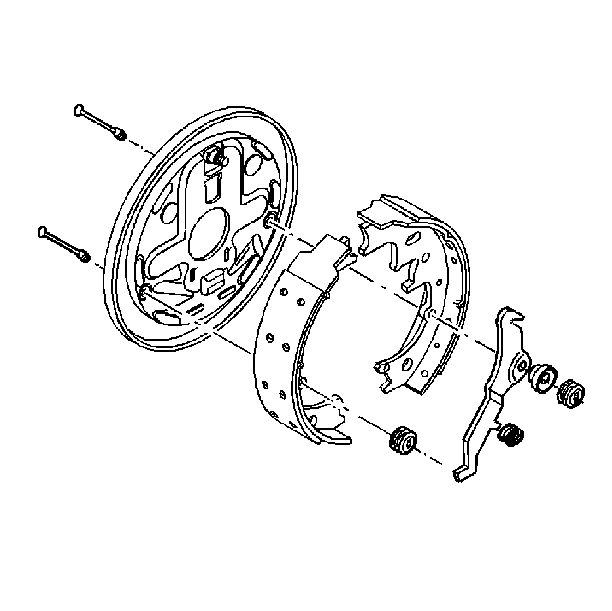
- Raise the vehicle. Refer to Lifting and Jacking the Vehicle in General Information.
- Remove the tire and wheel assembly. Refer to Tire and Wheel Removal and Installation in Tires and Wheels.
- Remove the brake drum. Refer to Brake Drum Replacement .
- Remove the brake shoe return springs.
- Remove the brake shoe guide.
- Remove the hold down springs.
- Remove the hold down pins.
- Remove the actuator lever and the actuator lever pivot.
- Remove the actuator lever and the lever pivot.
- Remove the lever return spring.
- Inspect all remaining parts for discoloration due to heat or stress. Replace parts as needed.
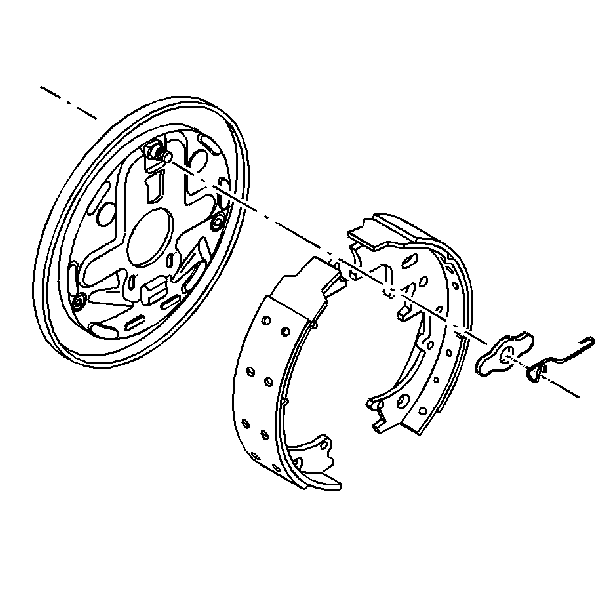
Installation Procedure
- Install the actuator lever and the lever pivot.
- Install the actuator lever return spring.
- Install the hold down pins.
- Install the hold down springs.
- Install the brake shoe guide.
- Install the brake shoe return springs.
- Install the brake drum. Refer to Brake Drum Replacement .
- Install the tire and wheel assembly. Refer to Tire and Wheel Removal and Installation in Tires and Wheels.
- Adjust the brakes. Refer to Drum Brake Adjustment .
- Lower the vehicle.
