For 1990-2009 cars only
Removal Procedure
- Position the vehicle on a hoist and raise the hood.
- Place a drain pan or suitable container under the vehicle.
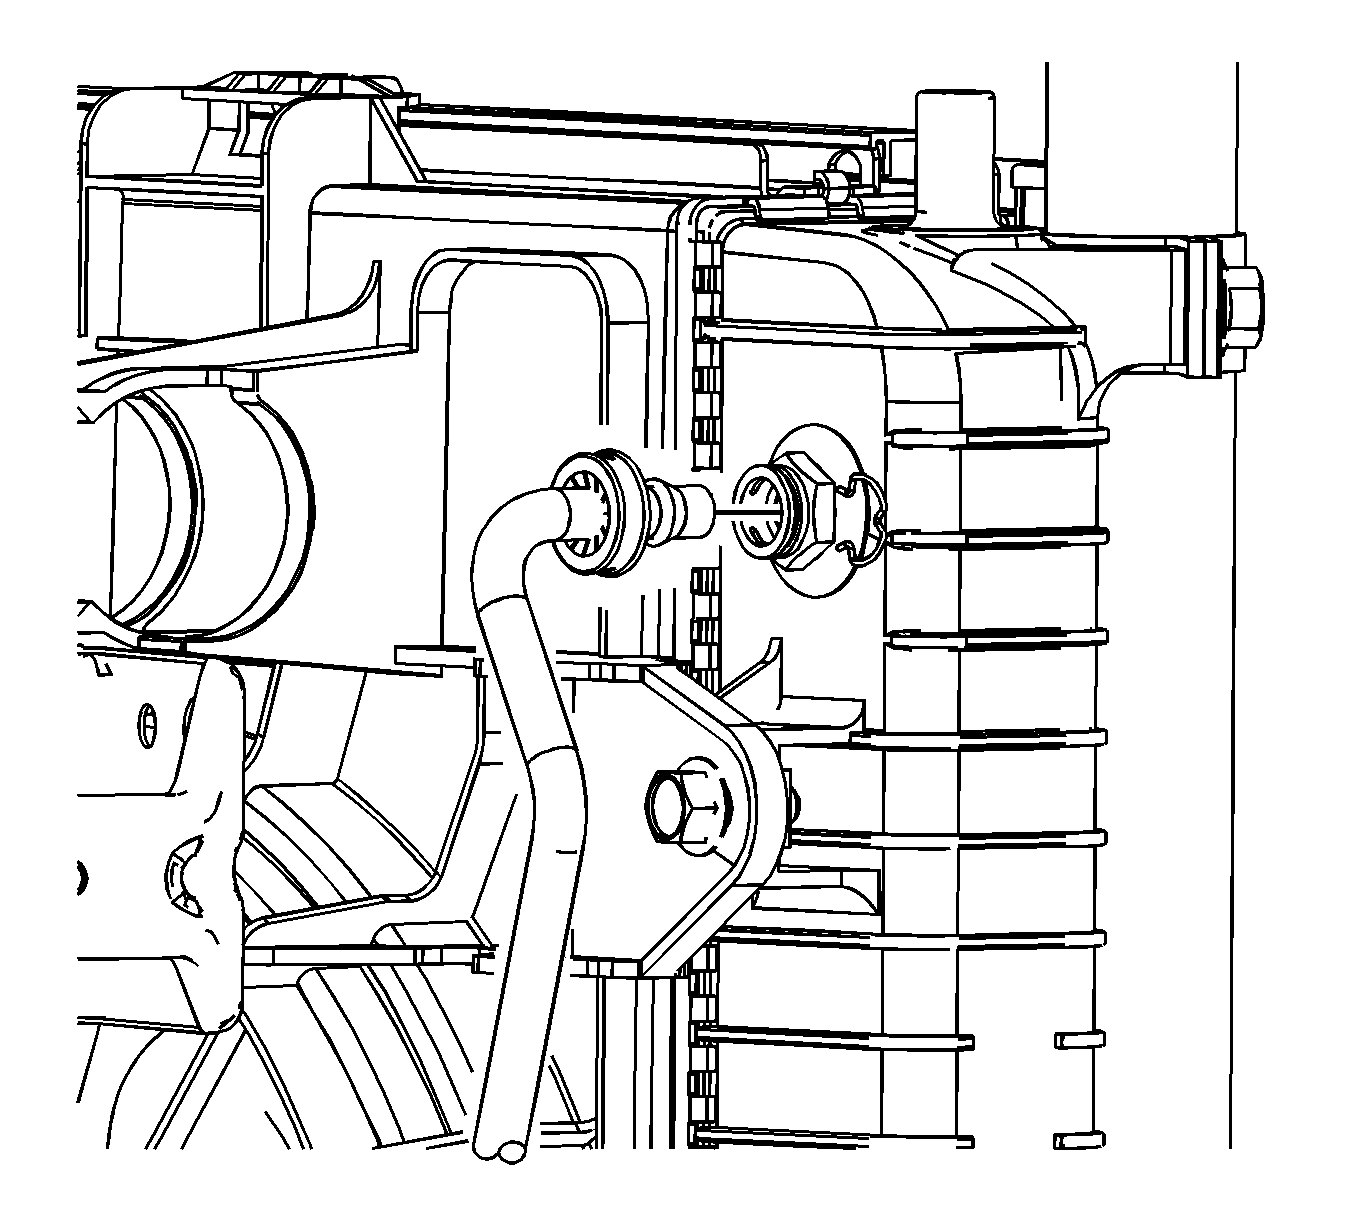
- Disconnect the upper transaxle oil cooler line from the radiator.
- Raise the vehicle. Refer to Lifting and Jacking the Vehicle .
- Disconnect the lower transaxle oil cooler line.
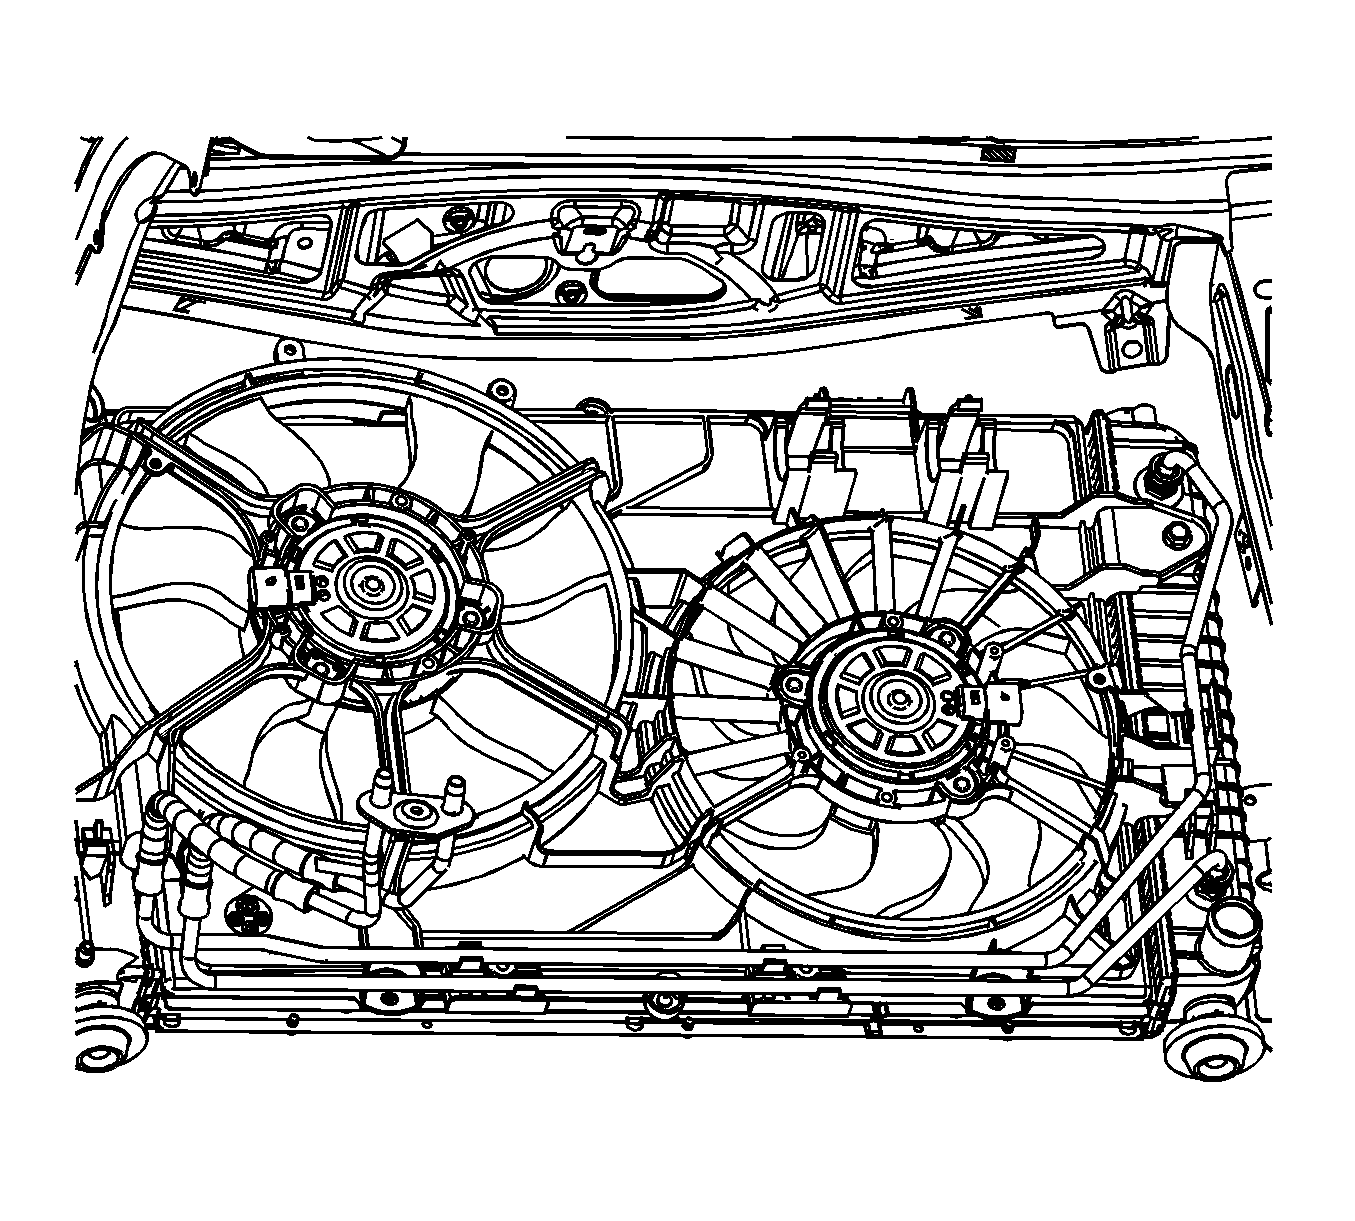
- Disengage the transaxle cooler lines from the fan shroud.
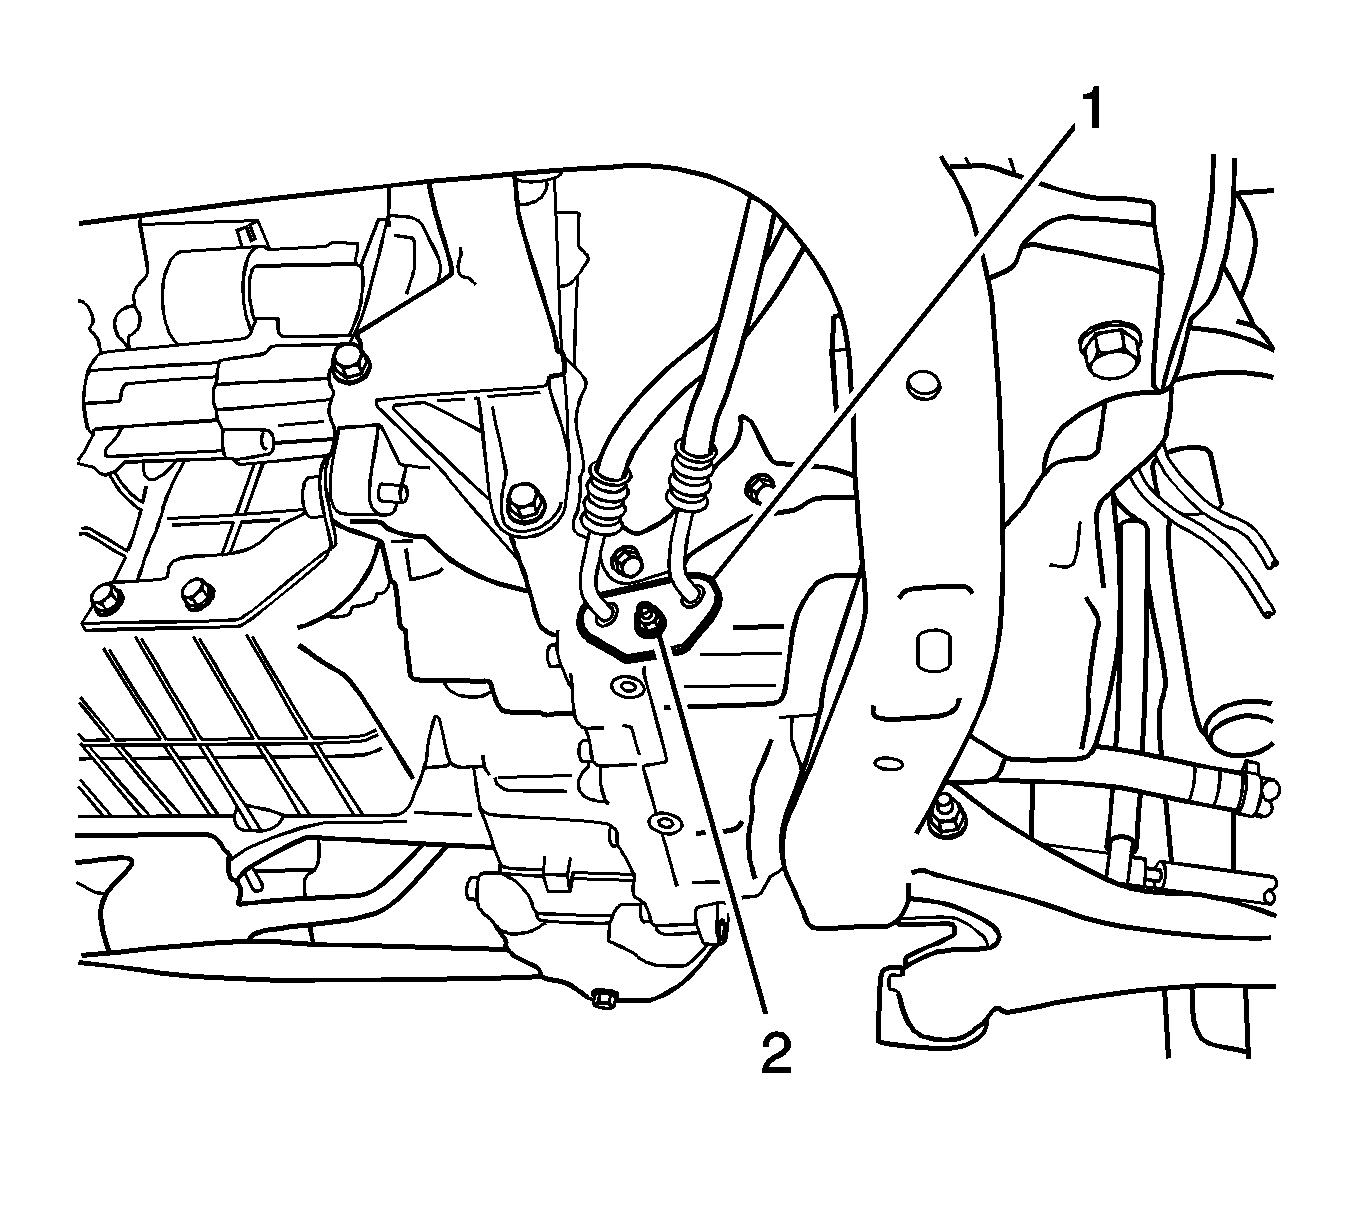
- Remove the transaxle cooler line assembly nut (2) from the transaxle.
- Remove the transaxle cooler lines (1) from the vehicle.
- Replace the transaxle oil cooler pipe seals. Refer to the Transmission Fluid Cooler Pipe Seal Replacement .
Caution: Ensure that the vehicle is properly supported and squarely positioned. To help avoid personal injury when a vehicle is on a hoist, provide additional support for the vehicle on the opposite end from which the components are being removed.


Installation Procedure
- Install the transaxle oil cooler lines into the vehicle.
- Install the transaxle oil cooler line assembly (1) to the transaxle.
- Install the transaxle oil cooler line assembly nut (2).
- Connect the lower transaxle oil cooler line to the radiator.
- Engage the transaxle oil cooler lines with the fan shroud by snapping in place.
- Lower the vehicle.
- Connect the upper transaxle oil cooler line to the radiator.
- Add fluid to the transaxle. Refer to the Transmission Fluid Check .
- Start the engine a check for leaks.

Notice: Refer to Fastener Notice in the Preface section.
Tighten
Tighten the transaxle oil cooler lines to 7 N·m (62 lb in).


Tighten
Tighten the transaxle cooler line fittings to 16 N·m (12 lb ft).
