For 1990-2009 cars only
Removal Procedure
- Disconnect the negative battery cable. Refer to Battery Negative Cable Disconnection and Connection .
- Discharge and recover the refrigerant. Refer to Refrigerant Recovery and Recharging .
- Remove the radiator. Refer to Radiator Replacement .
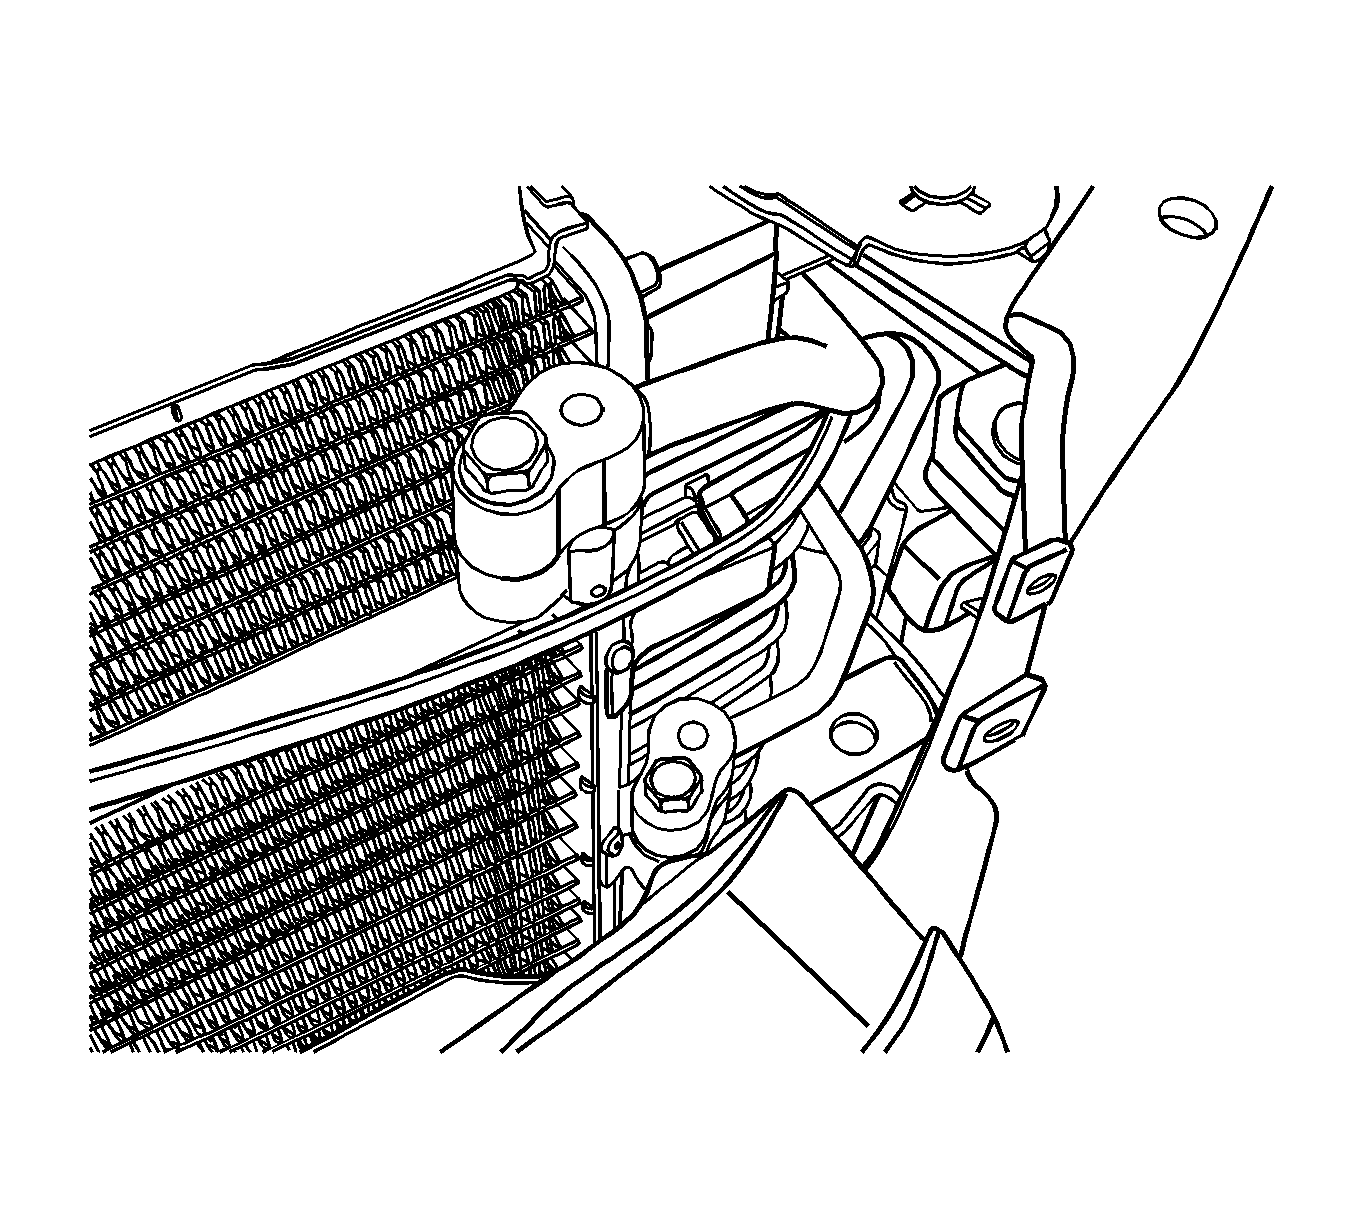
- Remove the liquid line bolt from the condenser.
- Remove the liquid line from the condenser.
- Remove the compressor hose bolt from the condenser.
- Remove the compressor hose from the condenser.
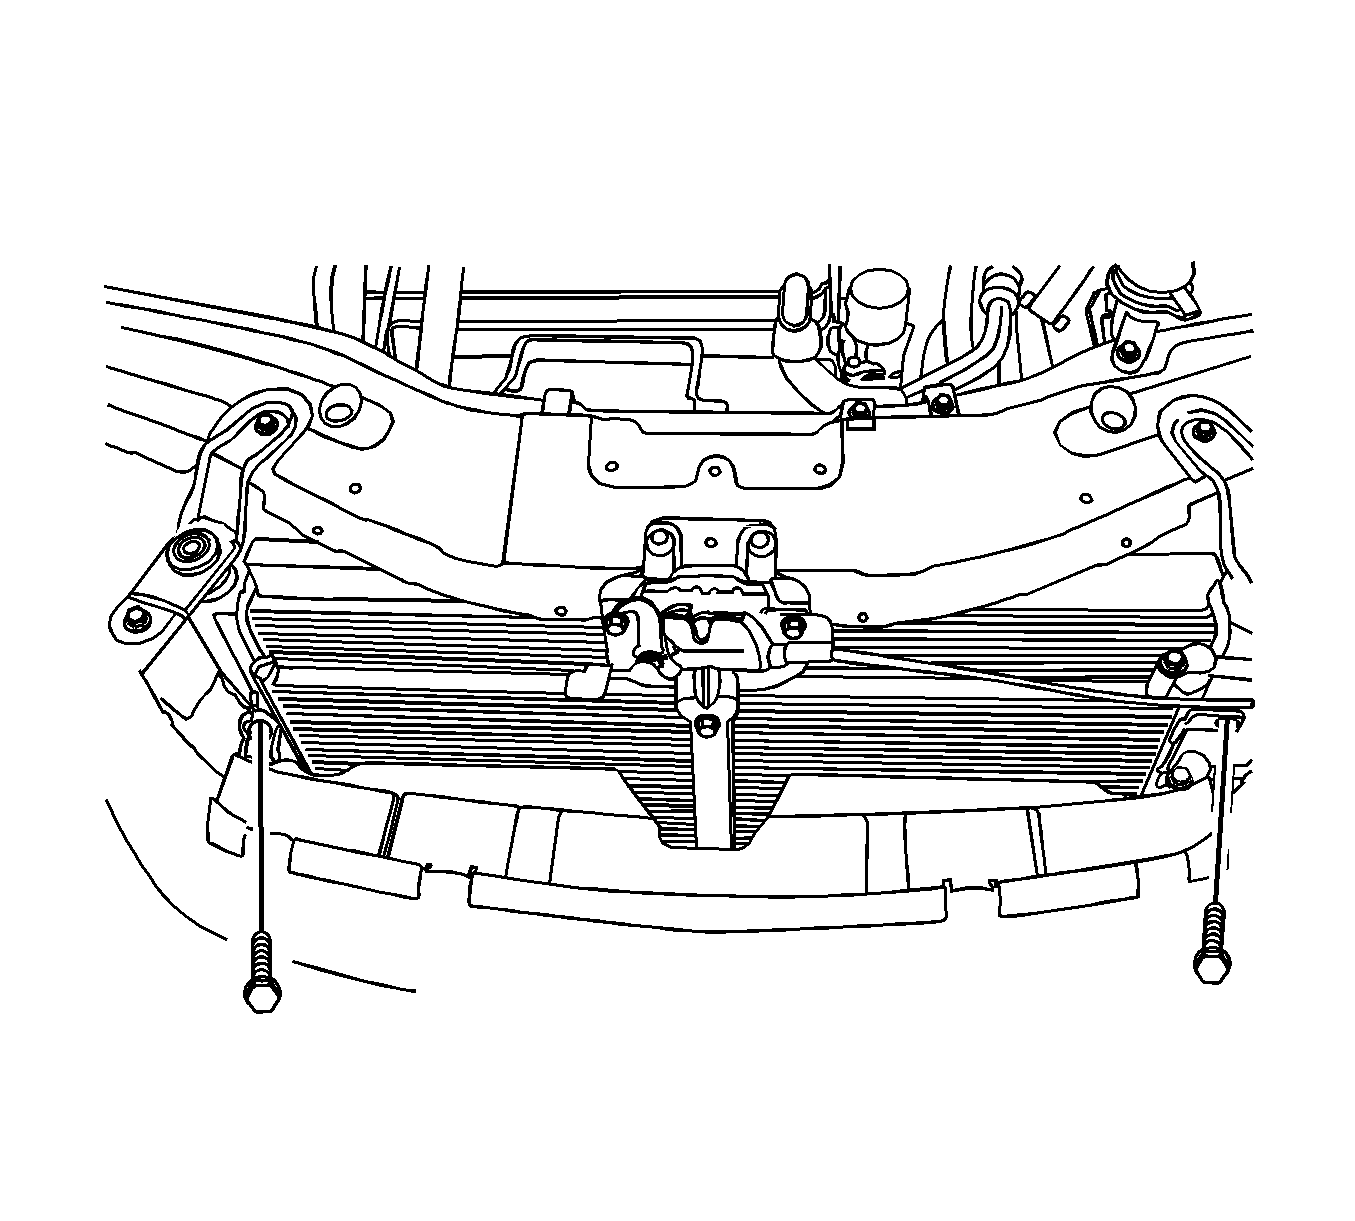
- Remove the upper condenser mount bolts.
- Tilt the condenser, away from the radiator mount support.
- Lift the condenser up and out of the engine compartment.
- Cap all the open fittings to prevent contamination.
Caution: Refer to Battery Disconnect Caution in the Preface section.


Installation Procedure
- Make sure the condenser rubber mounts are in place.
- Install the condenser into the vehicle. The lower mount shock protectors must fit into the holes provided.
- Position the condenser into the radiator support mount holes.
- Install the upper condenser mount bolts.
- Install a new seal washer onto the compressor hose at the condenser.
- Install the compressor hose to the condenser.
- Install the compressor hose bolt to the condenser.
- Install a new seal washer onto the liquid line at the condenser.
- Install the liquid line to the condenser.
- Install the liquid line bolt to the condenser.
- Install the radiator. Refer to Radiator Replacement .
- Connect the negative battery cable. Refer to Battery Negative Cable Disconnection and Connection .
- Recharge the A/C system. Refer to Refrigerant Recovery and Recharging .
- Operate the HVAC control to verify the proper function of the heating and cooling systems.

Notice: Refer to Fastener Notice in the Preface section.
Tighten
Tighten the upper condenser mount bolts to 4 N·m (35 lb in).
Tighten
Tighten the compressor hose bolt to 16 N·m (12 lb in).

Tighten
Tighten the liquid line bolt to 16 N·m (12 lb ft).
