Caution: If any water enters the vehicle's interior up to the level of the carpet or higher and soaks the carpet, the sensing and diagnostic module (SDM) and the SDM harness connector may need to be replaced. The SDM could be activated when powered, which could cause deployment of the air bag(s) and result in personal injury. Before attempting these procedures, the SIR system must be disabled. Refer to Disabling the SIR System.
With the ignition OFF, inspect the SDM mounting area, including the carpet. If any significant soaking or evidence of significant soaking is detected, you must perform the following tasks:- Remove all water.
- Repair the water damage.
- Replace the SDM harness connector.
- Replace the SDM.
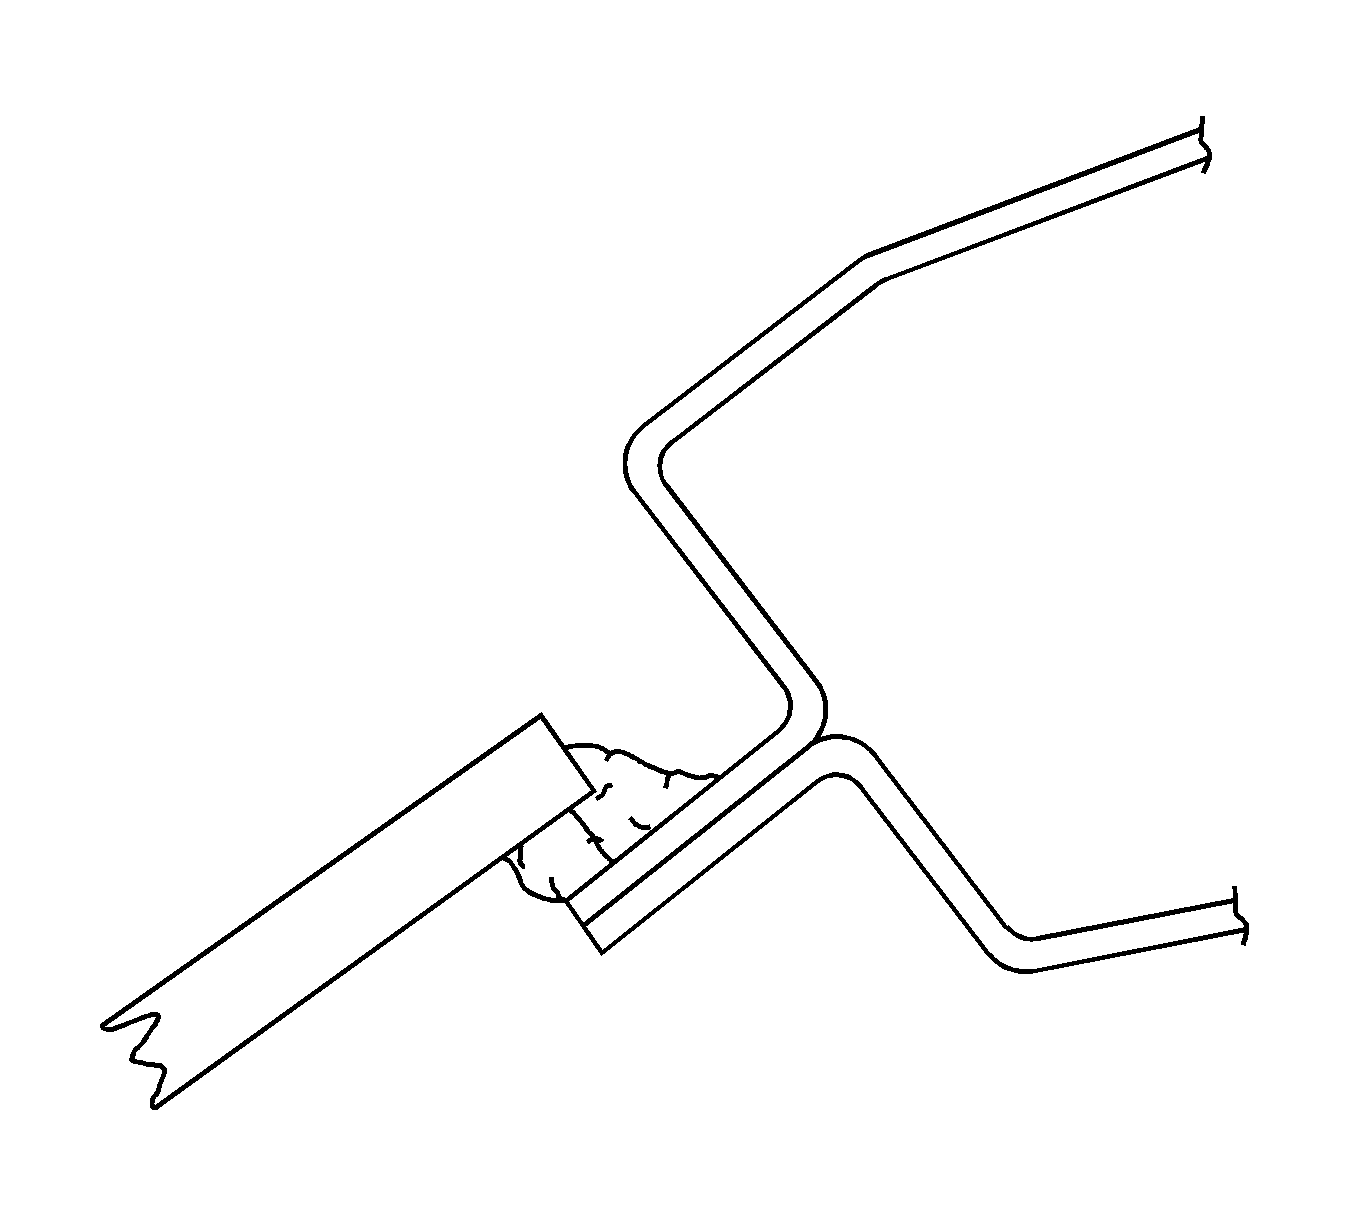
Some waterleaks around the glass can be repaired without removing the glass.
- If the floor carpet is wet refer to Floor Carpet Drying .
- Remove the trim moldings or the headliner in order to repair the leak, if needed.
- While spraying water over the leak area, carefully push the glass outward in order to determine the size of the leak.
- Mark the location of the leak.
- Use the water to clean any dirt from the area. Dry the area with an air hose.
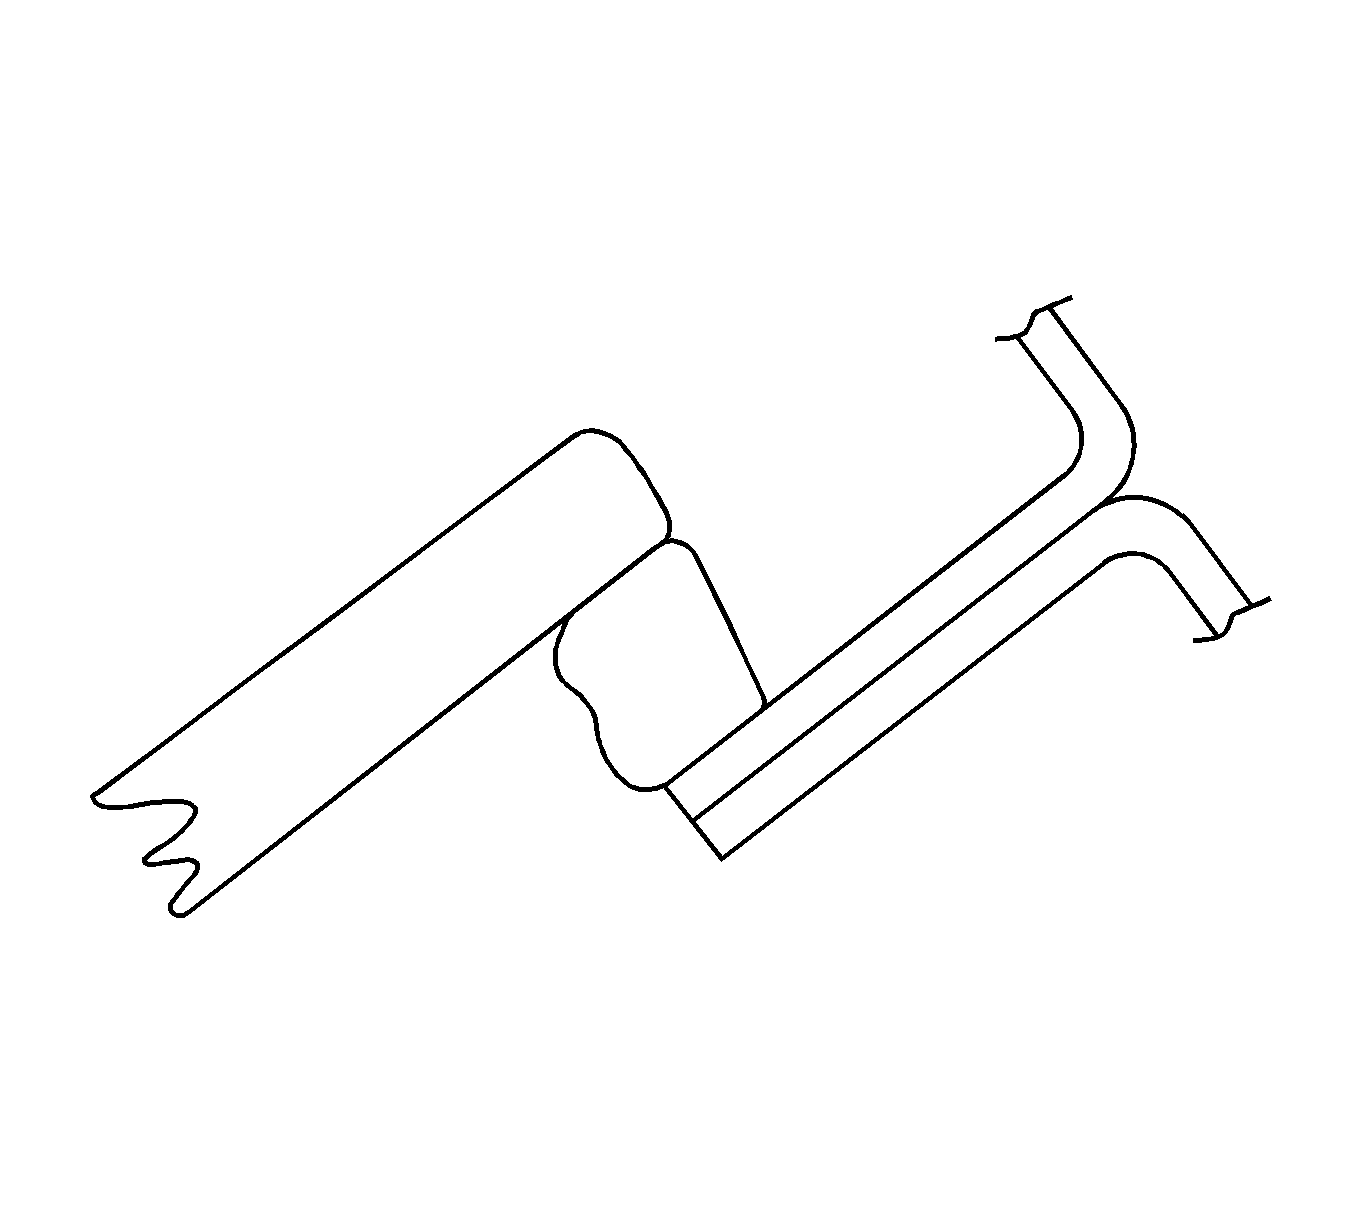
- Using a sharp knife, trim off the uneven edges of the adhesive caulking material around the leak for a distance of 75 to 100 mm (3 to 4 in) on both sides of the leak.
- Prime the trimmed area with the primer.
- Allow the primer to dry for 5 minutes.
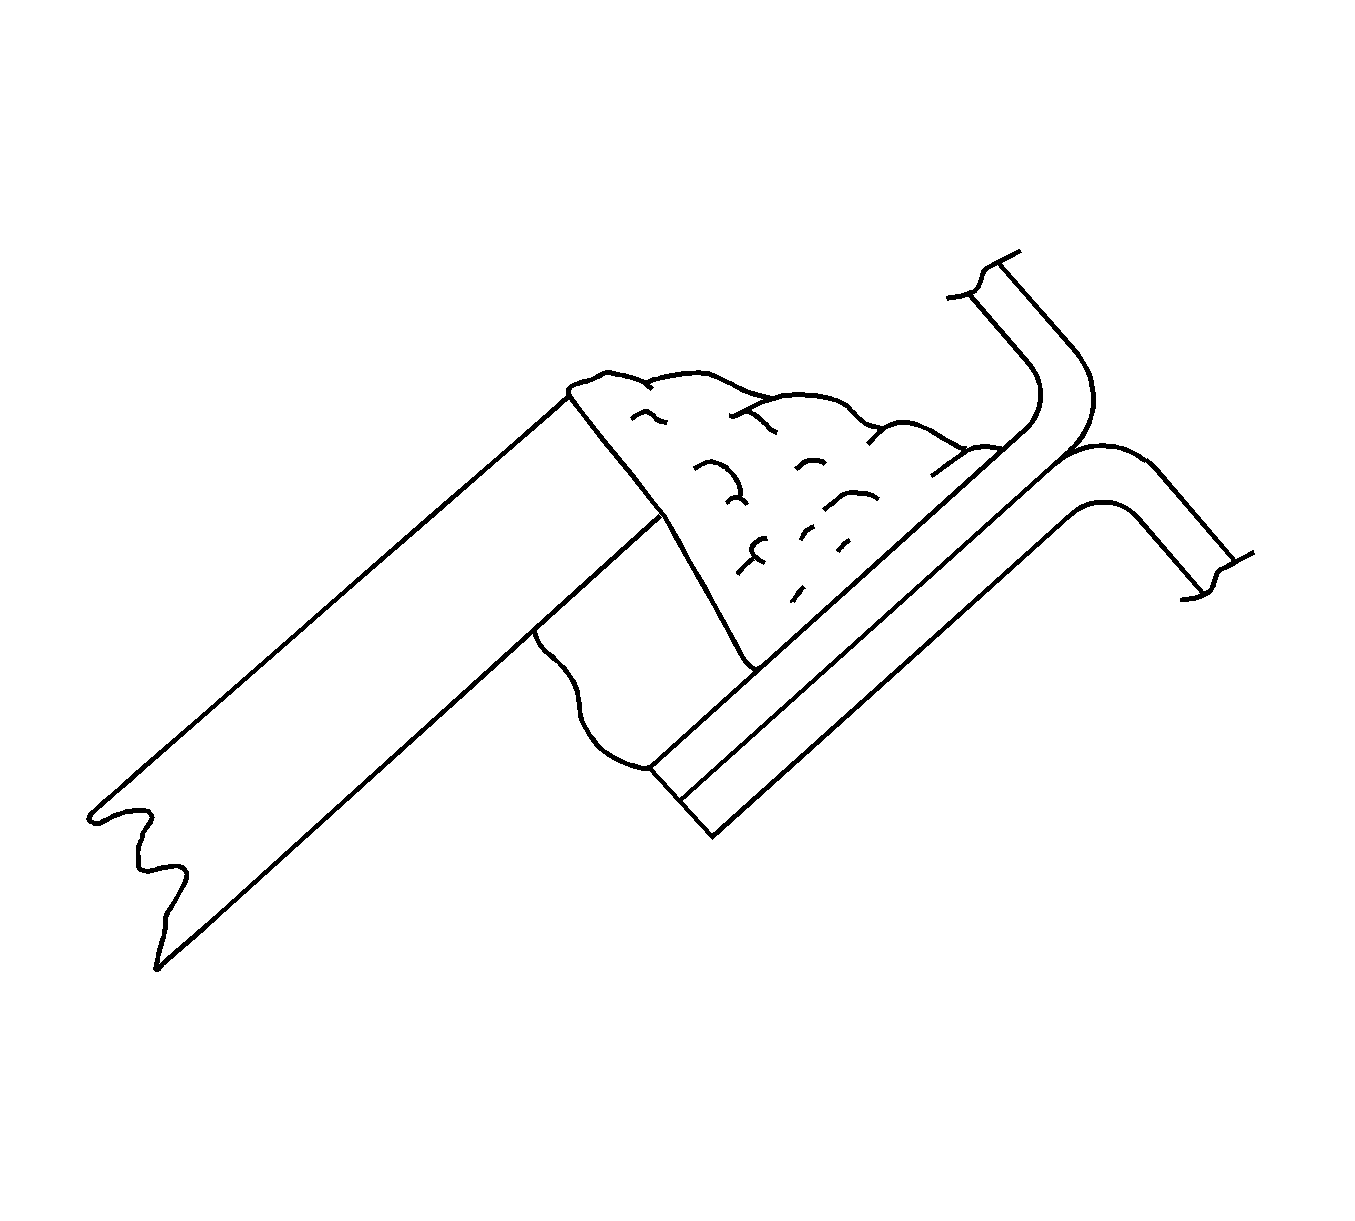
- Using Urethane Adhesive Caulking Kit GM P/N 12346392 or equivalent, apply over the leak and for a distance of 75 to 100 mm (3 to 4 in) on both sides of the leak.
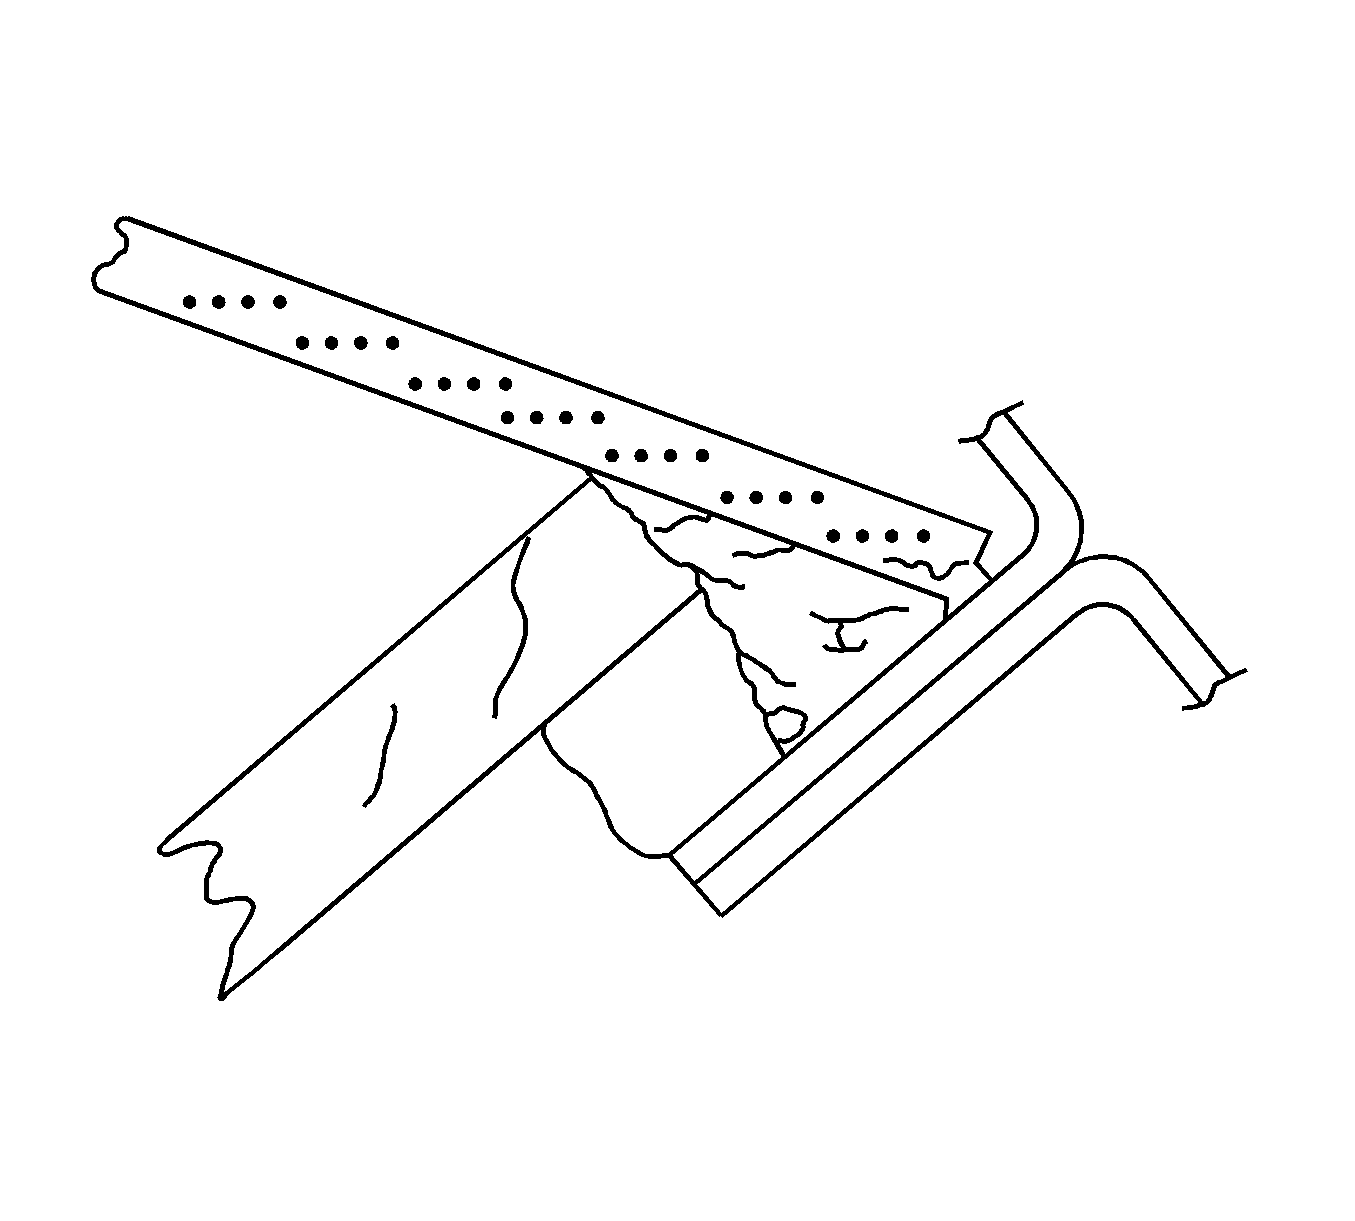
- Immediately after applying the adhesive, use a flat stick or a similar tool to work the adhesive into the leak area and into the joint between the original material and the vehicle body in order to ensure a watertight seal.
- Spray warm or hot water over the repaired area in order to determine if the leak was repaired. Do not run a heavy stream of water directly on the freshly applied adhesive.
- Install the trim strip lace if it was removed.
- Install the garnish molding if it was removed.
- Install the reveal molding.
- Watertest the repaired area.
Important: This type of repair may be used only for urethane-installed glass.


Important: After the completion of any waterleak repair, retest the area using the watertest stands. Do not use localized testing procedures on the newly-repaired areas, as the repair material may dislodge under abnormal pressure.
