For 1990-2009 cars only
Removal Procedure
- Remove the air cleaner layer. Refer to Air Cleaner Replacement .
- Remove the engine cover . Refer to Engine Cover Replacement in Interior Trim.
- Remove the A/C compressor . Refer to Air Conditioning Compressor Replacement in Heating, Ventilation and Air Conditioning.
- Disconnect the electrical connector to the fuel rail pressure sensor .

Remove the fuel rail pressure sensor from the junction block.
Installation Procedure
- Install the fuel rail pressure sensor to the junction block.
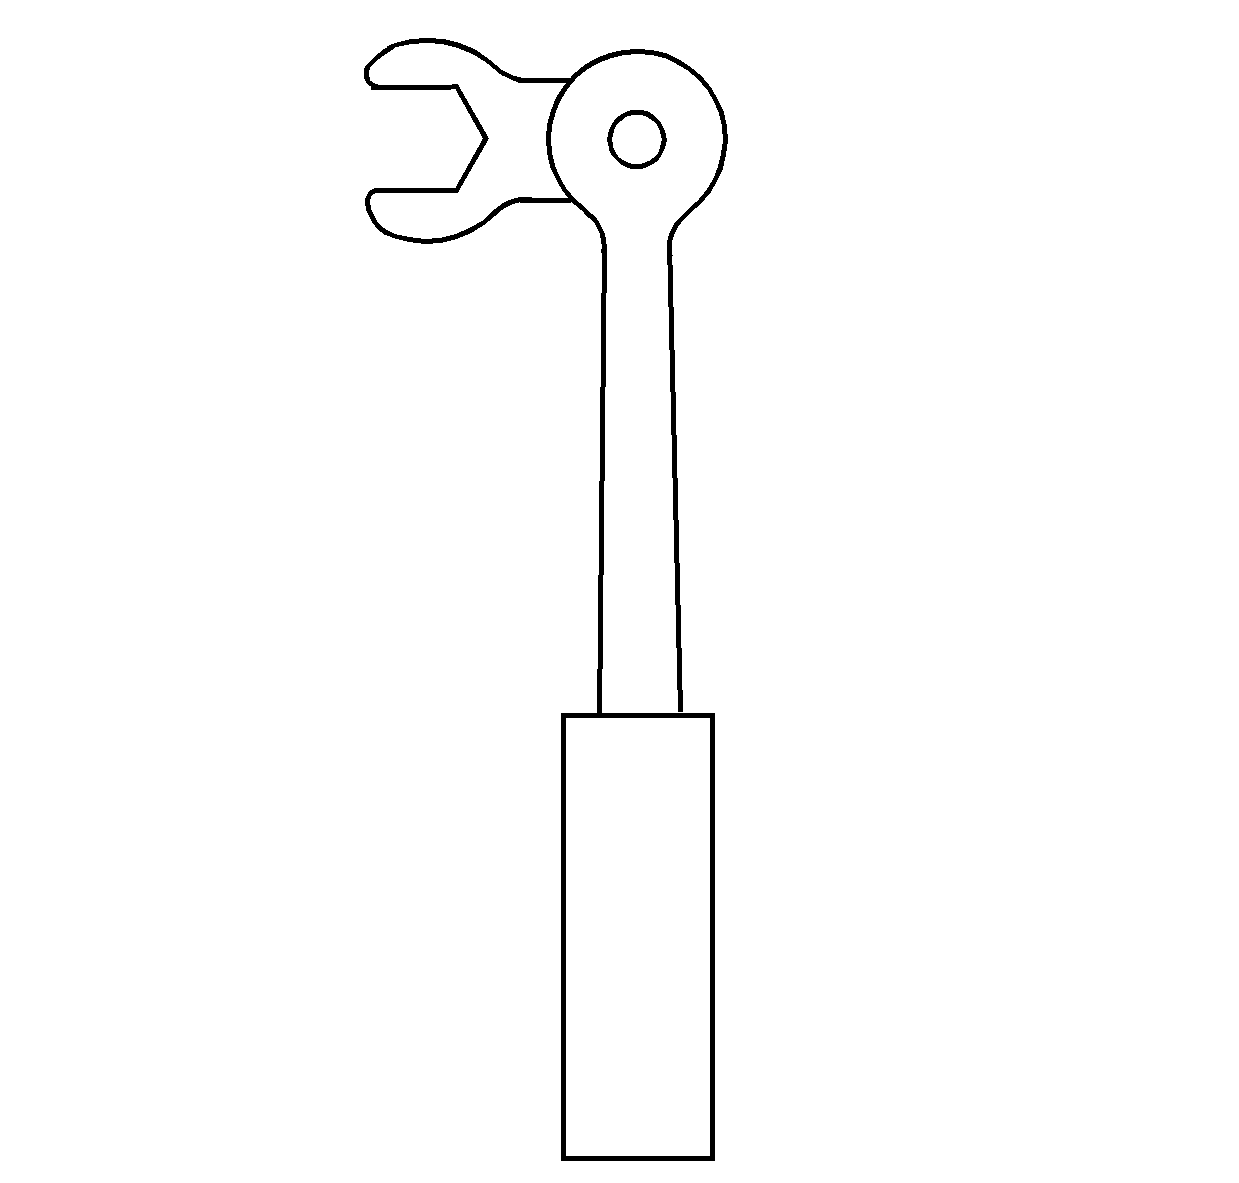
- If the crows foot is kept perpendicular (90 degrees) to the torque wrench during the entire tightening procedure, then the torque wrench can be set to the listed torque specification.
- Connect the electrical connector to the fuel rail pressure sensor.
- Install the A/C compressor. Refer to Air Conditioning Compressor Replacement in Heating, Ventilation and Air Conditioning.
- Install the engine cover . Refer to Engine Cover Replacement in Interior Trim.
- Install the air cleaner layer . Refer to Air Cleaner Replacement .
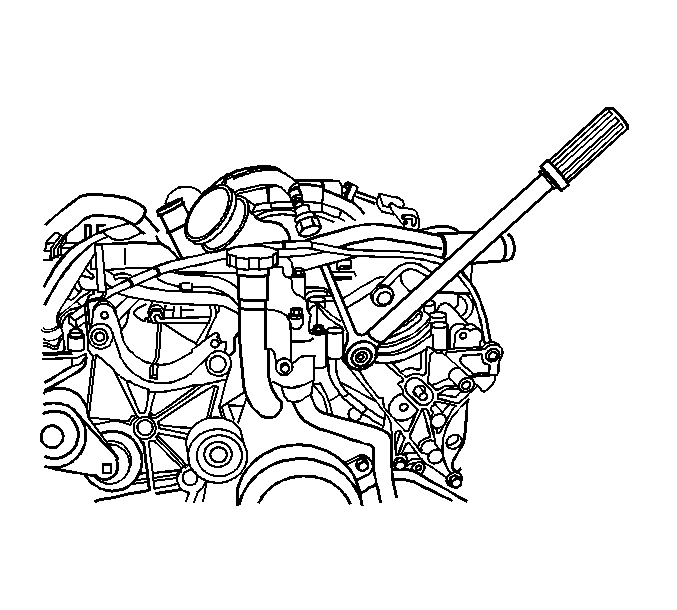
If a crows foot is used to torque the fuel rail pressure sensor then special attention to the position of the crows foot in relation to the torque wrench is required.
Notice: Refer to Fastener Notice in the Preface section.
Tighten
Tighten the fuel rail pressure sensor to 70 N·m
(52 lb ft).
