For 1990-2009 cars only
Removal Procedure
- Remove the engine cover. Refer to Engine Cover Replacement in Interior Trim.
- Disconnect the negative battery cable. Refer to Battery Negative Cable Disconnection and Connection in Engine Electrical.
- Remove the air cleaner Layer. Refer to Air Cleaner Replacement .
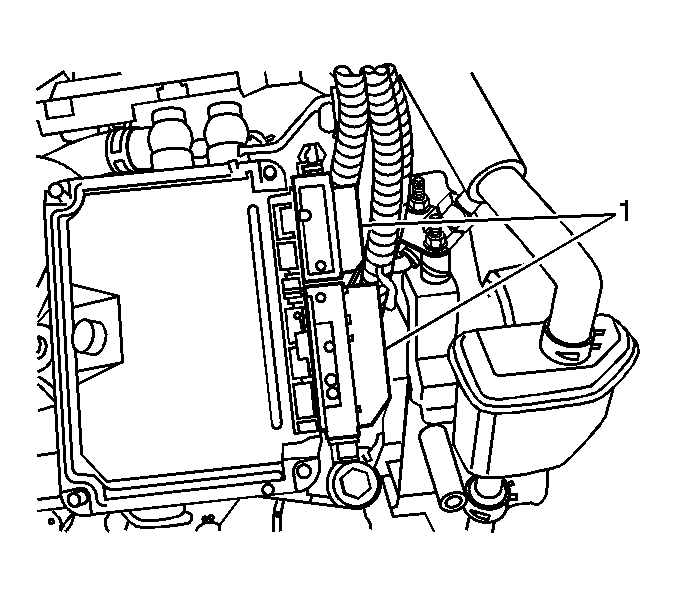
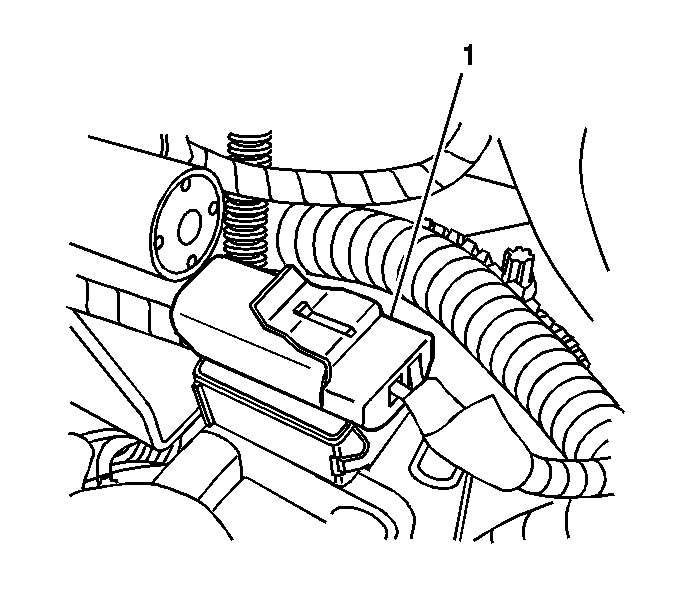
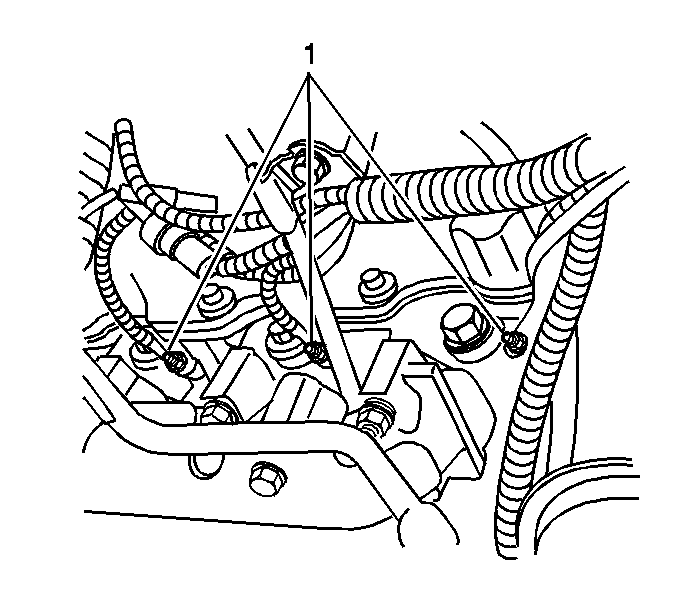
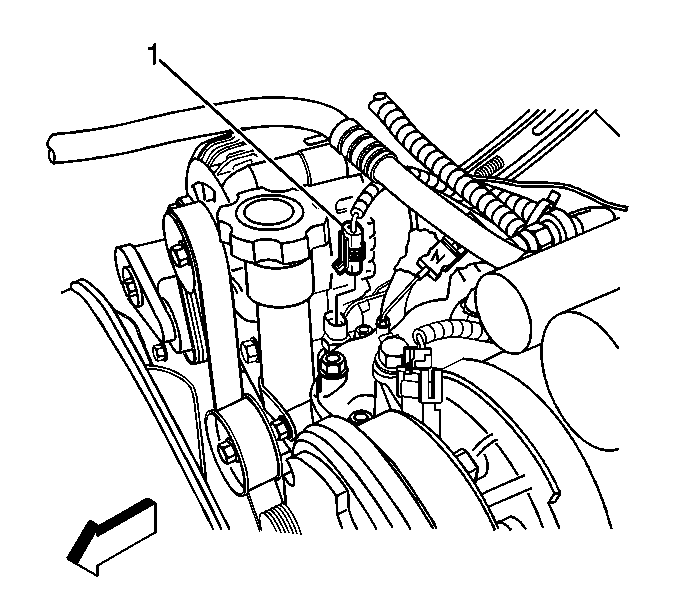
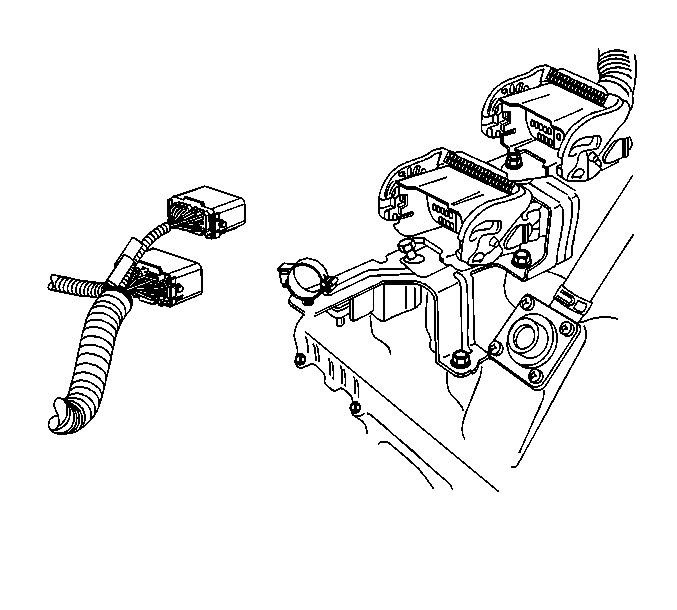
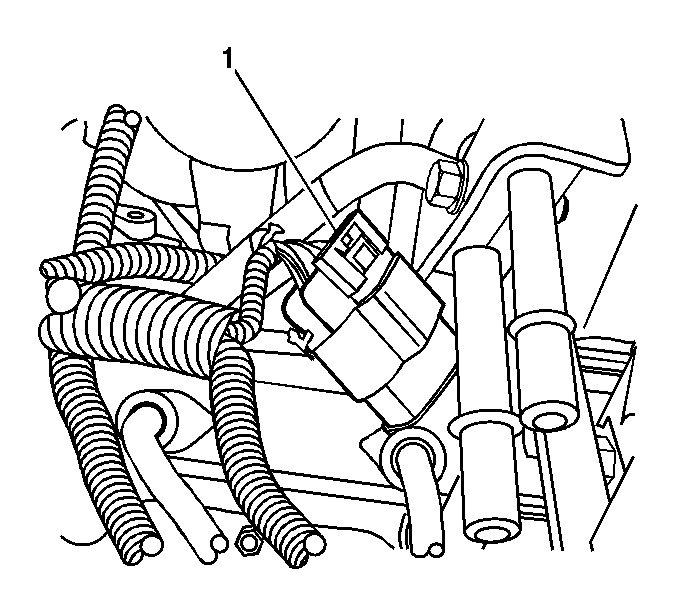
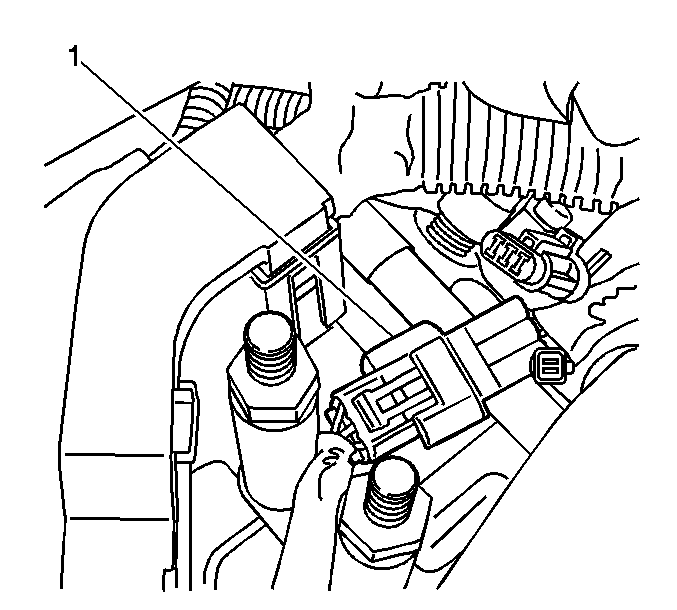
- Disconnect fuel injection control module connectors (1).
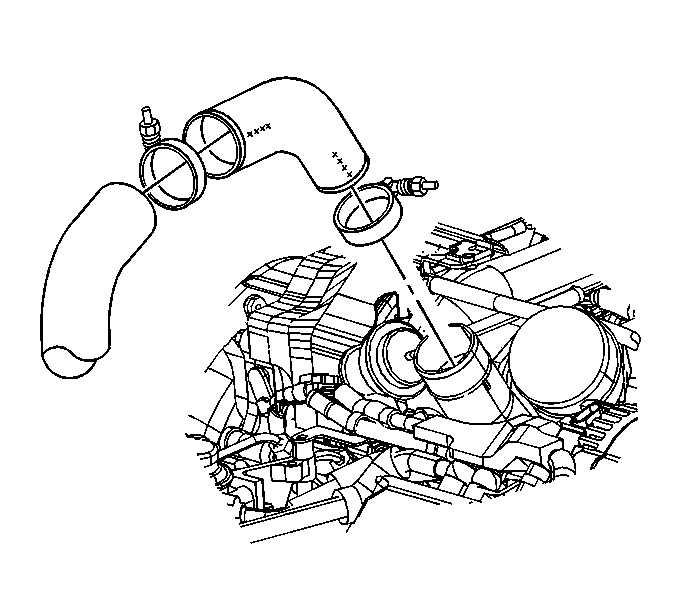
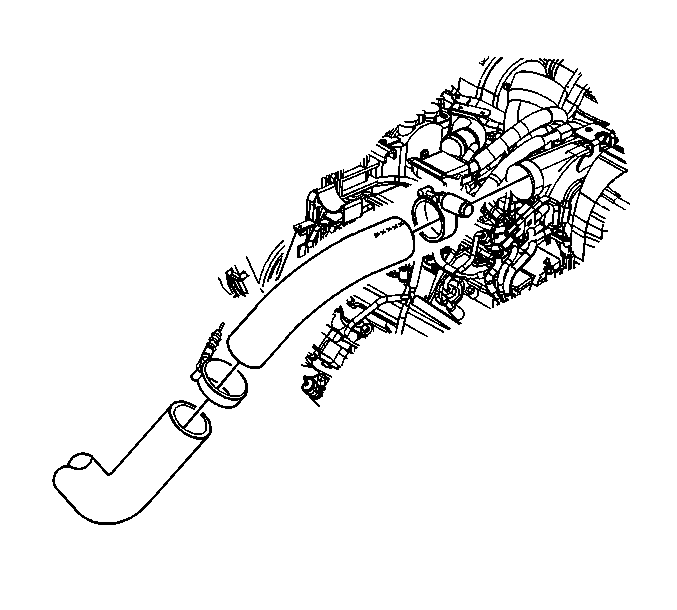
- Remove right side charged air cooler outlet duct.
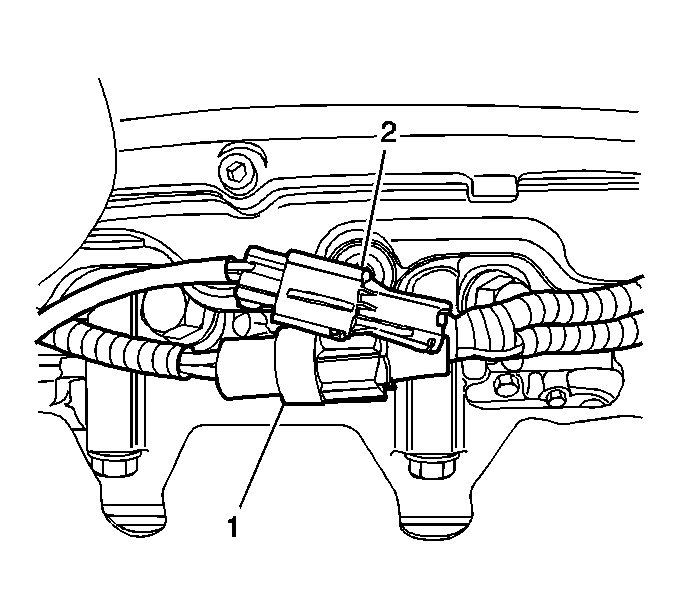
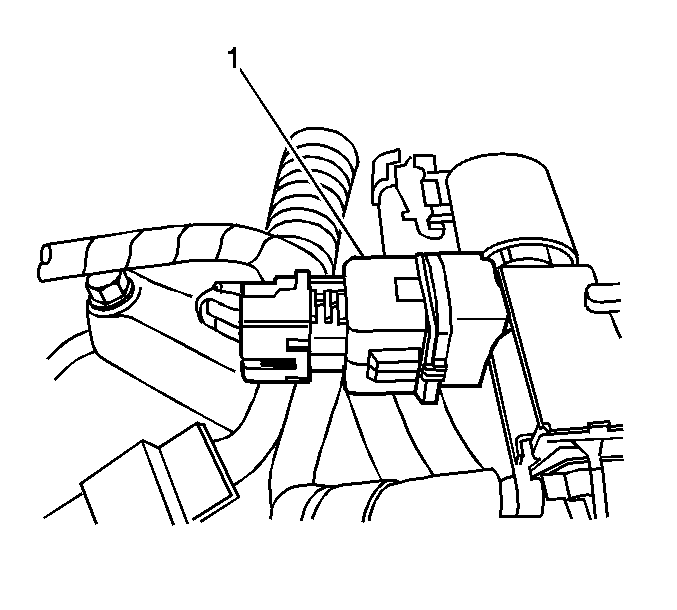
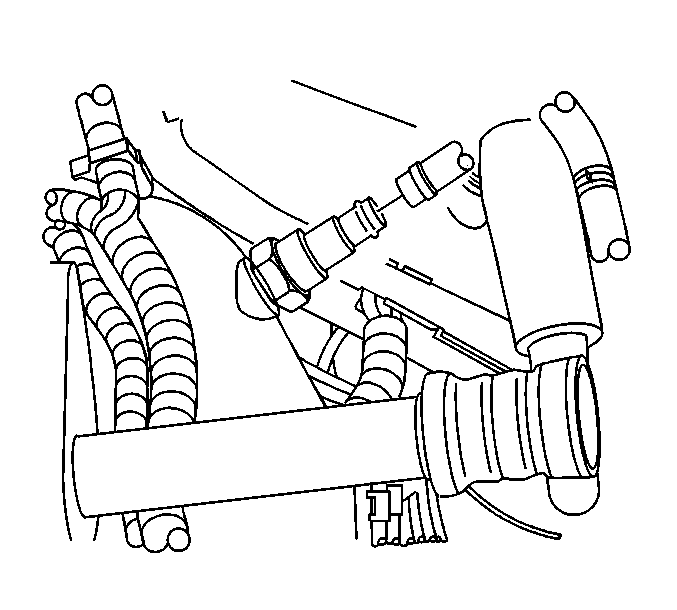
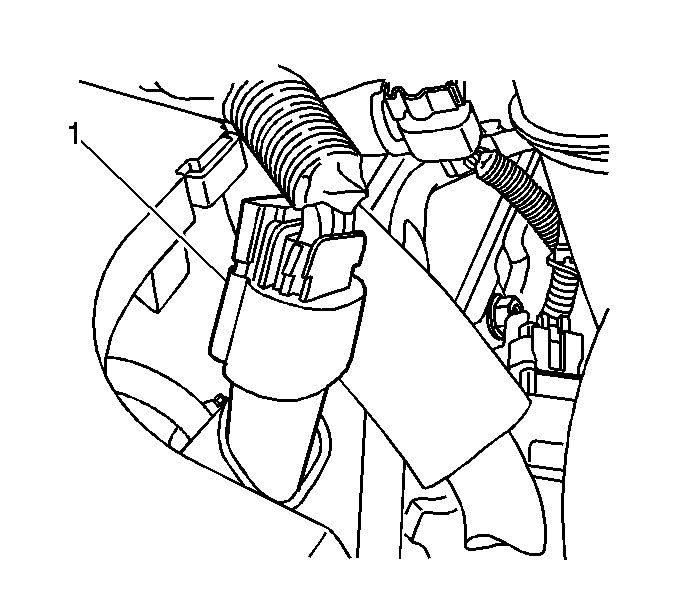
- Disconnect the fuel filter/heater assembly connectors (1, 2).
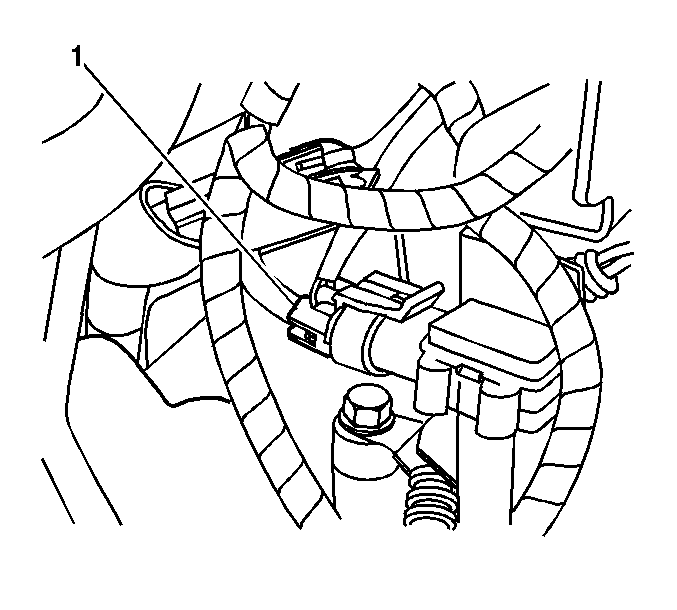
- Disconnect the right rear fuel injector harness connector (1).
- Disconnect the exhaust gas recirculation (EGR) valve solenoid connector (1).
- Disconnect the EGR valve vent solenoid connector (1).
- Disconnect the EGR valve vacuum sensor (1).
- Disconnect the EGR throttle valve solenoid.
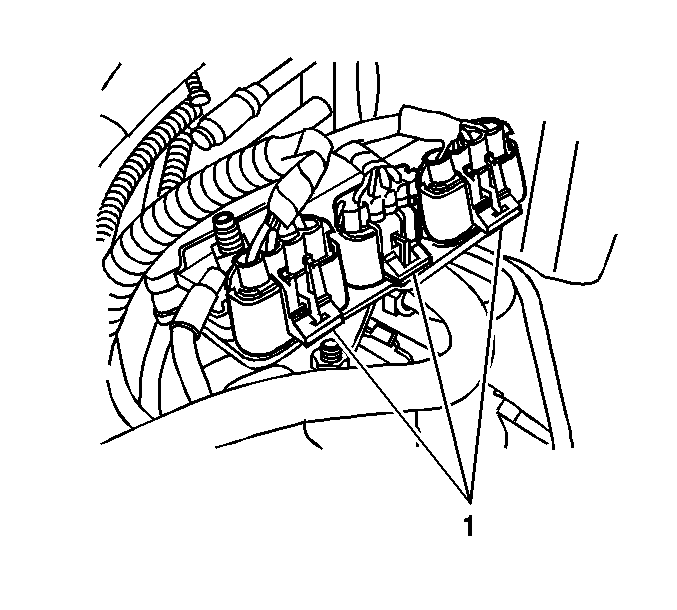
- Disconnect the electrical from right side glow plugs (1).
- Disconnect the right front fuel injector harness connector (1).
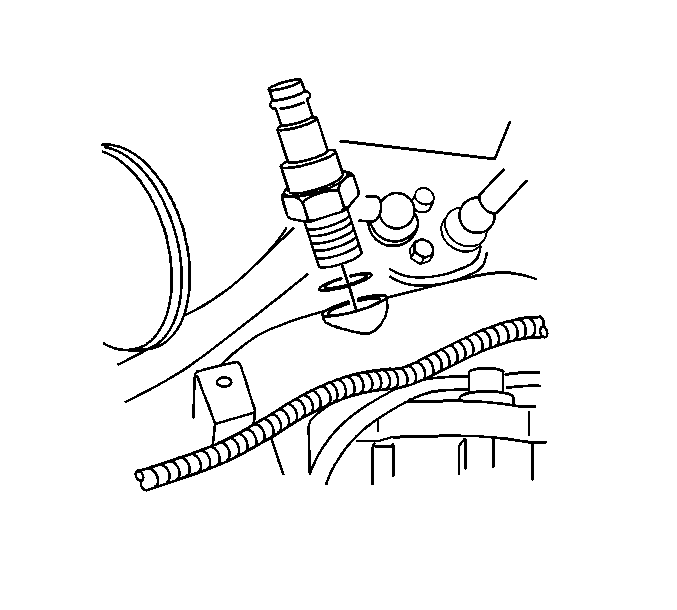
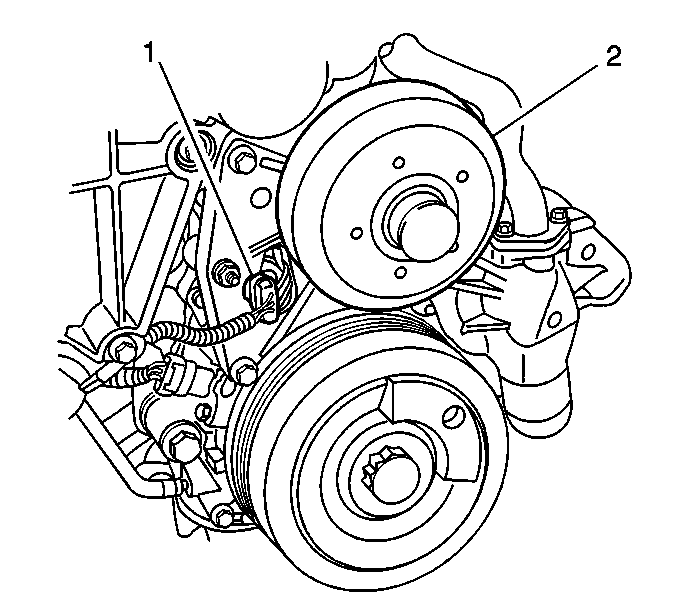
- Disconnect the turbo boost sensor connector (1).
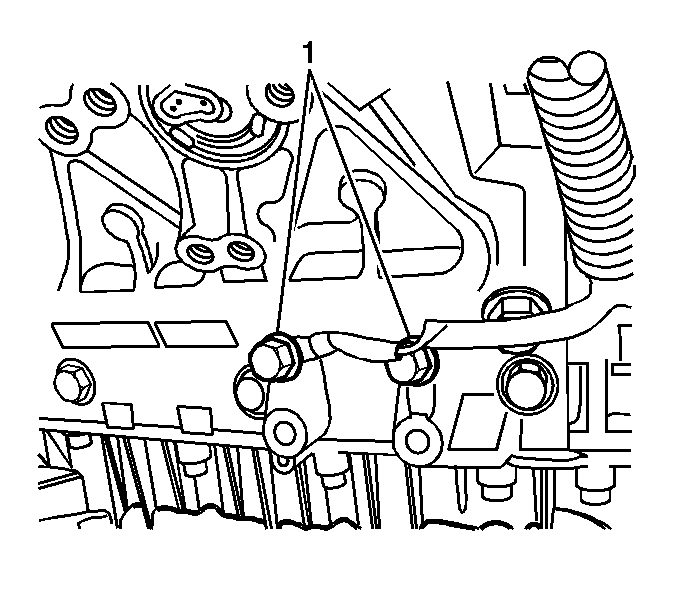
- Remove the sight shield hold-down bracket (1).
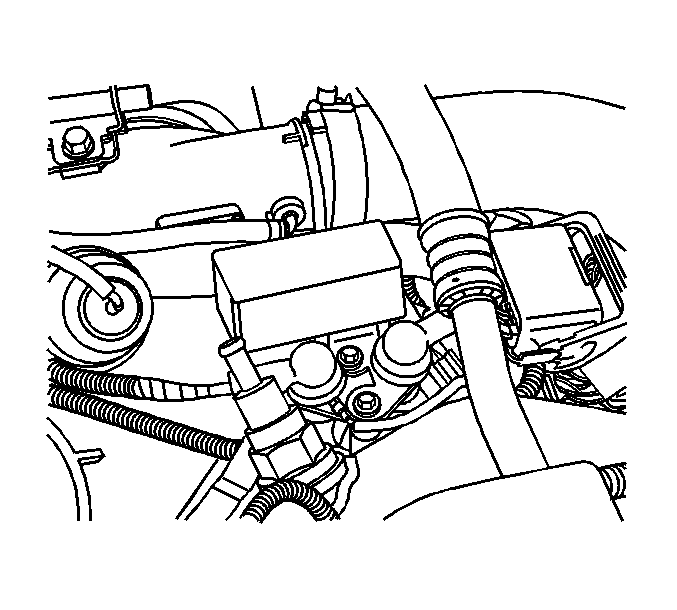
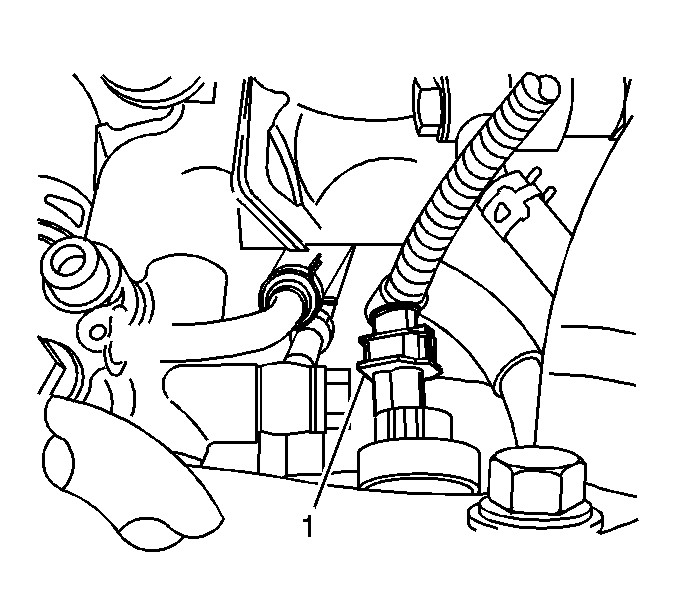
- Disconnect the coolant temperature sensor (1).
- Remove the turbo water inlet hose.
- Remove the turbo coolant bypass valve.
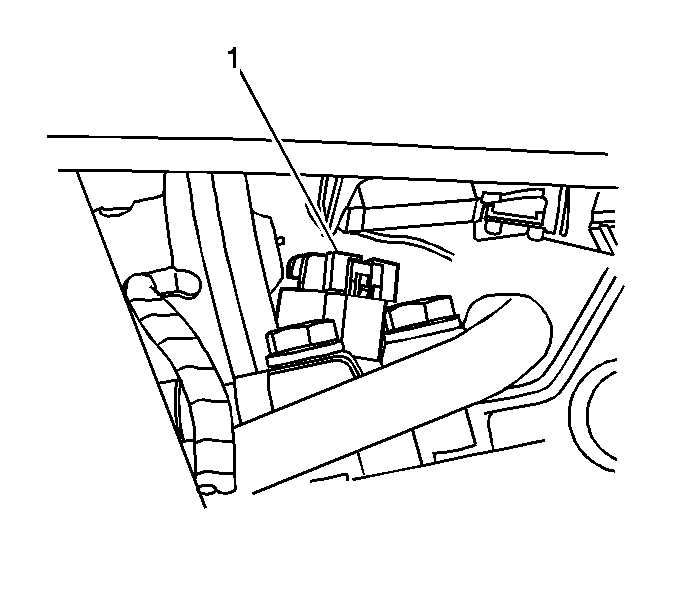
- Remove the glow plug relay assembly.
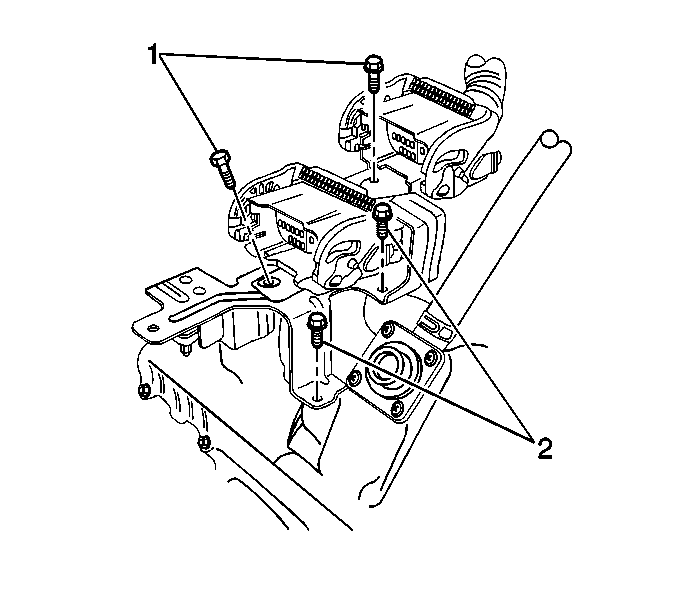
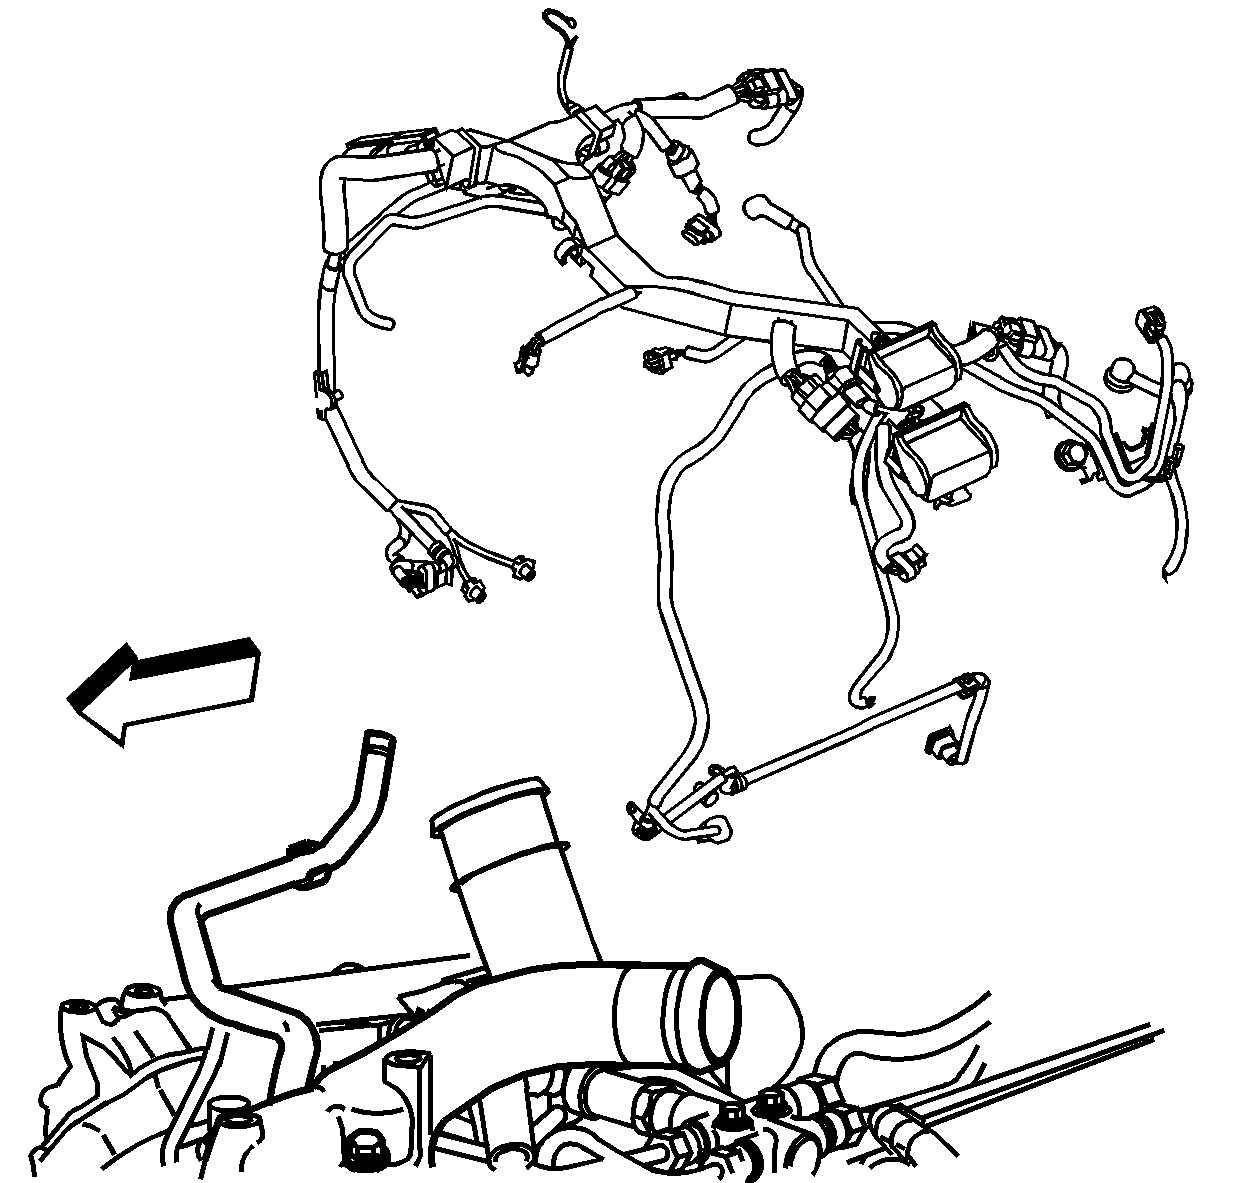
- Disconnect the engine harness bulk connectors.
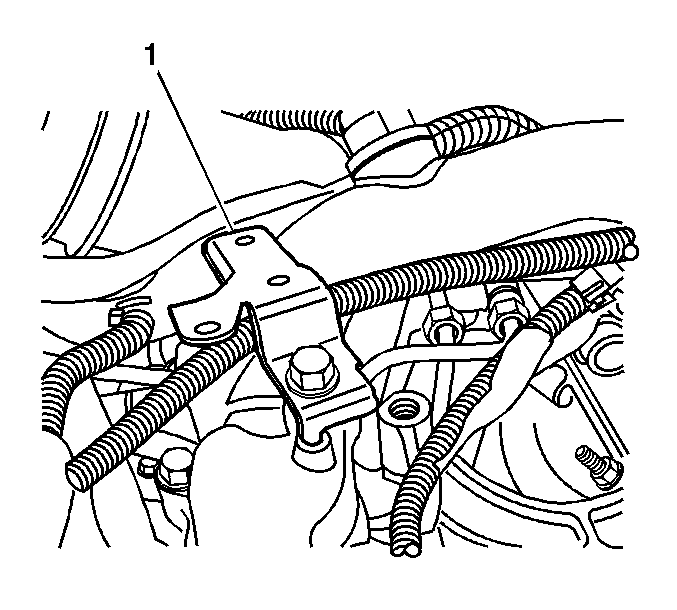
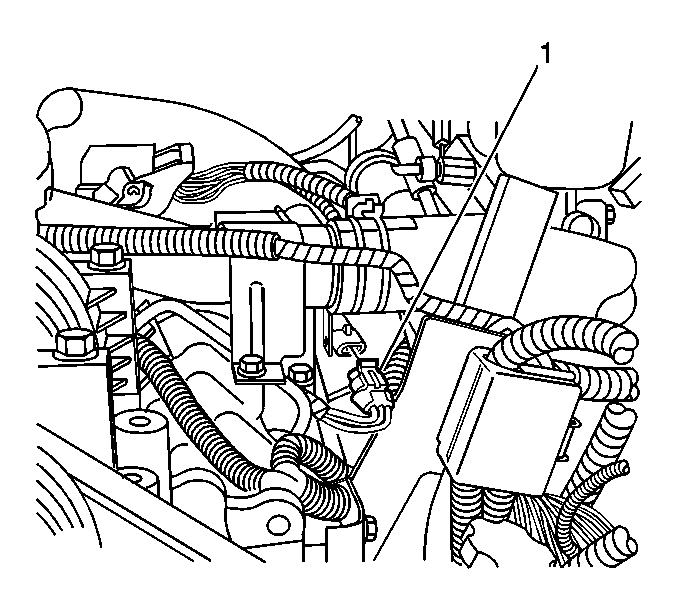
- Remove the bolts retaining bulk connectors to the bracket (1).
- Remove the left turbo charged air outlet hose.
- Remove the positive crankcase ventilation (PCV) hose from the left valve cover.
- Disconnect left front fuel injector harness connector (1).
- Disconnect the left rear fuel injector harness connector (1).
- Disconnect the fuel rail temperature sensor connector (1).
- Disconnect the glow plug controller connectors (1).
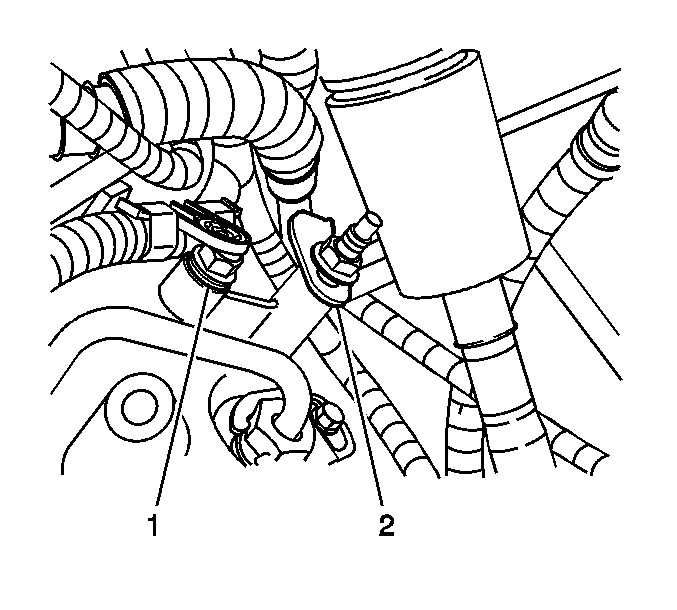
- Remove the fuel pipe retainer at the valve cover (2).
- Disconnect the electrical connectors from the left side glow plugs (1).
- Disconnect the oil level harness connector (1).
- Disconnect the barometric pressure (BARO) sensor connector (1).
- Disconnect the fuel rail pressure sensor connector (1).
- Raise the vehicle. Refer to Lifting and Jacking the Vehicle in General Information.
- Remove the front lower skid plate.
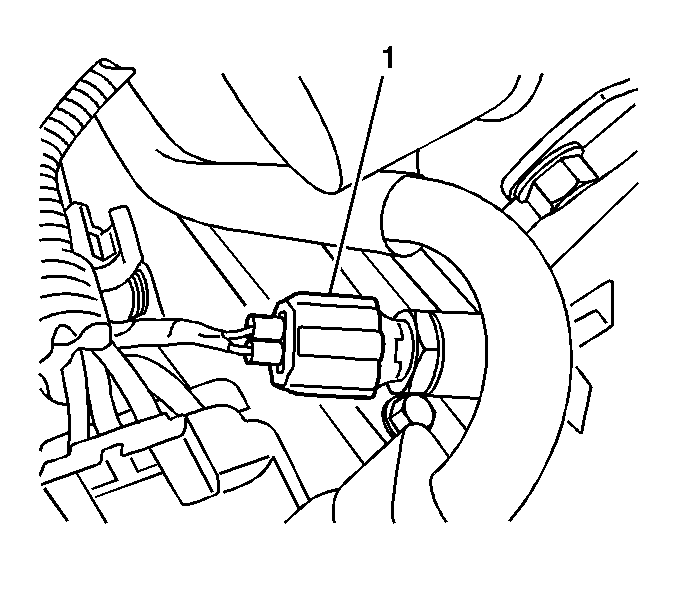
- Disconnect the crankshaft position (CKP) sensor.
- Disconnect the camshaft position (CMP) sensor (1).
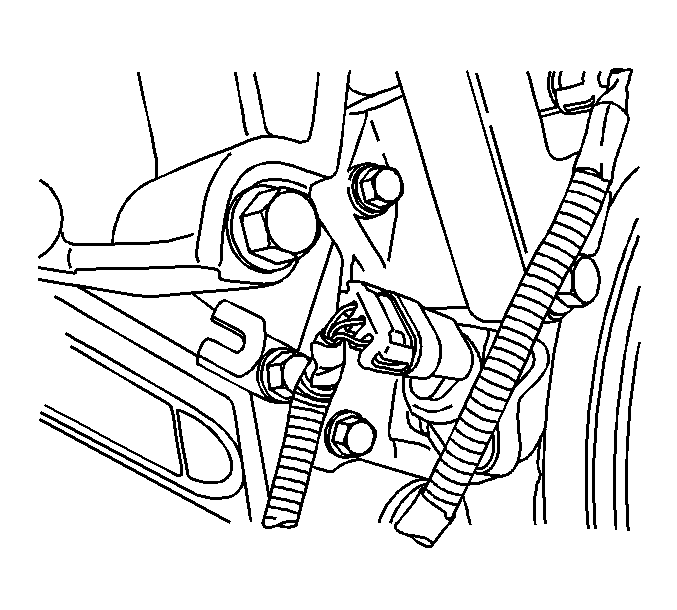
- Remove the bolts (1) retaining engine harness grounds.
- Lower the vehicle.
- Unroute and lift the engine wiring harness assembly for access to fuel rail pressure regulator.
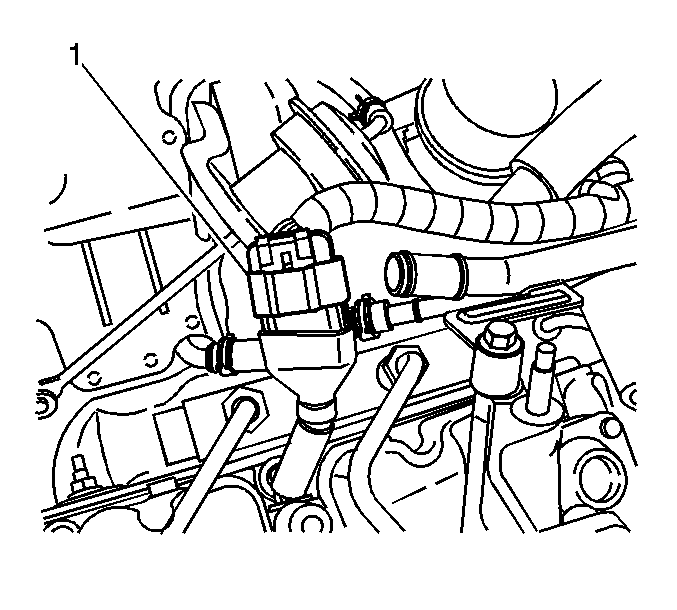
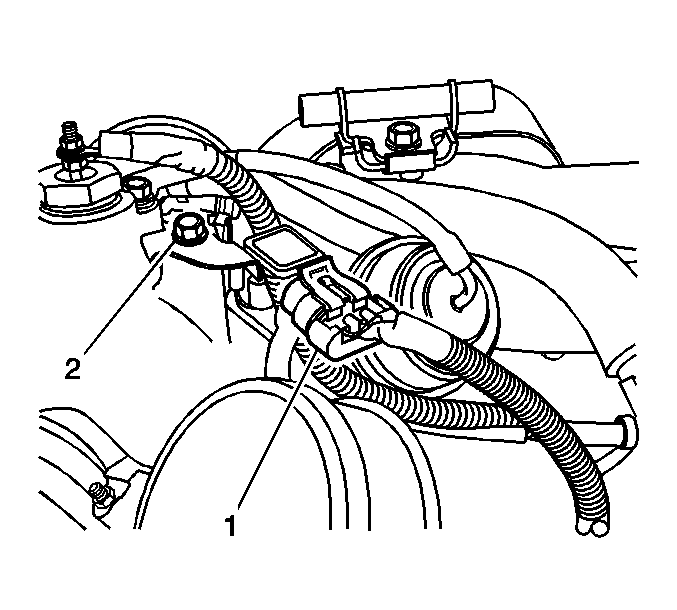
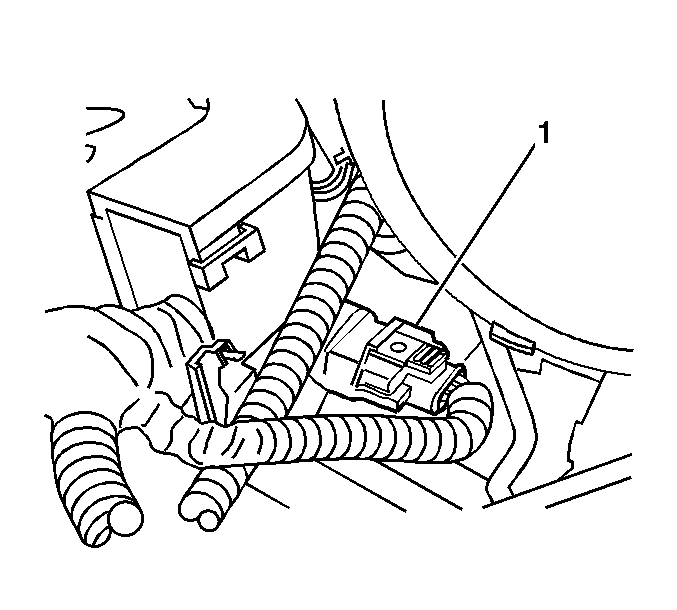
- Disconnect the fuel rail pressure regulator (1).
- Remove the engine wiring harness from the vehicle.


Installation Procedure
- Install the engine wiring harness to the vehicle.
- Connect the fuel rail pressure regulator connector (1).
- Route the engine wiring harness to the engine.
- Raise the vehicle.
- Install the bolts (1) to retain the engine wiring harness grounds.
- Connect the CMP sensor (1).
- Connect the CKP sensor.
- Install the front lower skid plate.
- Lower the vehicle.
- Connect the fuel rail pressure sensor connector (1).
- Connect the BARO sensor connector (1).
- Connect the oil level sensor harness connector (1).
- Connect the electrical connectors to left side glow plugs (1).
- Install the fuel pipe retainer (2).
- Connect the glow plug controller connectors (1).
- Connect the fuel rail temperature sensor harness connector (1).
- Connect the left rear fuel injector harness connector (1).
- Connect the left front fuel injector harness connector (1).
- Install the PCV hose to valve cover.
- Install the left turbo charged air outlet hose.
- Install the bolts (1) to retain bulk connectors to the bracket.
- Connect the engine harness bulk connectors.
- Install the glow plug relay assembly.
- Install the turbo coolant bypass valve.
- Install the turbo water inlet hose.
- Connect the coolant temperature sensor (1).
- Install the engine sight shield hold-down bracket (1).
- Connect the turbo boost sensor (1).
- Connect right the front fuel injector harness connector (1).
- Connect the electrical connectors to the right side glow plugs (1).
- Connect the EGR throttle valve solenoid connector (1).
- Connect the EGR vacuum sensor (1).
- Connect the EGR vent solenoid (1).
- Connect the EGR valve solenoid (1).
- Connect the right rear fuel injector harness connector (1).
- Connect the fuel filter/heater assembly connectors (1, 2).
- Install the right turbo charged air hose.
- Connect the fuel injection control module connectors (1).
- Install the air cleaner layer. Refer to Air Cleaner Replacement .
- Connect the negative battery cable. Refer to Battery Negative Cable Disconnection and Connection in Engine Electrical.
- Install the engine cover. Refer to Engine Cover Replacement in Interior Trim.
Notice: Refer to Fastener Notice in the Preface section.
Tighten
Tighten the bolts to 34 N·m (25 lb ft).
Tighten
Tighten the nut to 8 N·m (70 lb in).
