Tail Pipe Replacement Horizontal
Removal Procedure
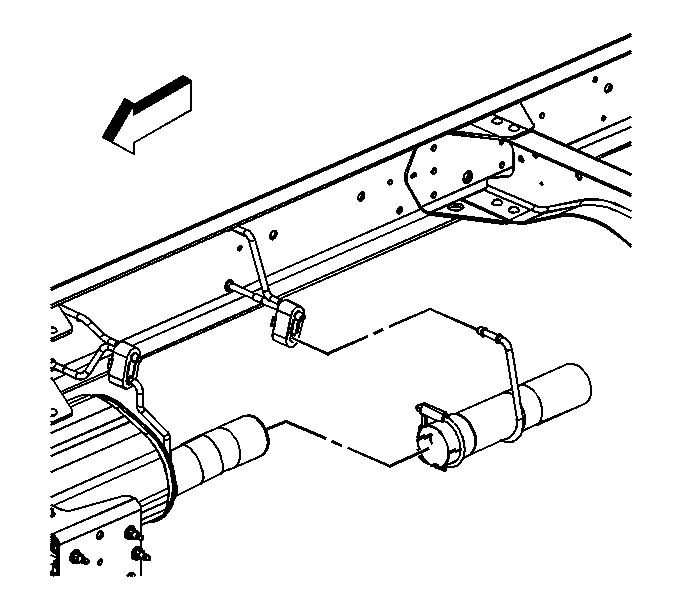
- Remove the clamp assembly.
- Remove the front tailpipe from the muffler .
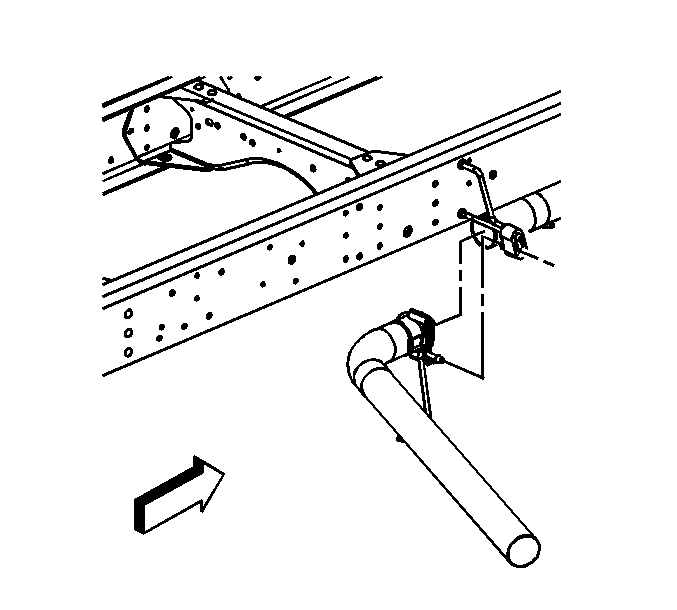
- If equipped with RPO NIB, remove the clamp assembly.
- Remove the rear tailpipe from the mid tailpipe.
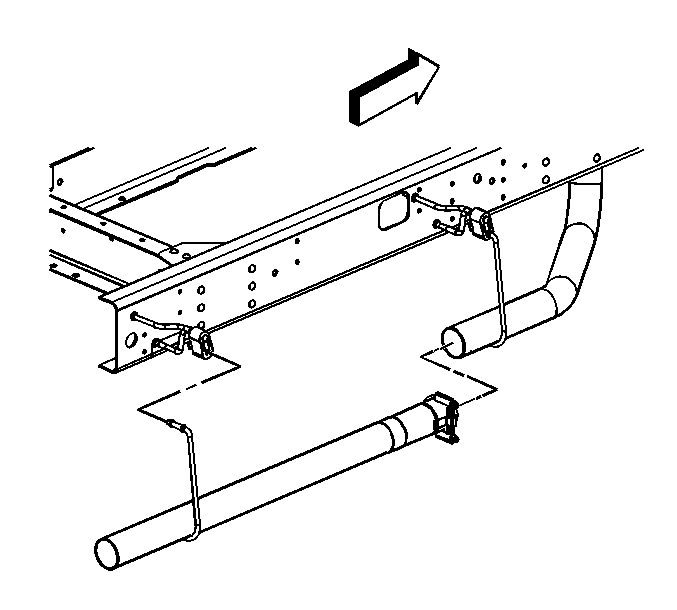
- If equipped with RPO NI2, remove the clamp assembly .
- Remove the rear tailpipe from the mid tailpipe.
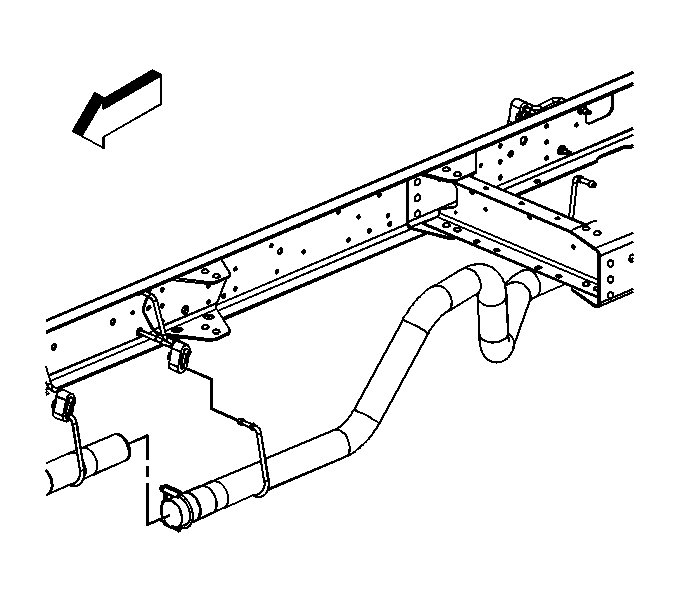
- Remove the mid tailpipe.
Installation Procedure
- Install the mid tailpipe onto the hangers.
- If equipped with RPO NI2, install the rear tailpipe to the mid tailpipe.
- If equipped with RPO NIB, install the rear tailpipe to the mid tailpipe.
- Install the front tailpipe to the muffler.

Notice: Refer to Fastener Notice in the Preface section.

Tighten
Tighten the clamp nuts to 65 N·m (47 lb ft)

Tighten
Tighten the clamp nuts to 65 N·m (47 lb ft).

Tighten
Tighten the clamp nuts to 65 N·m (47 lb ft).
Tail Pipe Replacement Vertical
Removal Procedure
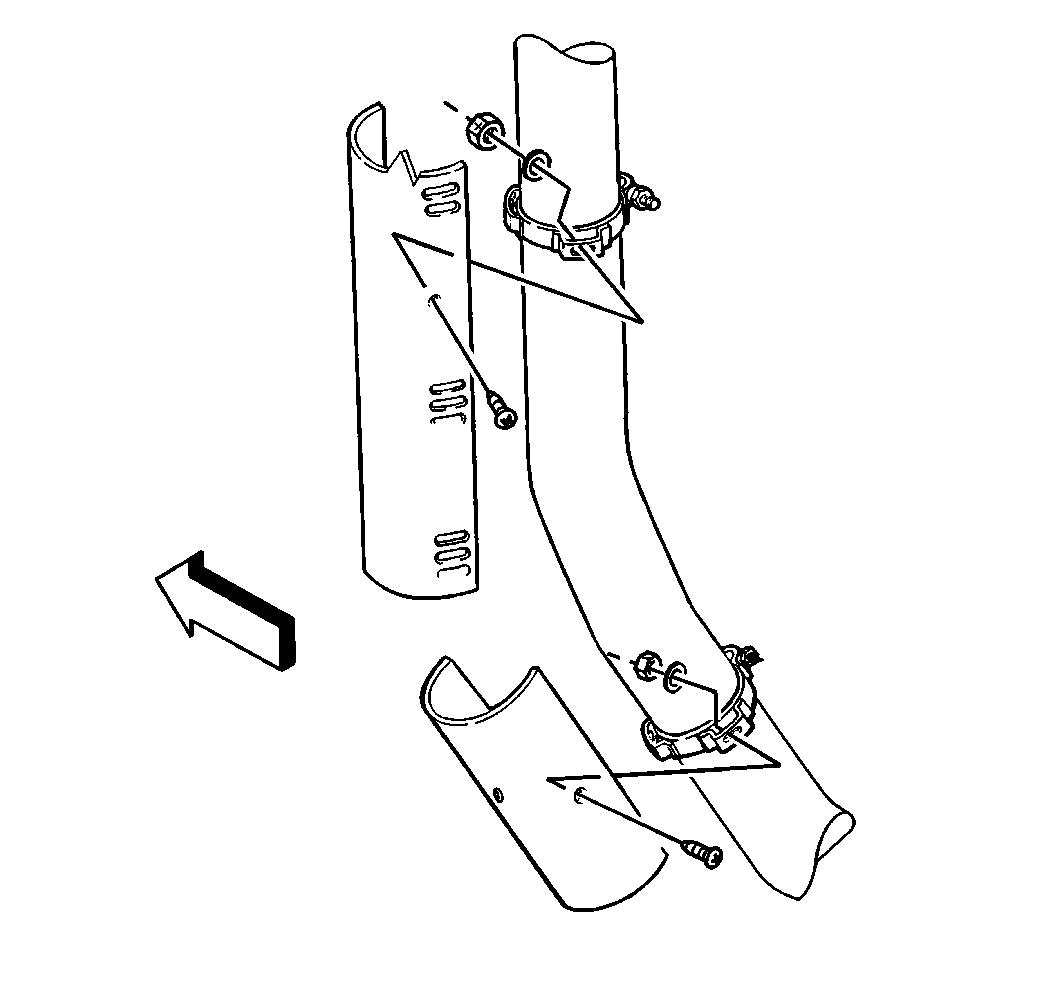
- Remove the upper tailpipe heat shield nuts.
- Remove the upper tailpipe heat shield.
- Remove the lower tailpipe heat shield nuts.
- Remove the lower tailpipe heat shield.
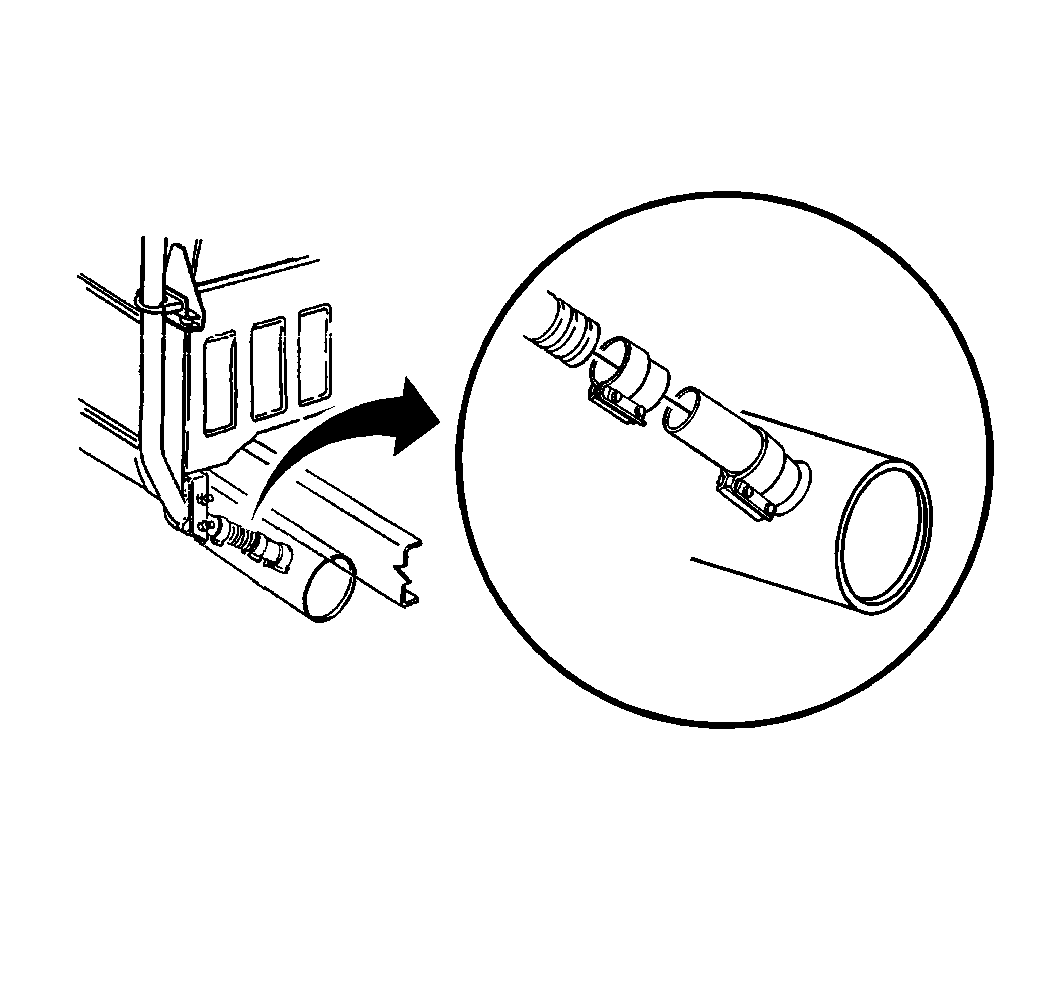
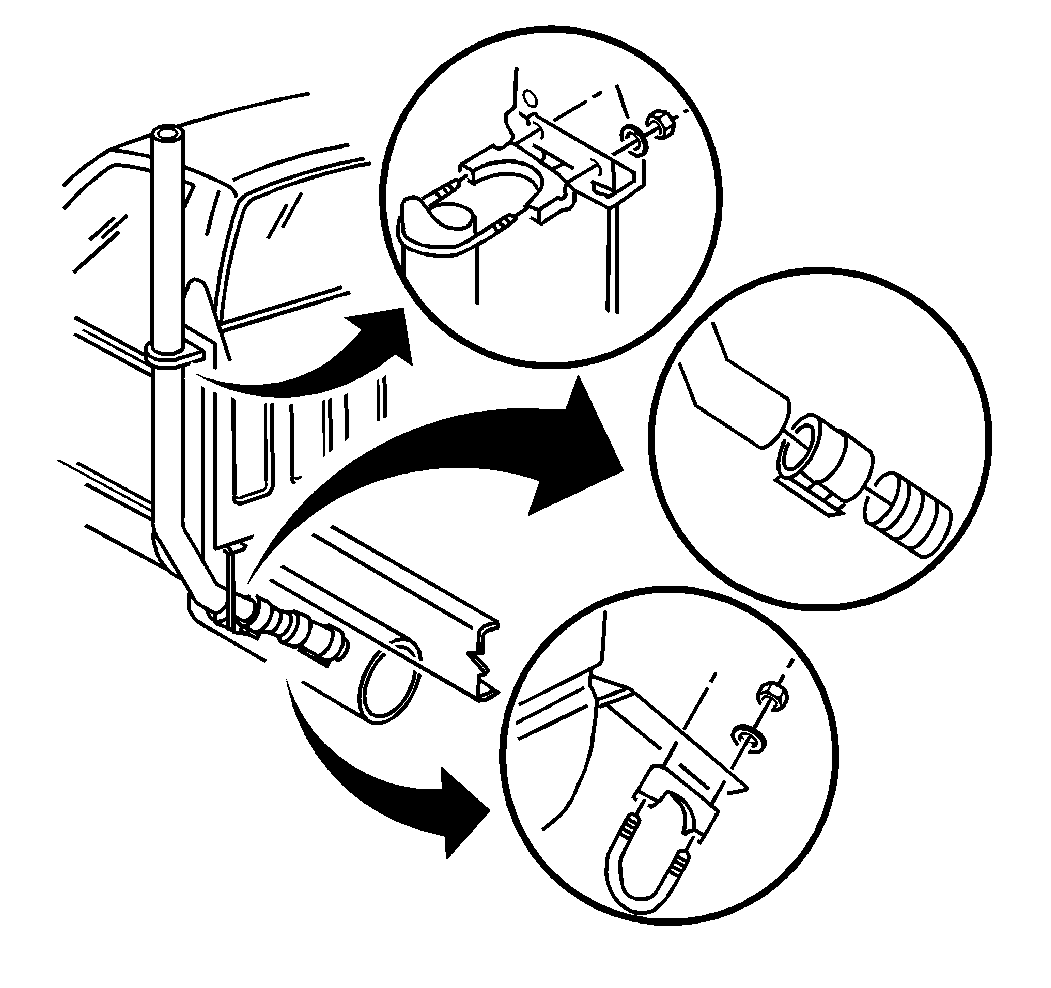
- Remove the upper coupling assembly.
- Remove the lower coupling assembly.
- Remove the exhaust flex tube.
- Remove the nuts from the lower U-bolt.
- Remove the lower U-bolt.
- Remove the nuts from the upper U-bolt.
- Remove the upper U-bolt.
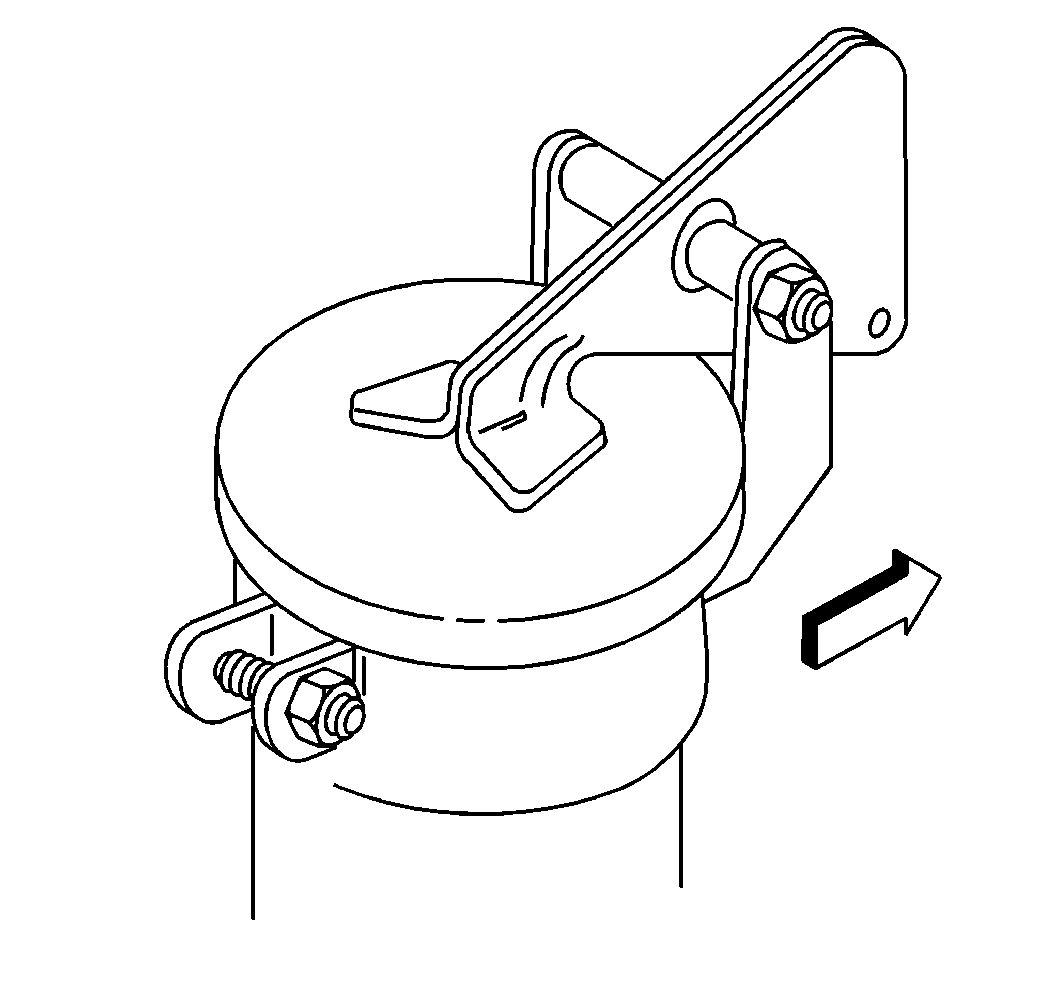
- Remove the vertical tailpipe with the cap assembly.
- Remove the cap assembly from the vertical tailpipe.
- Slide the tailpipe brackets off of the vertical tailpipe.
- Inspect all of the components for the following conditions:
- Replace any damaged components as necessary.
| • | Cracks |
| • | Bends |
| • | Stripped threads |
| • | Corrosion damage |
| • | Leaks |
Installation Procedure
- Slide the tailpipe brackets onto the vertical tailpipe.
- Install the cap assembly onto the vertical tailpipe.
- Tighten the cap assembly nut.
- Tighten the tailpipe bracket nuts.
- Install the upper U-bolt and the saddle around the tailpipe.
- Connect the upper U-bolt to the upper tailpipe bracket assembly.
- Install the nuts and the flat washers on the upper U-bolt.
- Connect the lower U-bolt and the saddle around the tailpipe.
- Connect the lower U-bolt to the lower tailpipe bracket assembly.
- Install the nuts and the flat washers on the lower U-bolt.
- Install the following components onto the vertical tailpipe and onto the muffler outlet:
- Tighten the bolts on the wide band clamps.
- Install the lower tailpipe heat shield.
- Install the upper tailpipe heat shield.

Notice: Use the correct fastener in the correct location. Replacement fasteners must be the correct part number for that application. Fasteners requiring replacement or fasteners requiring the use of thread locking compound or sealant are identified in the service procedure. Do not use paints, lubricants, or corrosion inhibitors on fasteners or fastener joint surfaces unless specified. These coatings affect fastener torque and joint clamping force and may damage the fastener. Use the correct tightening sequence and specifications when installing fasteners in order to avoid damage to parts and systems.
Tighten
Tighten the cap assembly nut to 5 N·m (44 lb in).
Tighten
Tighten the tailpipe bracket nuts to 10 N·m (89 lb in).

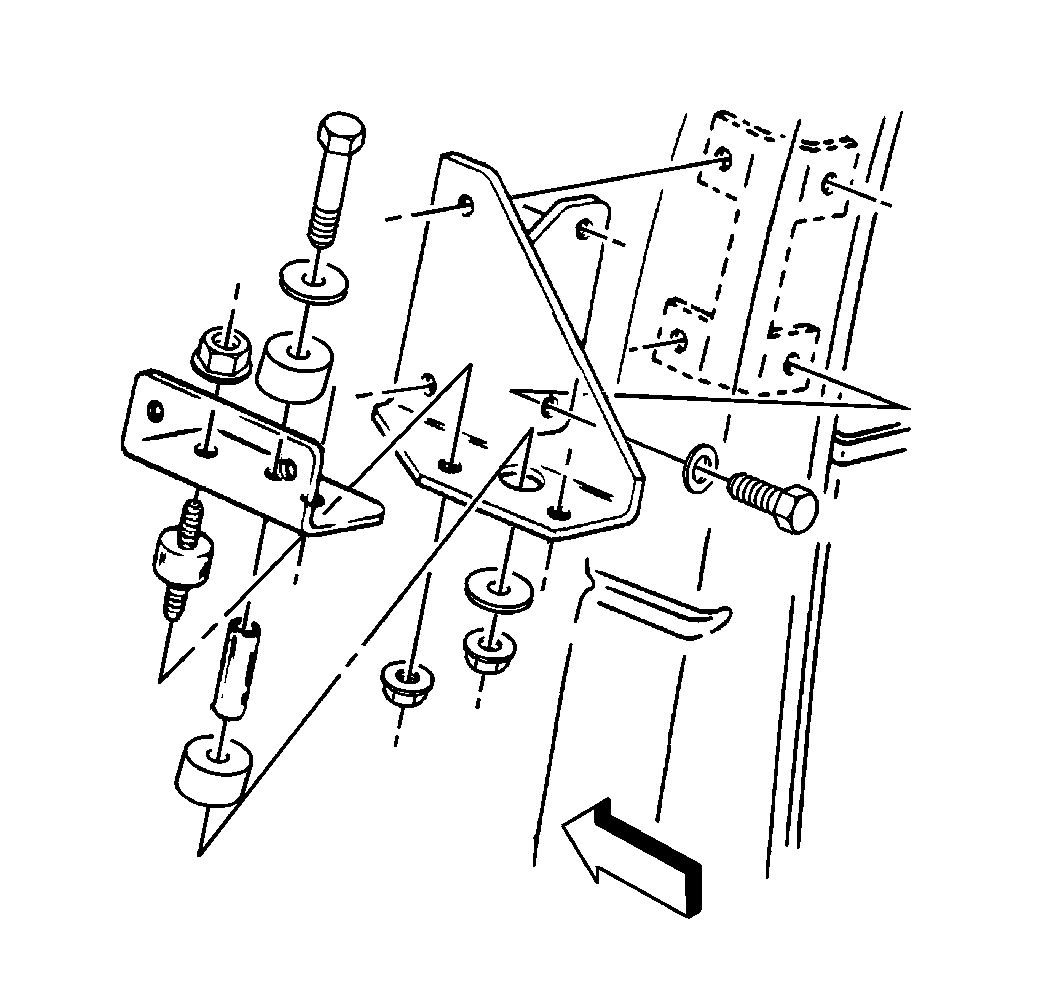

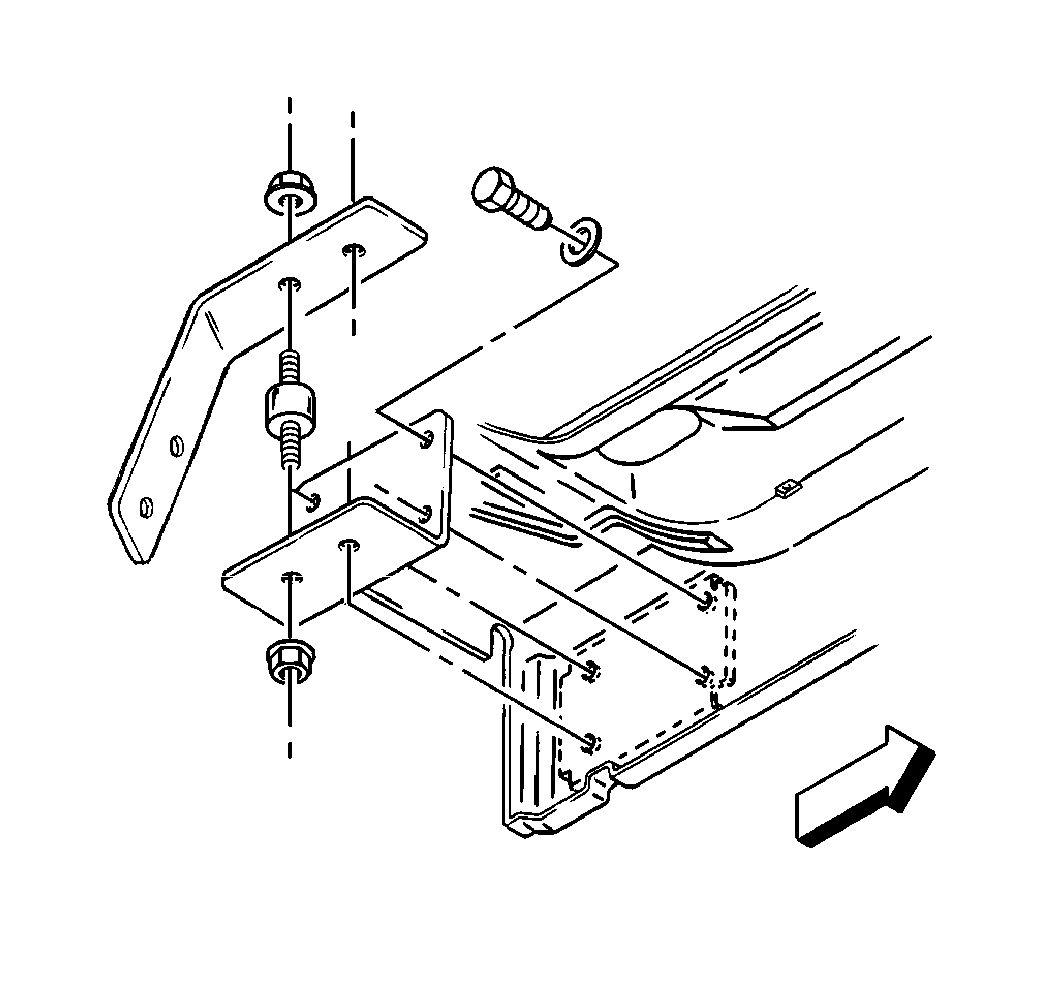
Tighten
Tighten the nuts on the U-bolts to 25 N·m (18 lb ft).

| • | The lower coupling assembly |
| • | The upper coupling assembly |
| • | The exhaust flex tube |
Tighten
Tighten the bolts on the wide band clamps to 73 N·m (54 lb ft).

Tighten
Tighten the nuts to 25 N·m (18 lb ft).
