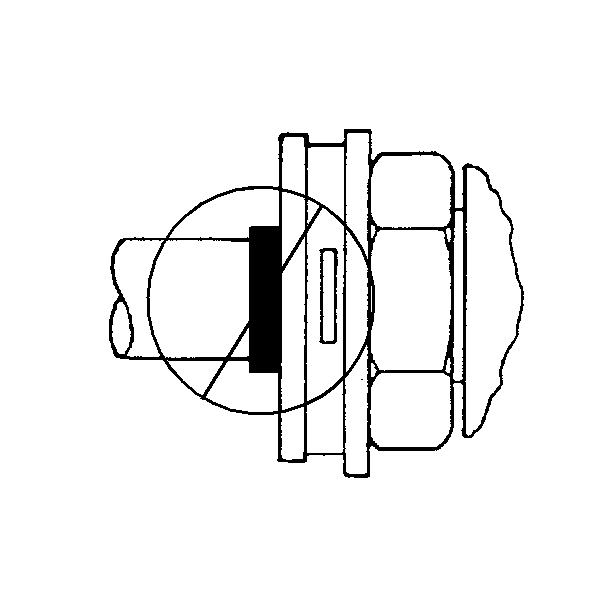
For 1990-2009 cars only
Removal Procedure
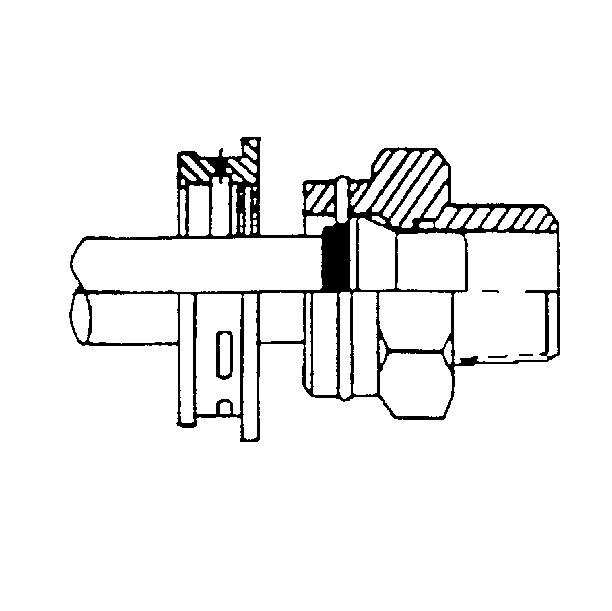
- Pull the plastic cap back along the pipe in order to remove the plastic cap from the connector fitting.
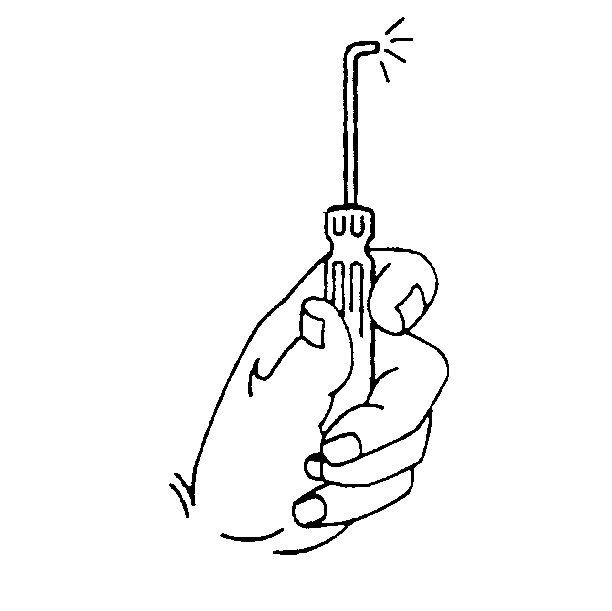
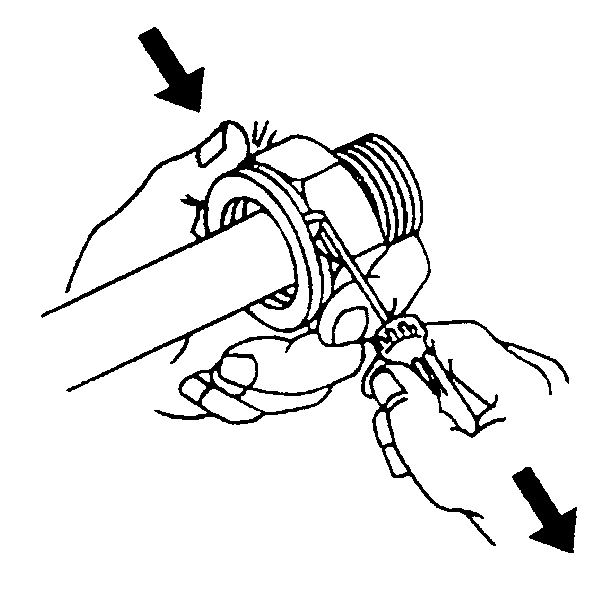
- Use a small, pick-type tool or screwdriver in order to release one of the open ends of the retaining clip from the connector fitting.
- Rotate the retaining clip out of position on the connector fitting and remove the clip.
- Discard the retaining clip.
- Pull the line out of the quick connect fitting.
Installation Procedure
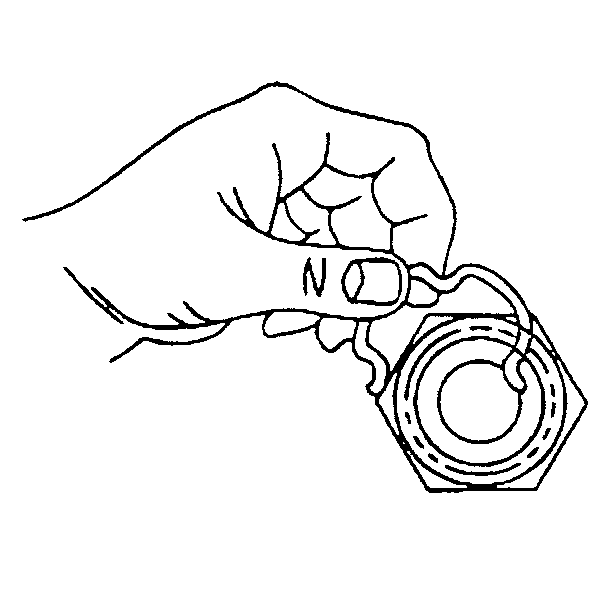
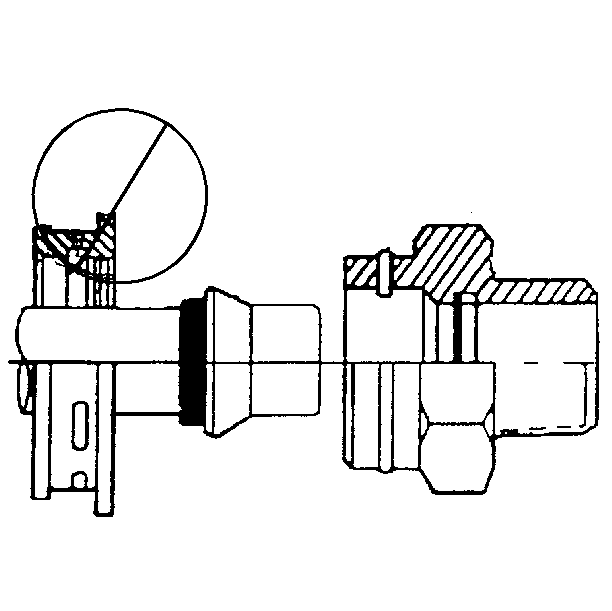
- Using your thumb and forefinger, insert a new retaining clip into 1 of the 3 connector fitting recesses. Ensure that the retaining clip engages all 3 slots in the connector fittings. Failure to properly install the retaining clip could cause the cooler line to come loose and cause damage to the engine.
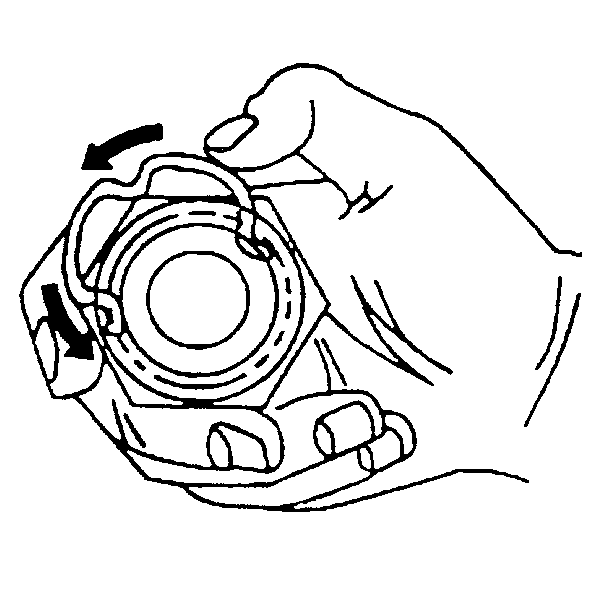
- With one end of the retaining clip engaged in the connector fitting slot, use your thumb to rotate the clip around the connector fittings, until the clip snaps into place.
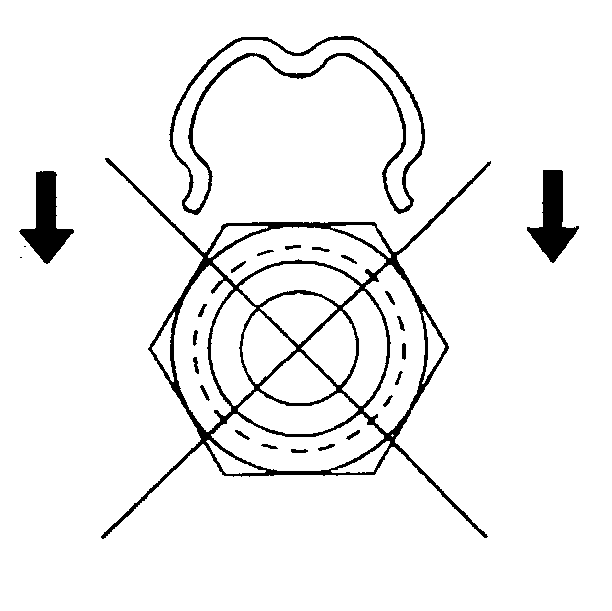
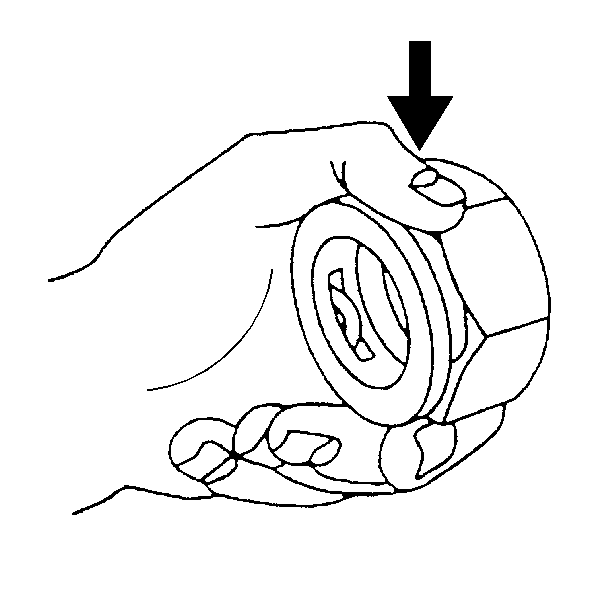
- Do not install the new retaining clip onto the fitting by pushing down the clip.
- Ensure that the three retaining clip ears are seen from inside the fitting and that the clip moves freely in the fitting slots.
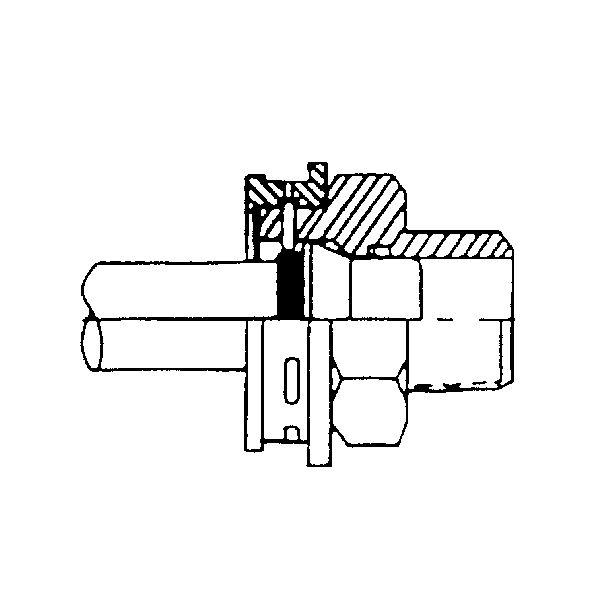
- Insert the cooler line end into the quick connect fitting until a click is either heard or felt.
- DO NOT use the plastic cap on the cooler line in order to install the cooler line into the fitting.
- Pull back sharply on the cooler line in order to ensure that the cooler line is fastened into the quick connect fitting.
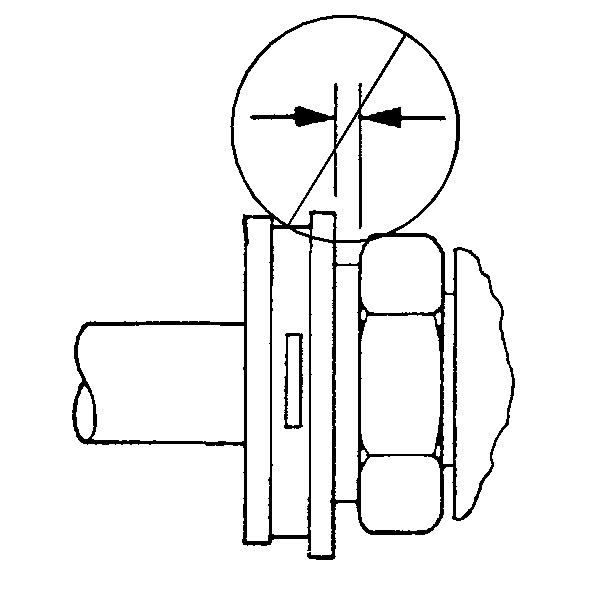
- Position and snap the plastic cap onto the fitting. Do not manually depress the retaining ring when installing the plastic cap onto the quick connect fitting.
- Ensure that the plastic cap is fully seated against the fitting.
- Ensure that no gap is present between the cap and the fitting.
- Ensure that the yellow identification band on the tube is hidden within the quick connect fitting. A hidden yellow identification band indicates proper joint seating.
- Do not install the cooler line end into the fitting incorrectly.
- If you cannot position the plastic cap against the fitting, remove the retaining clip from the quick connect fitting per Step 3 of the cooler line removal procedure. Inspect the retaining clip and the tube end in order to ensure neither is bent. Replace the cooler line or the retaining clip if necessary, and reinstall per Step 2 of the cooler line installation procedure.
- Inspect the fluid level.
