Battery Replacement C 6/7/8
Removal Procedure
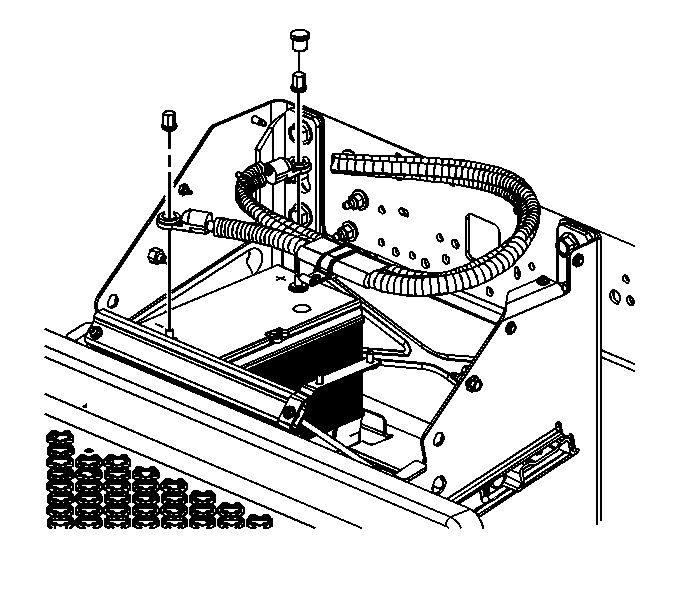
- Remove the battery carrier cover.
- Disconnect the negative cable from the negative battery terminal.
- Disconnect the positive cable from the positive battery terminal.
- Remove the battery hold-down retainer nut or bolt.
- Remove the battery from the carrier.
- Inspect the following components for damage:
| • | Verify that the carrier is free from damage or foreign objects. |
| • | Find and correct the cause of damage if any damage is noted. |
| • | Clean the parts as necessary. |
Installation Procedure
- Install the battery into the cleaned carrier.
- Install the battery hold-down retainer or top bar.
Notice: Use the correct fastener in the correct location. Replacement fasteners
must be the correct part number for that application. Fasteners requiring
replacement or fasteners requiring the use of thread locking compound or sealant
are identified in the service procedure. Do not use paints, lubricants, or
corrosion inhibitors on fasteners or fastener joint surfaces unless specified.
These coatings affect fastener torque and joint clamping force and may damage
the fastener. Use the correct tightening sequence and specifications when
installing fasteners in order to avoid damage to parts and systems.
- Install the hold-down nut or the bolt.
Tighten
| • | Tighten the battery hold-down bolt to 23 N·m (17 lb ft). |
| • | Tighten the top bar nut to 17 N·m (13 lb ft). |
- Connect the positive cable to the positive battery terminal.
- Connect the negative cable to the negative battery terminal.
Tighten
| • | Tighten the side post terminal bolt to 15 N·m (11 lb ft). |
| • | Tighten the top post terminal nut to 17 N·m (13 lb ft). |
- Install the battery carrier cover.
Battery Replacement C 4/5
Removal Procedure
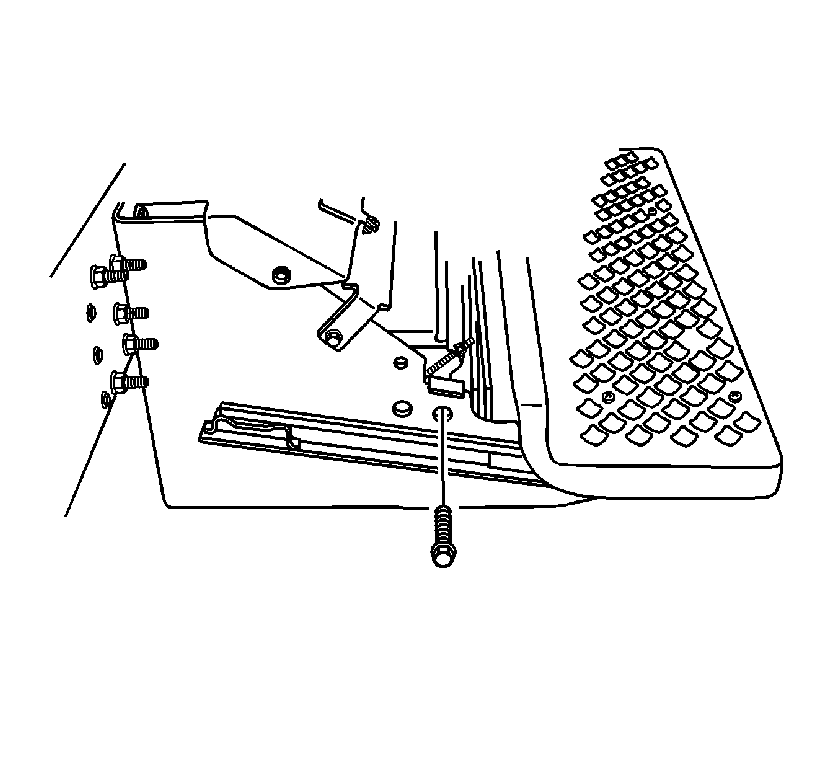
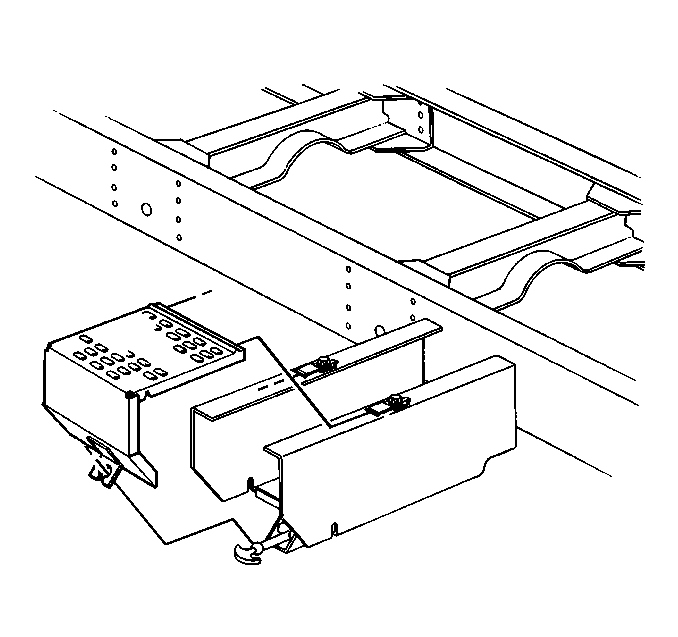
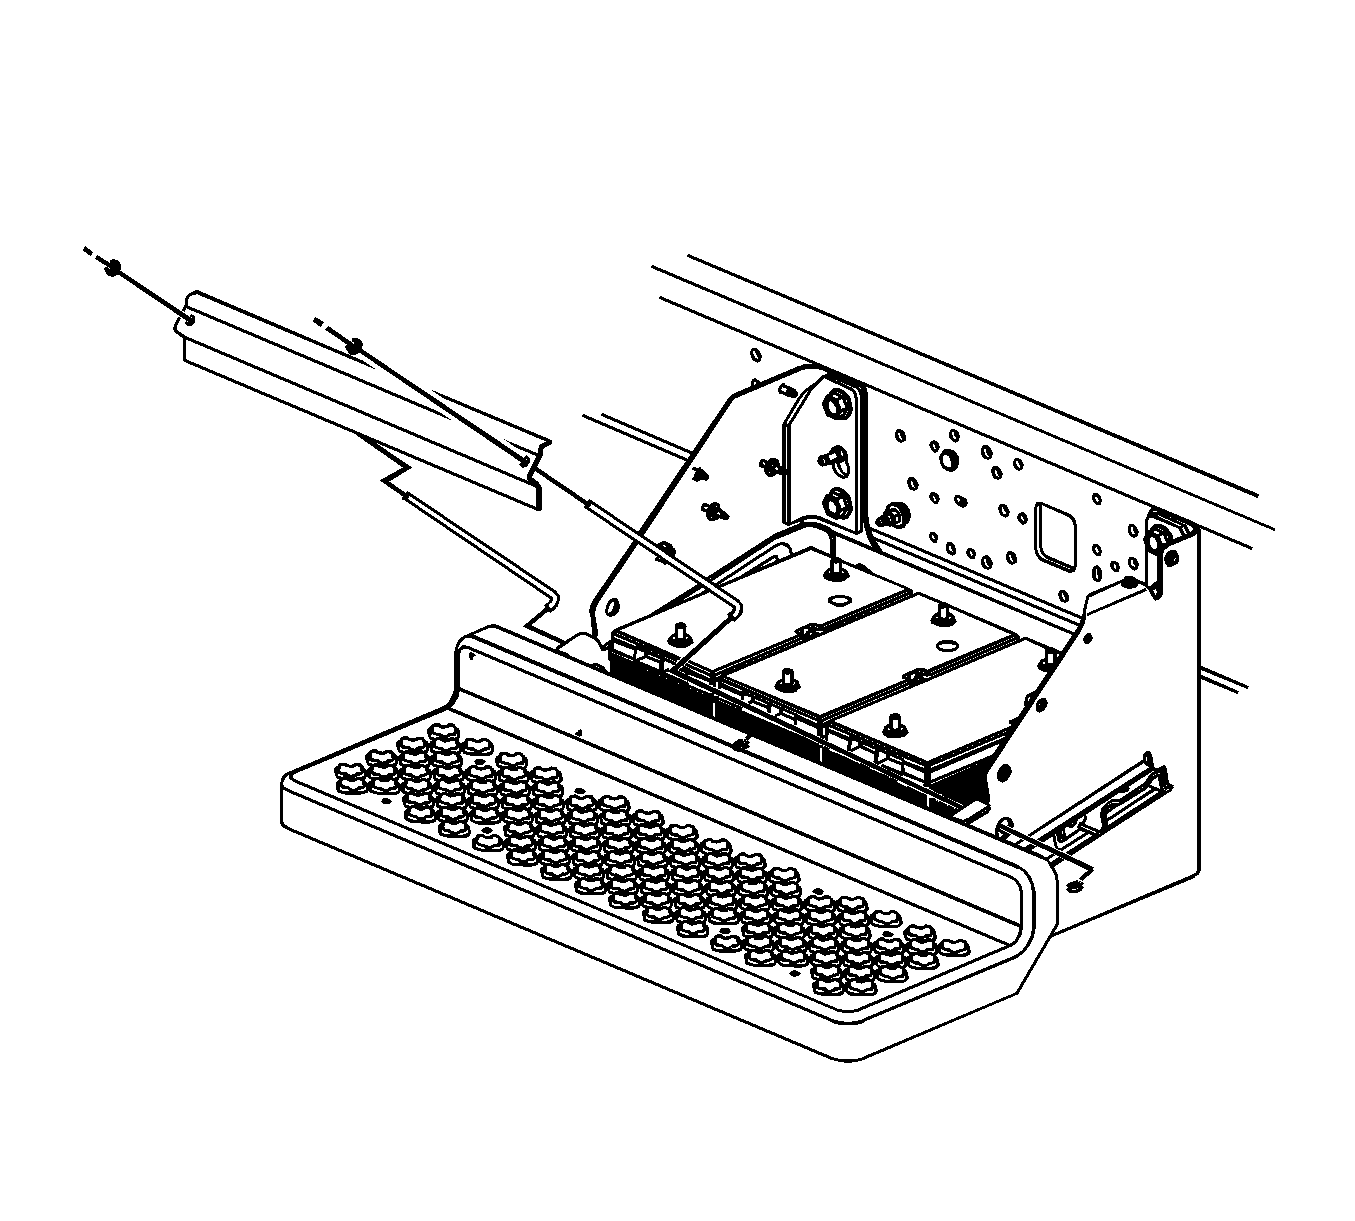
- Remove the rear battery tray retaining bolt.
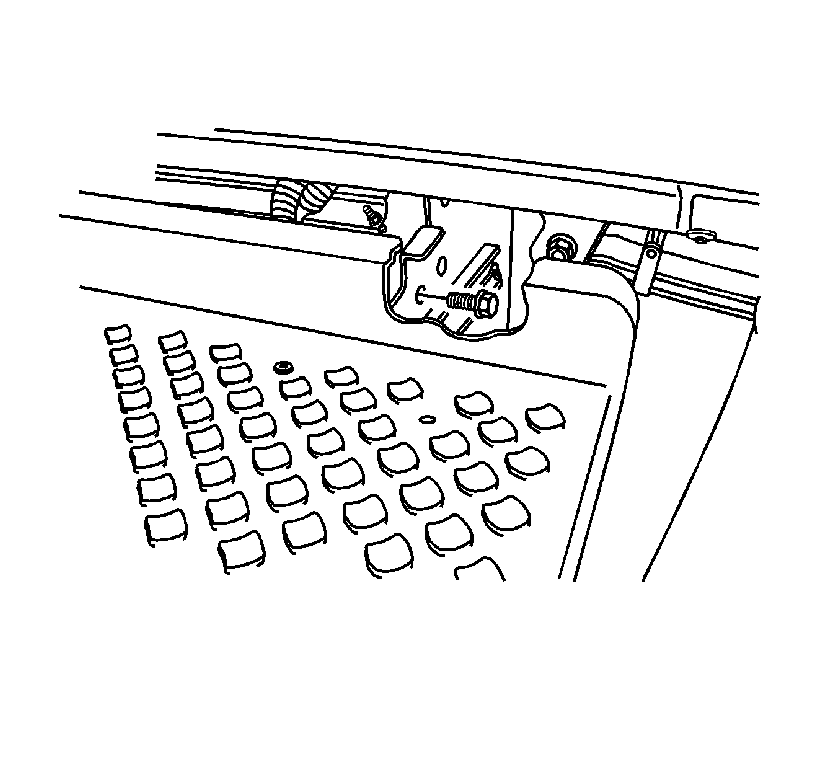
- Remove
the front battery tray retaining bolt.
- Pull the battery tray out until it hits the positive stops.
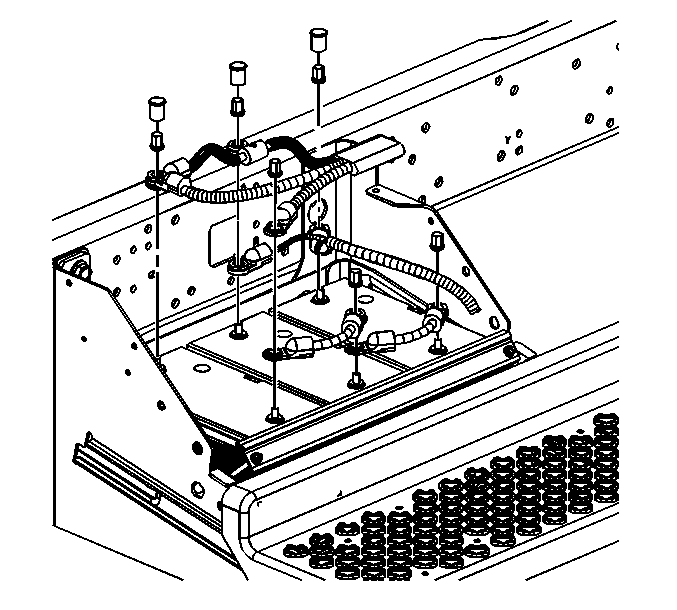
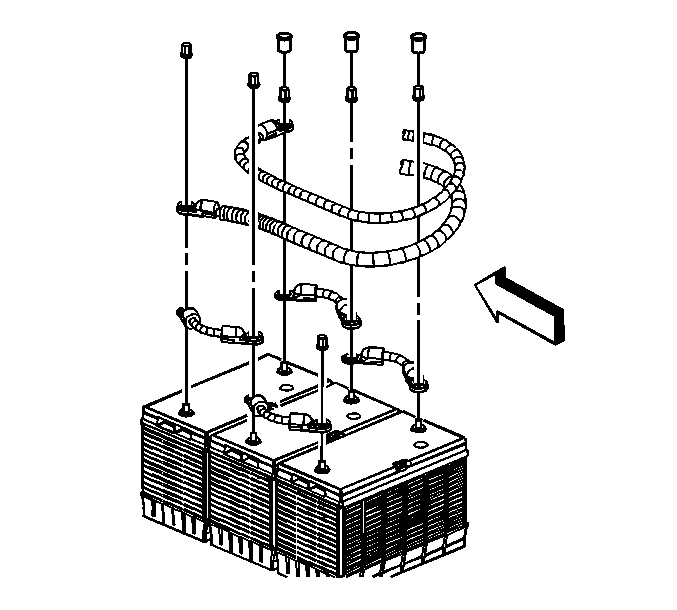
- If equipped with 3 batteries, disconnect
the negative cable from the negative battery terminal. Refer to
Battery Negative Cable Disconnection and Connection
.
Disconnect the positive cable from the positive battery terminal.
- If equipped with 2 batteries, disconnect
the negative battery cables from the negative battery cable terminals.
Disconnect the positive cables from the positive battery terminals.

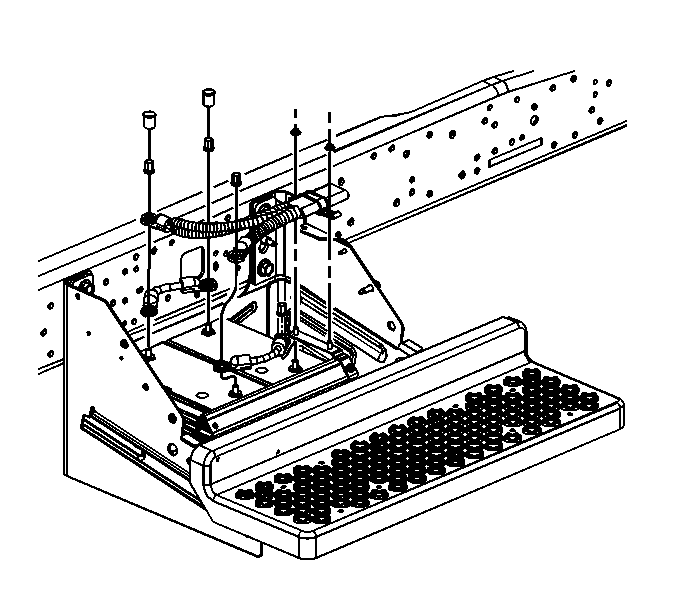
- If equipped with a single side post battery,
disconnect the negative battery cable from the negative battery terminal.
Disconnect the positive battery cable from the positive battery terminal.
- If equipped with a single top post battery,
disconnect the negative battery cable from the negative battery terminal.
Disconnect the positive battery cable from the positive battery terminal.
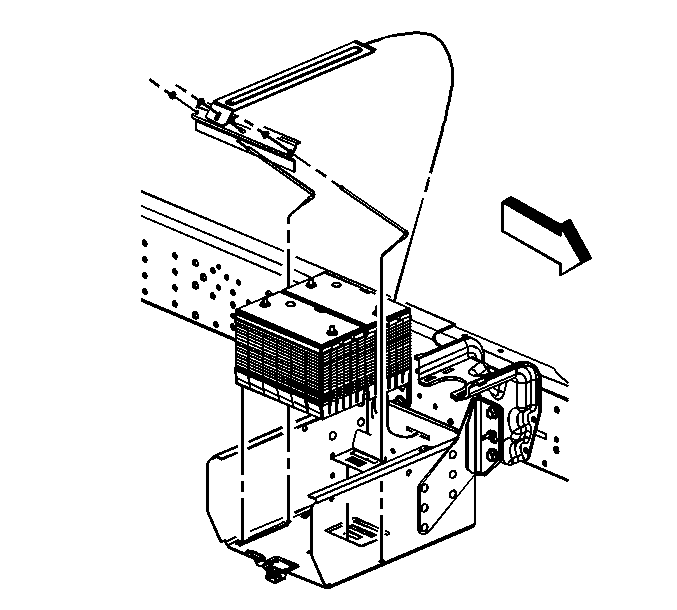
- If equipped with top post batteries, remove
the battery hold-down retainer nut.
- If equipped with a side post battery, remove the retainer bolt and battery
retainer.
- Remove the battery or batteries from the carrier.
- Inspect the following components for damage:
| • | Verify that the carrier is free from damage or foreign objects. |
| • | Find and correct the cause of damage if any damage is noted. |
| • | Clean the parts as necessary. |
Installation Procedure
- Install the battery into the cleaned carrier.
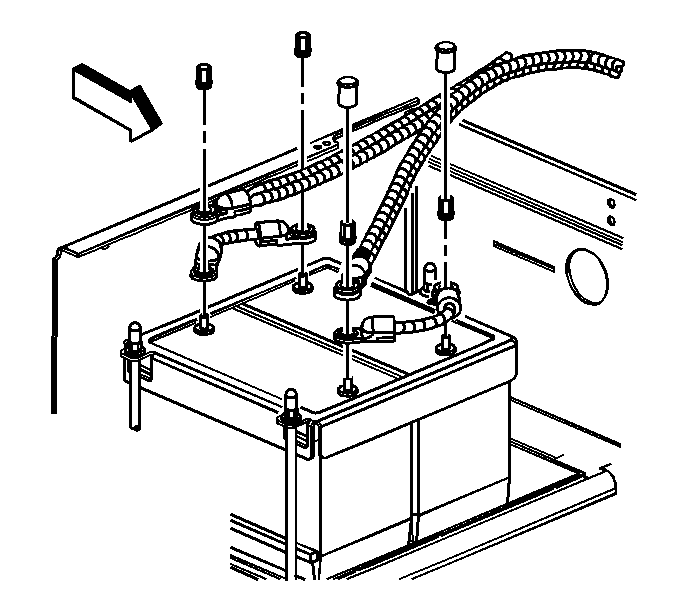
- If equipped with top post batteries, install
the battery hold-down retainer.
- If equipped with a side post battery, install the retainer and bolt.
Notice: Refer to Fastener Notice in the Preface section.
- Install the hold-down nut or the bolt.
Tighten
| • | Tighten the battery hold-down bolt to 25 N·m (18 lb ft). |
| • | Tighten the hold down nuts to 30 N·m (22 lb ft). |
- If equipped with a single top post battery,
connect the positive cable to the positive battery terminal.
Connect the
negative cable to the negative battery terminal.
Tighten
| • | Tighten the top post terminal nut to 25 N·m (18 lb ft). |
| • | Tighten the top post terminal caps to 17 N·m (12 lb ft). |
- If equipped with a single side post battery
connect the positive cable to the positive terminal.
Connect the negative
battery cable to the negative battery terminal.
Tighten
Tighten the side post terminals to 17 N·m
(12 lb ft).
- If equipped with 2 batteries connect
the positive cables to the positive battery terminals.
Connect the negative
battery cables to the negative battery terminals.
Tighten
Tighten the top post terminals to 25 N·m
(18 lb ft).
- If equipped with 3 batteries connect
the positive battery cables to the positive terminals.
Connect the negative
battery cables to the negative terminals.
Tighten
Tighten the top post terminals to 25 N·m
(18 lb ft).
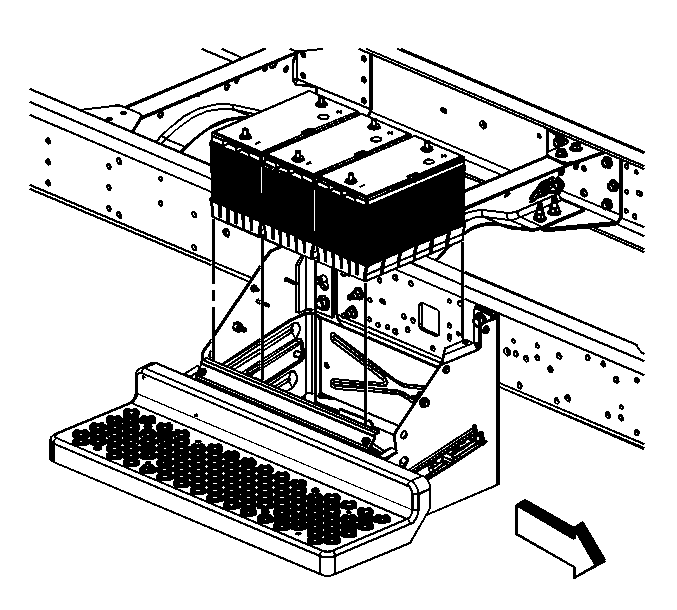
- Slide
the battery tray into place.
- Install the front battery tray retaining bolt.
Tighten
Tighten the front battery tray retaining bolt to
80 N·m (60 lb ft).
- Install the rear battery tray retaining bolt.
Tighten
Tighten the rear battery tray retaining bolt to
80 N·m (60 lb ft).
